
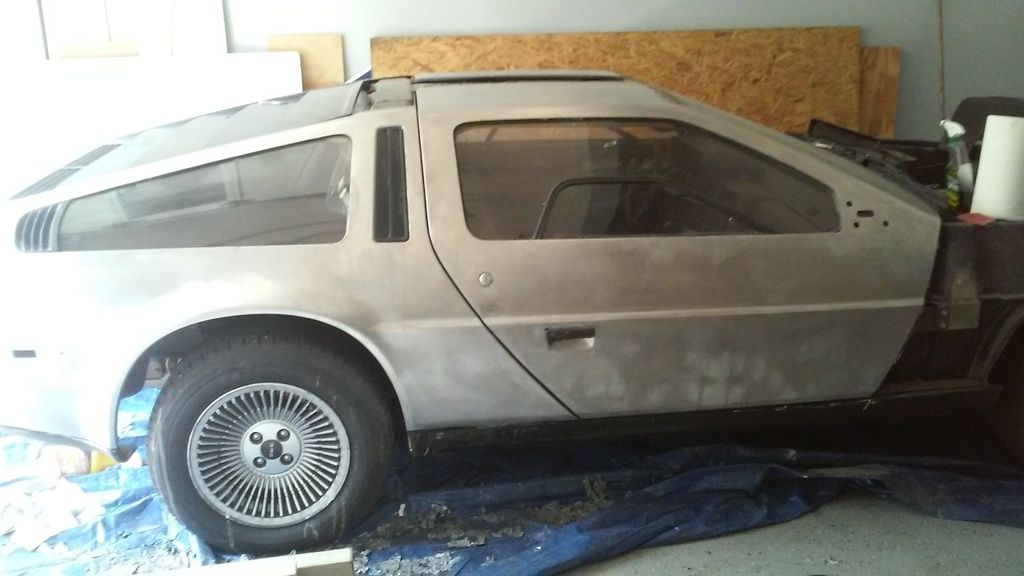
Around 90% of the paint is gone now. On the passenger side it's just the nooks and crannies that still have paint left, such as around the window seals.


Posts: 1,243
My VIN: 10201
Around 90% of the paint is gone now. On the passenger side it's just the nooks and crannies that still have paint left, such as around the window seals.

Location: Taylors SC
Posts: 5,326
My VIN: (former)05429
Club(s): (DMWC) (DCUK)
Looking good. You'll find this is anOriginally Posted by mr_maxime

80/20 rule job. 80% of the visible project takes 20% of the time.
Sent from phone
Dave S
DMC Midwest - retired but helping
Greenville SC
Posts: 1,243
My VIN: 10201
Thanks. i plan on using my walnut blaster in those nooks and crannies. Not very effective for the flat surfaces but should be able to reach the spots where I dont want to sand or chemically strip.
Since the grain was already nearly gone, I will be mirror polishing the car.
Posts: 1,243
My VIN: 10201
Man mobile is terrible. I had a message typed out but lost it.anyways walnut blasting is working out great around the windows but I might have to remove the door handles and locks. Unfortunately I ran out of walnut media and harbor freight is out.

Posts: 1,243
My VIN: 10201
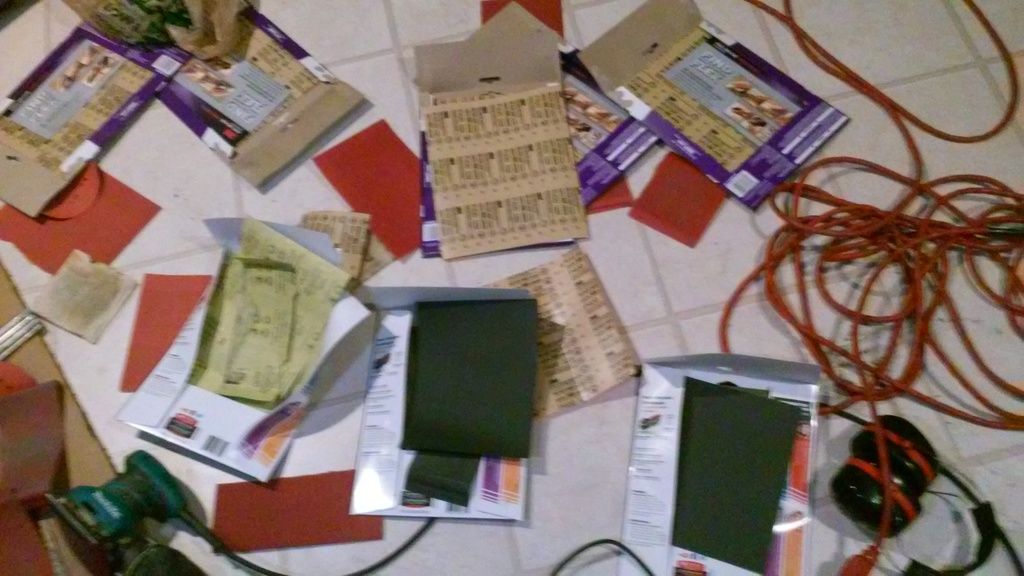
Harbor freight had walnuts in the back so I was able to finish the windows. The non functional vents still have some paint cause the walnuts shells were still too big for some of the gaps. I started testing how to polish the car and the grain is still a massive amount of work to remove. Both power sanders I have are nearly useless. I have to manually sand with 100 grit to even try to remove it. I then tested one section of the T-panel. I did 100, 120, 220, 320, 400, 600, 1000, 1500 then polished with rouge and my dremel. Still not quite mirrored.
Location: NYS
Posts: 2,511
My VIN: 4519
Posts: 1,243
My VIN: 10201
My accord took a dump after work friday so I couldnt drive to georgia to work on my car, but my dad decided to start polishing and sent me these pictures.
I didnt start with that part cause there's still paint left around the vents lol, but at least that should still be good chunk of work already done.
Posts: 1,243
My VIN: 10201
Got my 3m panel bond adhesive and started working on the eyebrows
Before
After
The rest
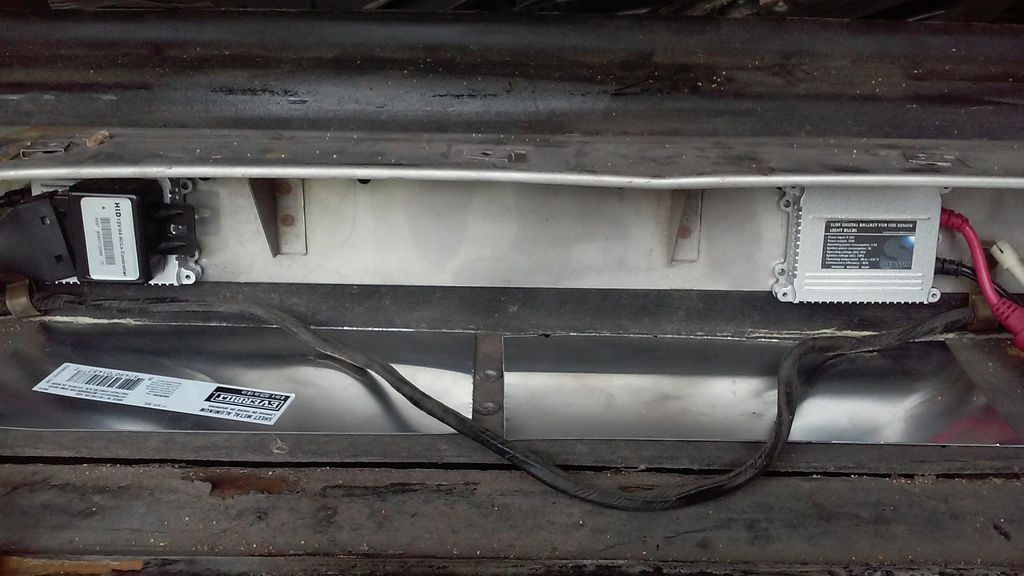
Also put bonded some aluminum sheets to the fiberglass behind the grill so I can use double sided tape on the next pair of HIDs
Posts: 1,243
My VIN: 10201
Started installing the front end recall kit today. Realized I already have castle nuts so I won't be doing those.
I read that the sway bar is under tension and I was loosening each bolt a little bit at a time as suggested on a delorean blog post. My friend was watching me and said I should use the jack to keep it from swinging down. This went pretty smoothly and I didn't get knocked on the head, although I was working from the front of the car anyways.
It looks like I'll have to get a new one eventually since there is a decent amount of pitting on this. I'll be painting it with some rustoleum for now though.
While I'm here I'll be getting some new bushings as well and fixing my tie rod ends.
Location: Novi, MI
Posts: 413
My VIN: 4665
Great post. I'm going to be doing this job shortly myself. How much tension did you find the sway bar under? Will I need another set of hands to manage it?
 Posting Permissions


 Reply With Quote


