FRAMING JOHN DELOREAN - ON VOD
www.framingjohndeloreanfilm.com
-
President, DeLorean Industries
If you are not confident that you know how to use the flap wheel do not take it to a panel on your car. It is best to practice and learn the required pressure, speed etc on a junk panel. Unless you are using the factory regulated tool there is no method to observe due to everyone using a different power unit. Its trial and error at its worst. I would strongly suggest sticking to manual methods such as sand paper and scotch brite pads. We only break out the wheel when its really bad. Our best grain jobs are done by hand.
-

This panel is what I will be practicing on...needs a little work....

Also, I called and talked to Jim @ GMP and the 12 brush wheel setup is $185 and the aluminum oxide abrasive strip loads are $13.50 each. This is for a 2" wide wheel with standard trim brushes and 1/4" cut (they dont have 1/8" in stock as mentioned in previous post). He said it wouldn't make a difference for our application. He also said they have plenty in stock.
-JQ
-
LS1 DMC


Originally Posted by
DeloreanJoshQ

This panel is what I will be practicing on...needs a little work....

You should be able buff that out with a flap wheel.
Obviously there is *some* risk of screwing up, but honestly as long as you keep the wheel facing the right direction, you're likely not going to damage it. Just start lightly and increase pressure as you feel is necessary. It's really just something you have to feel out. The only part that I would say is difficult is around the outward flares on the fenders at the wheel wells. This area REALLY makes you want to turn the wheel askew, away from parallel with the grain. It's REALLY important that you hold the wheel rock solid going in the proper direction in this area. My first time doing my right front, I goofed it up a little. Good news is, I was holding a flap wheel and went back over it; now it looks awesome! (though the flap wheel is never the last step, then there's blending pads, sanding blocks, and scotch brite pads)
-
Here is the drill I ended up getting:
http://www.sears.com/shc/s/p_10153_1...&blockType=G10
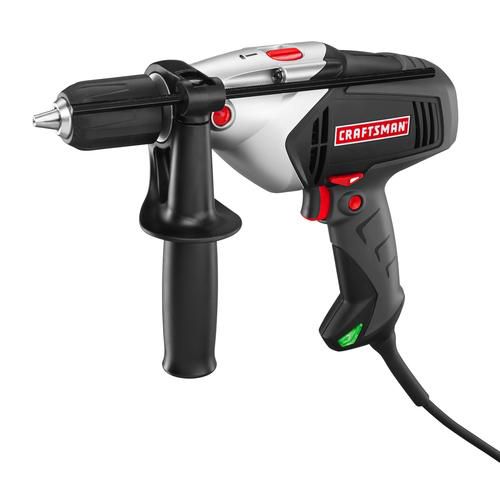
On sale for $59.49; has all of the features needed and works for all of my other projects as well.
So for $250-$300 investment total, The wolf's head wheel/drill combo should bring great results if used correctly.
-
Senior Member

I bet if a lot of people order the wolf head wheel, the price will continue to creep up on them.
-
Originally Posted by
Ryan King
Can anyone produce a link to the page where you can buy the wheels for future reference?
A link to the online catalog?
I already provided a link to the Wolfhead wheel in my thread below. But, now when I try the link it does not work. I hate it when that happens.
What I should have done is provide a link to the G & P Machinery web site then asked people to look for the product called Wolfhead.
My Favorite DeLorean Web Sites Part II of II.
http://dmctalk.org/showthread.php?19...-Part-II-of-II.
-
For future reference, if anyone wants one of these set ups:
Call:
Grinding & Polishing Machinery Co.
2801 Tobey Dr.
Indianapolis, Indiana, 46219
Phone: 317-898-0750
Fax: 317-899-1627
Place order with Larry Hardin (President). Larry is very familiar with Delorean owners and immediately identified me without even mentioning what I was doing.
#1 Part Number SH-1062-2" (price as of today is $195)
- This is the 1/2 chuck size 2" wide 12-brush head. 3/8 chuck size is also available, call for part number.
#2 Part Number L-021006022 is the 60-grit load of aluminum oxide strips (current price $14) 80-grit is also available-call for part number.
- I bought 3 loads to keep me busy for a while.
Larry said it normally takes about 5-7 business days to get the parts in and then ship from Indianapolis, IN.
Last edited by DeloreanJoshQ; 12-30-2013 at 01:53 PM.
-
Originally Posted by
DeloreanJoshQ
For future reference, if anyone wants one of these set ups:
Call:
Grinding & Polishing Machinery Co.
2801 Tobey Dr.
Indianapolis, Indiana, 46219
Phone: 317-898-0750
Fax: 317-899-1627
Place order with Larry Hardin (President). Larry is very familiar with Delorean owners and immediately identified me without even mentioning what I was doing.
#1 Part Number SH-1062-2" (price as of today is $195)
- This is the 1/2 chuck size 2" wide 12-brush head. 3/8 chuck size is also available, call for part number.
#2 Part Number L-021006022 is the 60-grit load of aluminum oxide strips (current price $14) 80-grit is also available-call for part number.
- I bought 3 loads to keep me busy for a while.
Larry said it normally takes about 5-7 business days to get the parts in and then ship from Indianapolis, IN.
I agree with Josh. Before you use a power tool you should learn this art manually. Pressure, speed, and direction is VERY difficult to learn all at once especially with a power tool. Unless you are regraining a car that was painted and had it's graining obliterated you can do the job by hand. It may take longer but you can do as good as or better than with power tools. Using an electric drill is not the best idea. Especially a cheap one. It's speed will vary a lot with pressure, just another variable you must learn to control. Another problem when using power tools is the temptation to use too high a speed. Too easy to do. An air-powered tool is the way to go but they are expensive.
-
Price list for G&P sanding wheels
-
Senior Member

Originally Posted by
jgarland79
If I recall you want the VONNEGUT - PORTABLE - 12 BRUSH HEADS 2" standard brush head model which is SH-1062. Mine has the 3/8" male adapter that I chuck into the previously mentioned Craftsman drill.
You'll also need to order the sandpaper loads - 60 or 80 grit - I don't recall what's recommended.
I have had decent success with it - I haven't done any damage yet - however it takes quite a bit of practice. I seem to be getting some slight diagonal scratch marks that I cant seem to figure out. It's like most if the grain is straight but then there's a couple little scratches slightly angled. I don't know if it's technique on my part or how I have the loads set up in the wheel. Haven't been able to get any advice from others on how to correct. Maybe that's normal and corrected once you finish with the blending pads... Not sure.
Cheer
Steven
Cheers
Steven Maguire
#4456

IT'S A TRAP!!!!!
 Posting Permissions
- You may not post new threads
- You may not post replies
- You may not post attachments
- You may not edit your posts
-
Forum Rules


 Reply With Quote
