My friend came up with this fix for his car. I am also using it.
- - - -
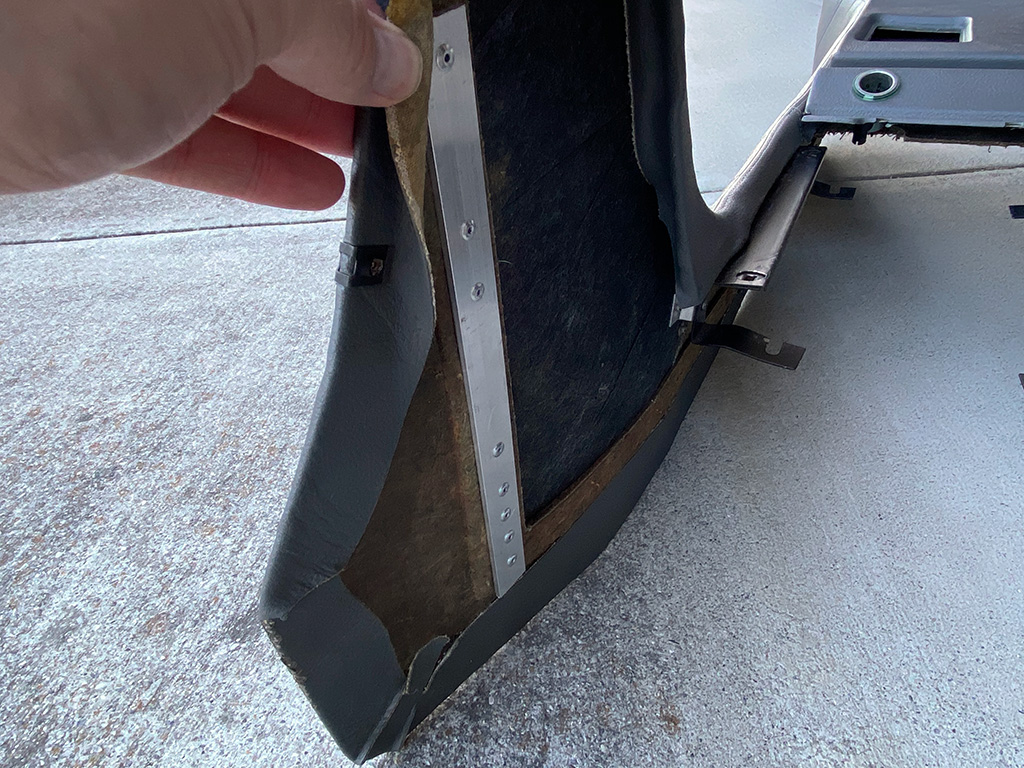
Get yourself 2 normal picture hangers and some wire.
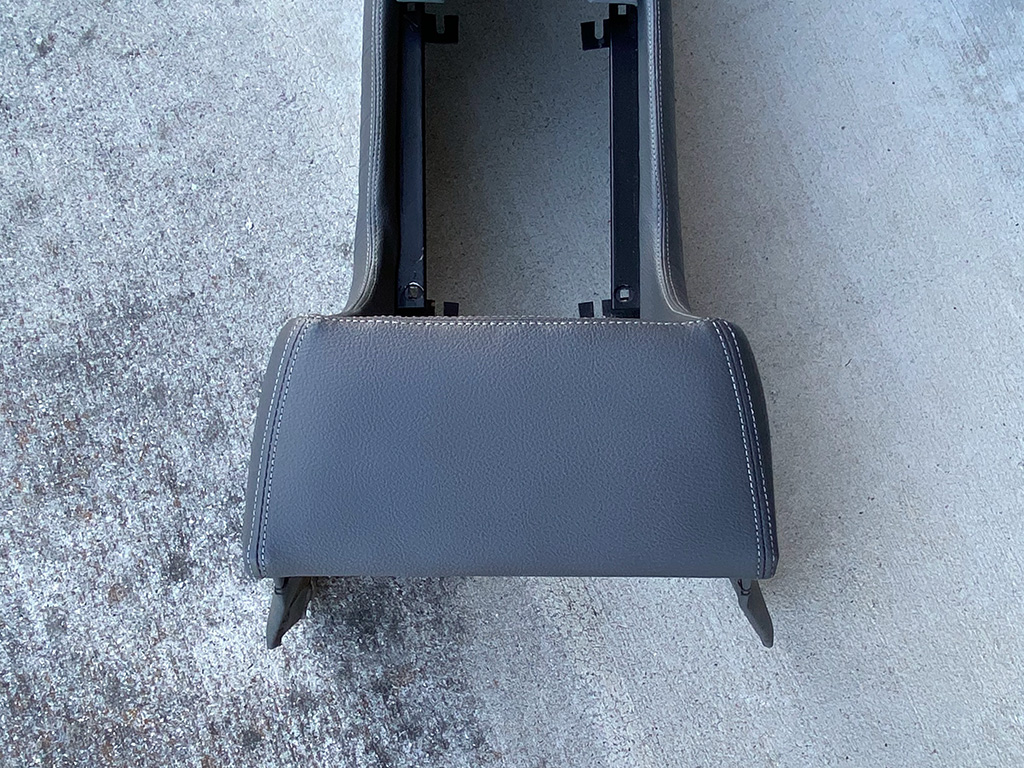
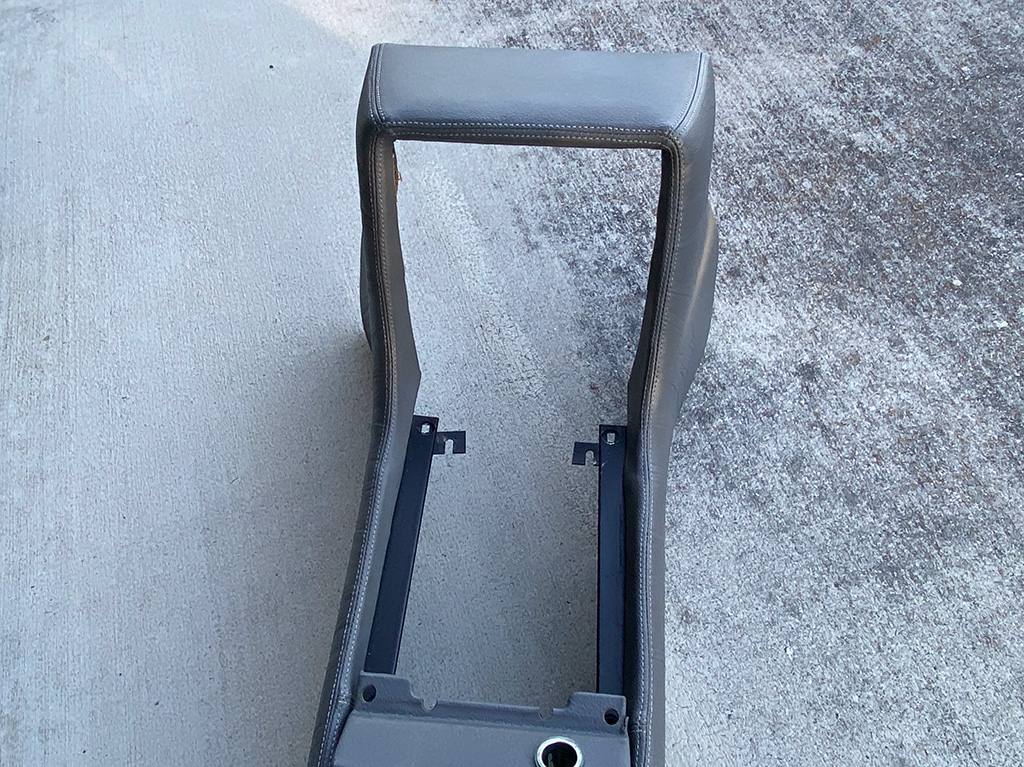
Tie one end of the wire to a picture hanger (see Fig. 2). Hook that hanger on the drivers side center console flap and pull the wire thru from the passenger side. Thread the wire thru the second picture hanger. Push in the passenger side console flap and at the same time twist the wire tight so it pulls the two flaps toward the each other. Snip off the remaining wire and your done. Only a tiny amount of the picture hanger
is visible (see Fig. 1 & 3).
http://ohiodeloreans.com/images/tips...rFlaps-Lrg.jpg
tips-CenterFlaps-Lrg.jpg

 Reply With Quote