FRAMING JOHN DELOREAN - ON VOD www.framingjohndeloreanfilm.com
Page 842 of 920 FirstFirst ... 342 742 792 832 840 841 842 843 844 852 892 ... LastLast
Results 8,411 to 8,420 of 9193

Thread: What have you done to your DeLorean today?

  1. #8411
    Senior Member Bitsyncmaster's Avatar
    Join Date:  May 2011

    Location:  Leonardtown, MD

    Posts:    9,006

    My VIN:    03572

    I pulled my drivers seat and started pulling the skin off the seat. Also pulled the skin off my finger pulling the hognose rings off. It will be interesting how to get those rings back on where the headrest skin is clamped way deep into the foam.

    It's quite a workout pulling the old rings off. There are so many and you kind of do a snap pull. Not sure if you could cut the rings.
    Dave M vin 03572
    http://dm-eng.weebly.com/

  2. #8412
    Sometimes Owner louielouie2000's Avatar
    Join Date:  May 2011

    Location:  Austin, TX

    Posts:    694

    My VIN:    1710

    Quote Originally Posted by Bitsyncmaster View Post
    I pulled my drivers seat and started pulling the skin off the seat. Also pulled the skin off my finger pulling the hognose rings off. It will be interesting how to get those rings back on where the headrest skin is clamped way deep into the foam.

    It's quite a workout pulling the old rings off. There are so many and you kind of do a snap pull. Not sure if you could cut the rings.
    There are "hog ring cutters" that make this job so much easier. Google them and see where all they can be bought. It is well worth spending $15 on them. If you don't have "hog ring pliers" buy a pair of those, too. Using regular pliers will frustrate the hell out of you doing this job.

    I can't remember how we tackled affixing the head rest hog rings... but I do remember using a lot of zip ties on the seatback to pull the material forward so a hog ring can be fastened to the material. So it was probably the same trick. Also, we used plastic grocery bags to get the new seat cover over the headrest foam. I know some people use spray lubricants (I believe silicone?) instead, though.

    And yes... I bled a LOT while doing this job. Bill Robertson's passenger seat foam will always carry plenty of my DNA! haha
    Last edited by louielouie2000; 08-26-2020 at 02:30 PM. Reason: forgot to mention hog ring pliers
    Louie Golden

  3. #8413
    EFI'd dn010's Avatar
    Join Date:  Jul 2011

    Location:  Florida: Pinellas County

    Posts:    2,110

    My VIN:    5003 Never placed Concourse

    Club(s):   (DCF)

    Way back when I did my seats, I used a heavy duty pair of "diagonal cutting pliers" to cut the old rings off. When it came time to reassemble, I used 12/2 copper wire with the insulation gone (or use the ground), cut into strips. You can either wrap the copper wire around or in a lot of spots you can use a pair of pliers and twist the section closed. The copper is really easy to work with compared to steel hog rings and they work just as well - I don't have any sections on any of my vehicles that came undone.

    Initially, I found this worked when I had an old '67 Mustang. I bought new seat covers but didn't know about hog rings. Thinking dejectedly how the project would take another week to receive the rings and tool, I look over and there was a roll of 12/2.
    Last edited by dn010; 08-26-2020 at 03:22 PM.
    -----Dan B.

  4. #8414
    Motors about after dark Michael's Avatar
    Join Date:  May 2011

    Posts:    4,781

    My VIN:    Banged your VIN'S mom

    Quote Originally Posted by C.Bennett View Post
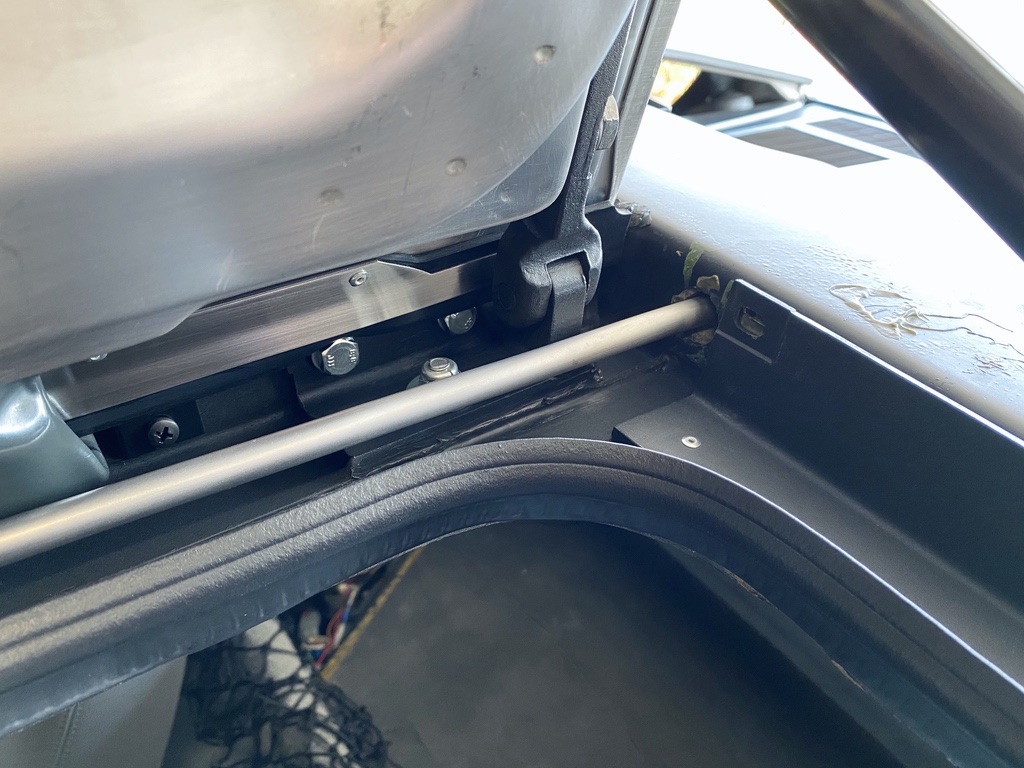
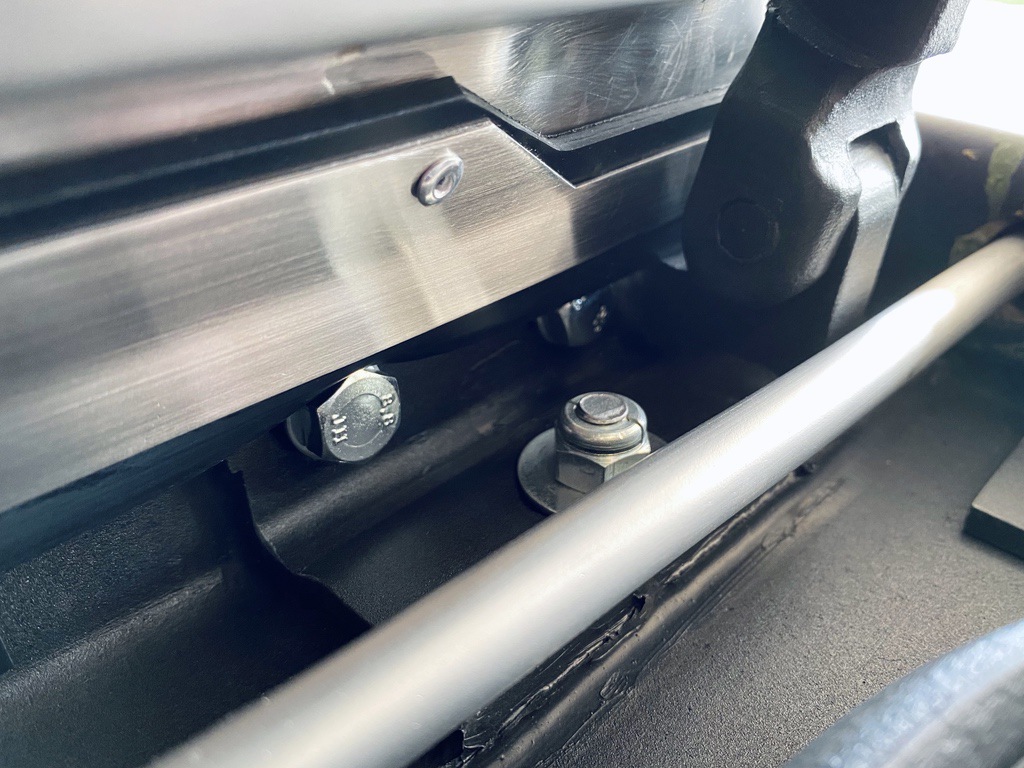
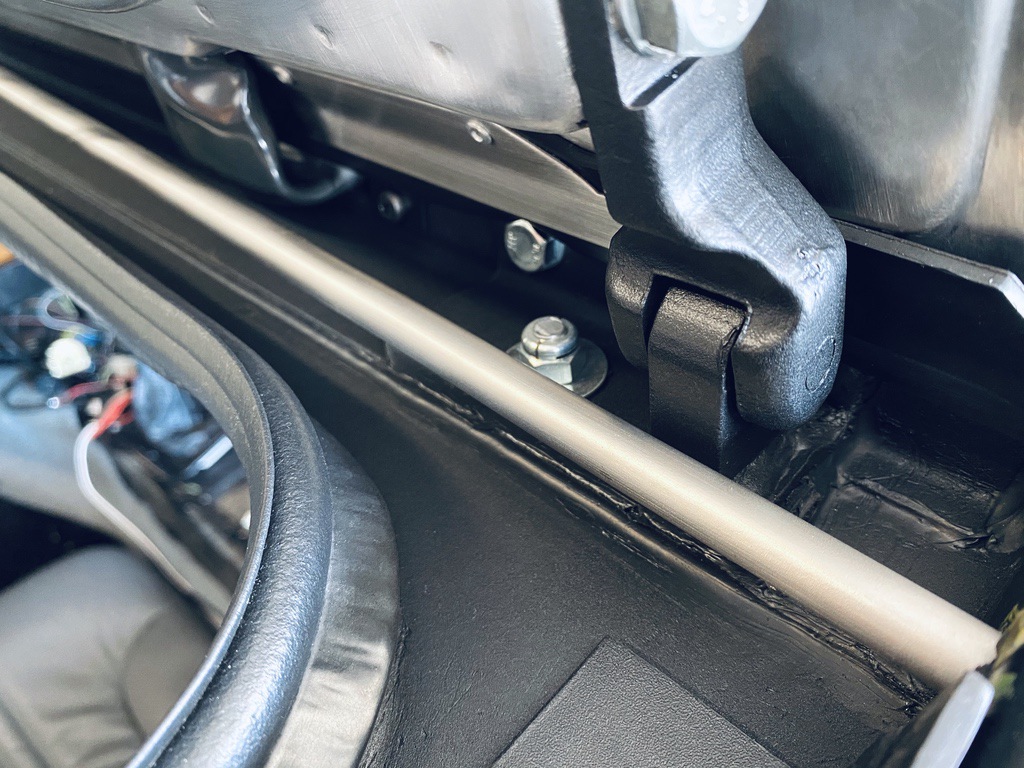
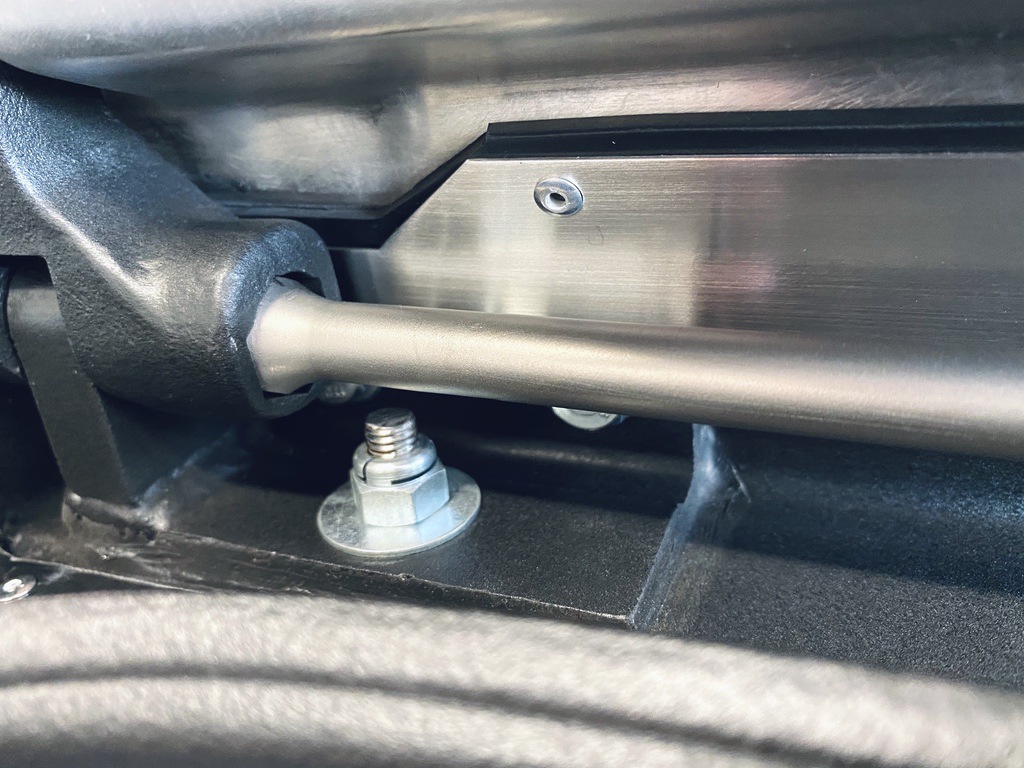
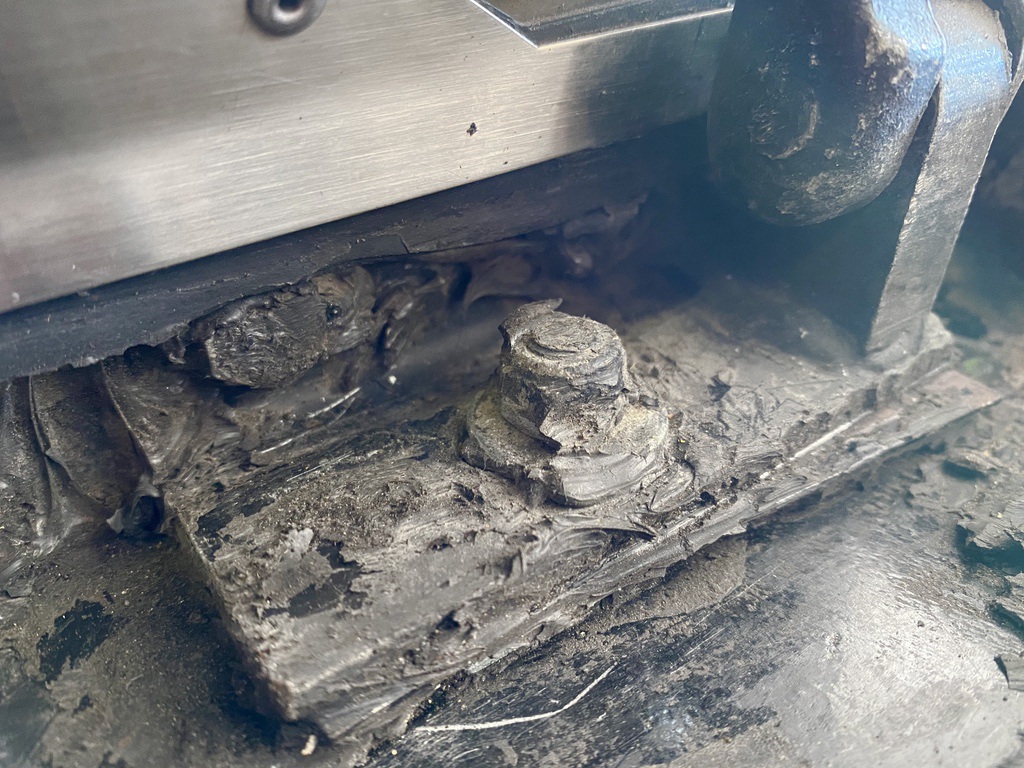
    Better than when it left the factory in 1981. Two months of meticulous refinishing work on my DeLorean door hinge/torsion bar area.

    The last photo shows how it looked when it left the factory, just as I started chipping the messy silicone off. Needless to say that if someone spent as much time as me at the factory, they would have been building one car a month.


    Amazing! I did mine several years ago as I wasn't a fan of all the gooped on silicone but it didn't look that clean!

  5. #8415
    Senior Member
    Join Date:  Dec 2011

    Location:  Ontario, Canada

    Posts:    217

    My VIN:    1983 canadian model

    Quote Originally Posted by Michael View Post
    Amazing! I did mine several years ago as I wasn't a fan of all the gooped on silicone but it didn't look that clean!
    Amazing! So beautiful work! Is there a special solvant or solution that works best for removing that black silicone?
    Most of my cleaning is done using that purple liquid bottle called Super Clean, which work amazingly on a lot of surfaces.
    I know that Mother wheel cleaner is used also on some area as well.

  6. #8416
    October 1981 Col Bennett's Avatar
    Join Date:  Aug 2016

    Location:  Bay Area, CA

    Posts:    202

    Club(s):   (NCDMC) (DCUK)

    Quote Originally Posted by Michael View Post
    Amazing! I did mine several years ago as I wasn't a fan of all the gooped on silicone but it didn't look that clean!
    Cheers Michael. That means a lot. Yeah, it's one heck of a mind-numbing job. I instantly regretted starting it - but now that it's done, I'm glad I did - although I did consider selling the car at least twice during a few heated "f*** you DeLorean" moments. I'm sure we've all been there! Glad I made it through the trauma.


    Quote Originally Posted by Victor View Post
    Amazing! So beautiful work! Is there a special solvant or solution that works best for removing that black silicone?
    Most of my cleaning is done using that purple liquid bottle called Super Clean, which work amazingly on a lot of surfaces.
    I know that Mother wheel cleaner is used also on some area as well.
    Thanks Victor. Sadly, there's not. I tried a bunch of solvents before realizing that none of them worked - at all! Don't waste your time. The only thing that worked was a bunch of small craft/sculpting tools to literally scrape the sealant off flake by flake. Weeks and weeks of scraping to get rid of every last bit! I then sanded the metal and finished with a 3M blending pad to get it as nice as possible for refinishing.

    Cheers guys!
    DeLorean DMC-12 (October 1981)
    Manual transmission. Grooved hood. Grey interior. Rear antenna.
    Obsessive perfectionist and 64th annual 2019 Hillsborough Concours D'Elegance class winner.

  7. #8417
    Senior Member
    Join Date:  Feb 2019

    Posts:    115

    Just in case anyone isn't following the build thread


  8. #8418
    Senior Member
    Join Date:  Feb 2019

    Posts:    115


  9. #8419
    Senior Member
    Join Date:  Jul 2015

    Location:  Tacoma, Wa

    Posts:    2,208

    My VIN:    4877

    Club(s):   (PNDC)

    Quote Originally Posted by white out View Post
    Nice
    Rob Depew
    Tacoma, Wa
    '81 DeLorean 4877 Grey, Auto, 4 wheels
    The Ressurection of 4877......
    Website
    YouTube
    My Patreon

  10. #8420
    Senior Member Bitsyncmaster's Avatar
    Join Date:  May 2011

    Location:  Leonardtown, MD

    Posts:    9,006

    My VIN:    03572

    Quote Originally Posted by louielouie2000 View Post
    There are "hog ring cutters" that make this job so much easier. Google them and see where all they can be bought. It is well worth spending $15 on them. If you don't have "hog ring pliers" buy a pair of those, too. Using regular pliers will frustrate the hell out of you doing this job.

    I can't remember how we tackled affixing the head rest hog rings... but I do remember using a lot of zip ties on the seatback to pull the material forward so a hog ring can be fastened to the material. So it was probably the same trick. Also, we used plastic grocery bags to get the new seat cover over the headrest foam. I know some people use spray lubricants (I believe silicone?) instead, though.

    And yes... I bled a LOT while doing this job. Bill Robertson's passenger seat foam will always carry plenty of my DNA! haha
    I tried some heavy diagonal cutters and they could not cut the rings but they do work better pulling the ring with more bite. I see there are some small steel rods where that head rest get clamped. The new skins did not put in the rods so I guess we use the old ones. I got the skin over the head rest just working it. After it was on I had to shove my hand up there to flatten the seams on the top stitch. I will use a plastic glove next time. When you get old your skin is so thin I got some blood just from the friction moving my had under the skin. Also there is no cut for the back release lever so either skin goes on either seat.
    Dave M vin 03572
    http://dm-eng.weebly.com/

Page 842 of 920 FirstFirst ... 342 742 792 832 840 841 842 843 844 852 892 ... LastLast

Posting Permissions

  • You may not post new threads
  • You may not post replies
  • You may not post attachments
  • You may not edit your posts
  •