Installed DPNW air bleeder kit (front and rear).
Replaced thermostat and gasket.
Replaced intake manifold gaskets.
Replaced LH water pump hose.
Drained and filled coolant (obviously!).
Replaced door struts.
Busy day!


Location: Panama City, FL
Posts: 246
My VIN: 2861
Club(s): (DOA) (DCUK)
Installed DPNW air bleeder kit (front and rear).
Replaced thermostat and gasket.
Replaced intake manifold gaskets.
Replaced LH water pump hose.
Drained and filled coolant (obviously!).
Replaced door struts.
Busy day!
Mike
2861 - Aug '81, 5-speed, black interior, gas-flap.

Location: Eglin AFB, FL
Posts: 1,603
My VIN: 3299
Over the last couple of weeks:
1. Fully installed Toby's door actuators. When I say "fully installed" I mean....
A. Changing out all 4 latch/locks from both doors
B. Doing continuity checks through the wiring from the door lock module wiring in the harness, through the roof, to the doors
C. Re-adjusting nearly all the tensioning rods in the doors
D. Re-installing the DMCH module
E. Adjusting the tension on the wire from the driver's side door handle to the bell crank
F. Cleaning the contact points on the bell crank
G. Re-adjusting the leaflet tabs on the bellcrank so that they would "swipe" across the contact points and not get hung-up like they were on the passenger side
Yeah....That was a more in-depth repair than I thought it was going to be, but I learned a LOT about the doors....
2. Adjusted the legnth of the spring in one of the tail light bulb sockets causing erratic lighting issues (PJ Grady boards).
3. Installed a new oil light sensor.
4. Installed LEDs in the front bumper marker lights and rear turn signals with matching LED turn signal relay. The only lights that are not LED'd now are the battery light, front dome light (DPO superglued it into my headliner) and headlights. Everything else has LEDs.
5. Installed John Hervey's 2GA and 4GA grounding wires. One goes from the battery to the transmission - the other goes from the oil pan/exhaust bracket to the frame.
6. Re-installed my T-Panel so it does not get knicked by the doors when they are opened.
7. Installed Toby's Wings-A-Loft remote lock unlock/Door launchers kit.
8. Installed aftermarket cupholders in the driver and the passenger footwells.
Things coming over winter:
1. VOD tear down to replace either a leaking water pump or a loose hose - either way a new water pump and hoses are going on.
2. New headliners - finally after 9 years.
3. Install DMCH's new fuel/sender combo.
And these two are more for "later in 2013"
1. New door rubber seals - both inner and outer.
2. Go true dual exhaust.
DMCTalk.org Moderator
Actual snippet of a conversation from Sept 2013:
Me: Eddie, I can't wait to get the car back when you're done with it.
Eddie: Yeah, you'll be able to give the car gas, and it won't be - like - embarrassing....
Posts: 4,808
My VIN: 3937
Hey,Originally Posted by DeLorean03

Would you care to elaborate on this one? My car does somewhat the same thing, but I'm not sure what to do about it. Thanks!
Sept. 81, auto, black interior
Location: Eglin AFB, FL
Posts: 1,603
My VIN: 3299
Sure, my trim is still off so I'll take some pictures for you and try to get it up here later tonight!
DMCTalk.org Moderator
Actual snippet of a conversation from Sept 2013:
Me: Eddie, I can't wait to get the car back when you're done with it.
Eddie: Yeah, you'll be able to give the car gas, and it won't be - like - embarrassing....
Location: Eglin AFB, FL
Posts: 1,603
My VIN: 3299
As promised, here is my explanation. I learned this as I went, so follow my instructions at your own risk.
1. First thing is to remove the door trim around the T-Panel as pictured. Next, you'll want to remove the three screws circled in this picture. This is done on both sides of the T-panel.
Front_screws.jpg
2. Lift your louvers and take out the thre screws as pictured that hold the back plastic trim piece.
Back_screws.jpg
Once you do this,the trim is hold by the T-panel by four stainless steel tabs. You basically rotate the plastic piece out from underneath the stainless steel tabs.
3. Now, everything that holds the T-panel down should be off - with the exception of the 2x sided tape that may or may not be underneath your T-panel. The key here is to gently raise the back of your T-panel up gently and wiggle the T-panel from side to side as seen in this picture below. This is where it helps to have a second person so each of you can be on one side of the car as you both wiggle the T-panel back and forth. It is the easiest way to break the adhesive property of any 2x tape that may be adhering the T-panel to the roof.
Side_to_side.jpg
You've done this to basically be able to move the T-panel freely. Three things were crucial for me to get it to where the T-panel did not touch my doors as they open and shut. These three things were:
A. How high is the "vertical" part of the T-panel (the part between the doors) - as if it was too low, my doors scraped the edges of it, and if it was too high you could actually see underneath the main body of the vertical part of the T-panel.
B. How high was the horizontal part of my T-panel (the portion of the T-panel closer to the rear wheels) - because if it was too high, my louvers would not clear it, and if too low it would force the vertical portion of my T-panel to be too high, resulting in a huge gap to where you could see underneath my T-panel.
C. The spacing between the rear quarter panels and the horizontal ends of the T-panel. This was used as a good "reference point" for when the adjustments were sufficient, and that my doors should clear the T-panel. I will provide a side as a REFERENCE ONLY, as I have 2x sided tape on both the vertical and horizontal parts of my T-panel to help out with height adjustments for my doors to clear the T-panel.
T_Panel_Quarter_Panel_Spacing.jpg.
After all this is said and done, you have to put all your screws back in to help anchor the T-panel down to ensure that your adjustments are correct. I just about drove myself nuts for over an hour trying to get everything to work WITHOUT THE SCREWS IN. Put the screws in - loosely at the least - they will make the difference of your doors clearing or not clearing your T-panel.
I would suggest having someone help you with all this, as a lot of stuff is happening on both sides of the T-panel. Most of all, be calm and patient. I think it took my friend, Jason, and myself about 2 hours to get it 100% the way I wanted it. Then again, I'm a slow learner...
Things to keep in mind as you re-assemble....
Place the T-Panel down, THEN re-install the back plastic trim piece underneath your louvers.... don't go the opposite way...trust me on this one ...
On my car, the three screws that hold that rear-plastic trim underneath your louvers....those holes DO NOT line up well. This is definitely a good job to have two people for. You can line up two of them - the third is one of those "hold your breath, push with all you got to just even see the hole that the screw is supposed to go into, get it at a very bad angle, and somehow get the screw in..."
Patience...Patience...Patience...
Last edited by DeLorean03; 12-16-2012 at 10:12 PM.
DMCTalk.org Moderator
Actual snippet of a conversation from Sept 2013:
Me: Eddie, I can't wait to get the car back when you're done with it.
Eddie: Yeah, you'll be able to give the car gas, and it won't be - like - embarrassing....

Location: Central Cali
Posts: 302
My VIN: 5087
Word of advice...don't forget to install the spacer before reinstalling the front wheel hub...unless you enjoy destroying your brand new wheel bearing. Sigh...now I gotta order a new bearing and get it pressed in again. $50 lost all together. Lesson learned I guess.

Location: sacramento
Posts: 1,415
My VIN: 1768
Club(s): (NCDMC) (DCUK)
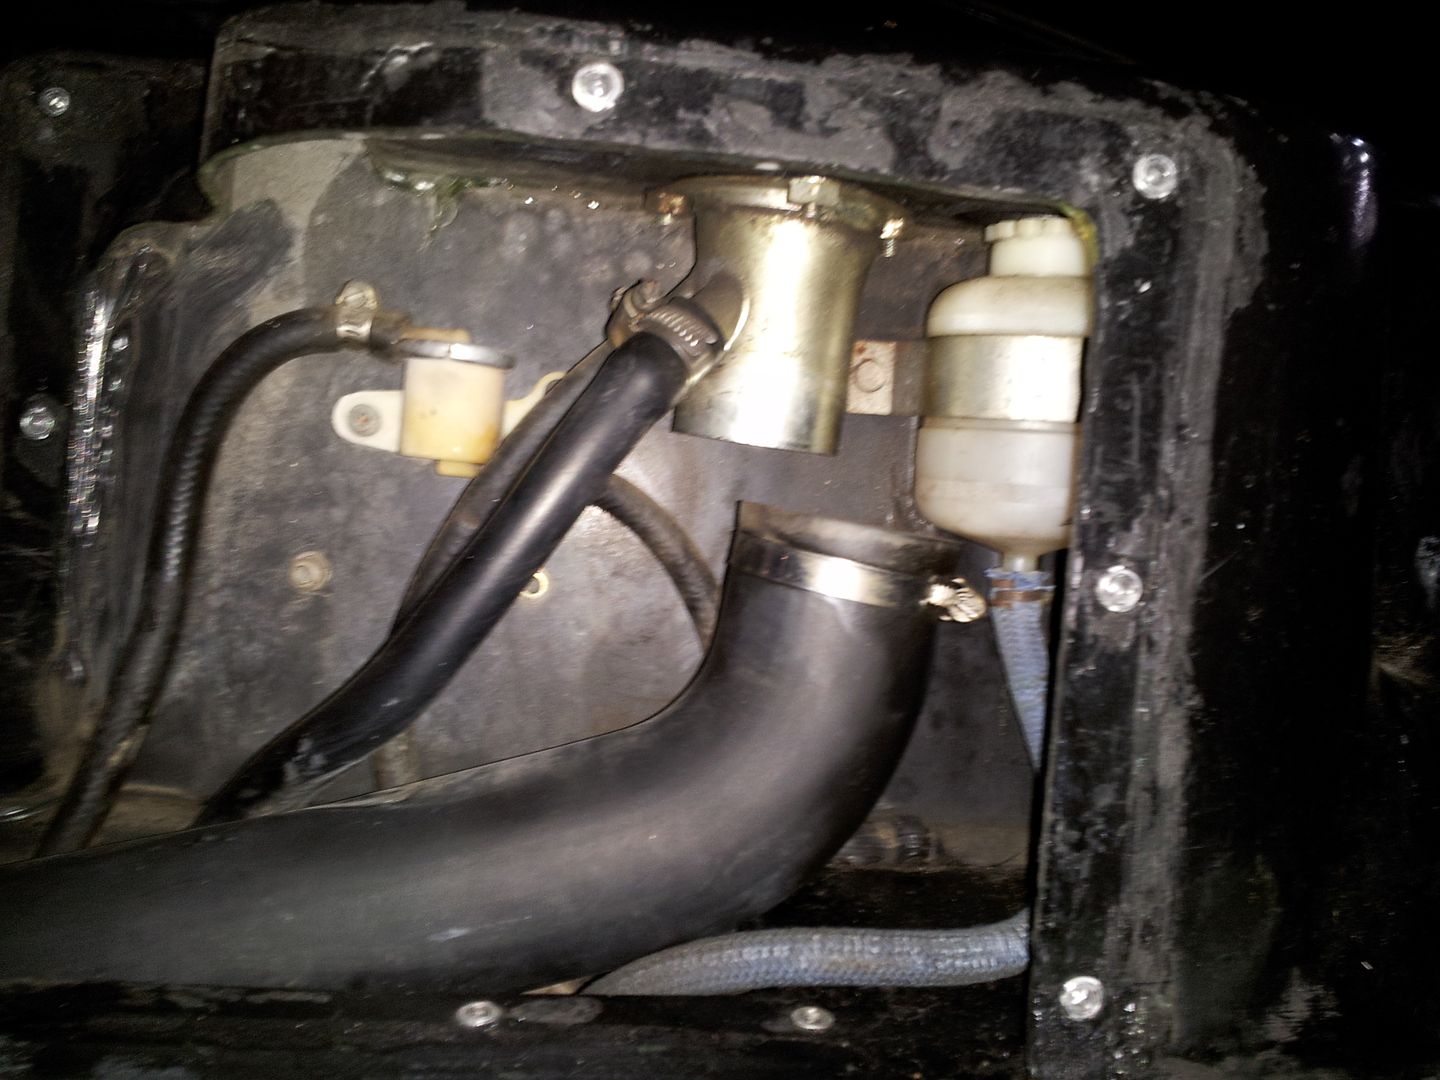
Drove my car to work, smelled a bit gassy during lunch but I couldn't find any source, headed home later but needed some fuel to get home so I pulled into a gas station. I put in just $10 to be sure i could make it home but not fill the tank as I need to open the fuel pump access. As im filling up i smell gas worse than ever and feel a splash on my leg. SHIT the ground is covered in fuel! My fuel filler hose was leaking bad, I open the trunk and there is gas everywhere! Try to take off the cover in the trunk but I cant find my Phillips screw driver so I have to got to a nearby $1 store and get something. I remove the cover in the parking lot and find this below. WTF!

Location: Sacramento-ish
Posts: 4,408
My VIN: 02100
Club(s): (NCDMC) (DCUK)
Holy s#!t dude!! At least it was something stupid and easy to fix, but how did that even happen?!
Did you get everything cleaned up and make it home OK??
Jon
1981 DMC-12 #02100. July 1981. 5-speed, black, grooved w/flap.
restoration log, March 2011 to present
full and detailed photo restoration log
Location: Eglin AFB, FL
Posts: 1,603
My VIN: 3299
Finished the dedicated fuel pump circuit!
Also, opened my package from DMC-NW - new fuel pump/sender unit !!!!
DMCTalk.org Moderator
Actual snippet of a conversation from Sept 2013:
Me: Eddie, I can't wait to get the car back when you're done with it.
Eddie: Yeah, you'll be able to give the car gas, and it won't be - like - embarrassing....

Location: New Jersey
Posts: 293
My VIN: 1494
Club(s): (DMA)
Drove it into the city (NYC) today for work, being that it's the last day and all that crazy stuff... =D
-----------------------------------------------------------------------
Steve Cosgrove, Vin. 1494
"I'm Kicking Through The Walls In My Mind..." - Goo Goo Dolls
On-going Engine and Car Modifications: http://dmctalk.org/showthread.php?50...Engine-Upgrade
 Posting Permissions

 Reply With Quote