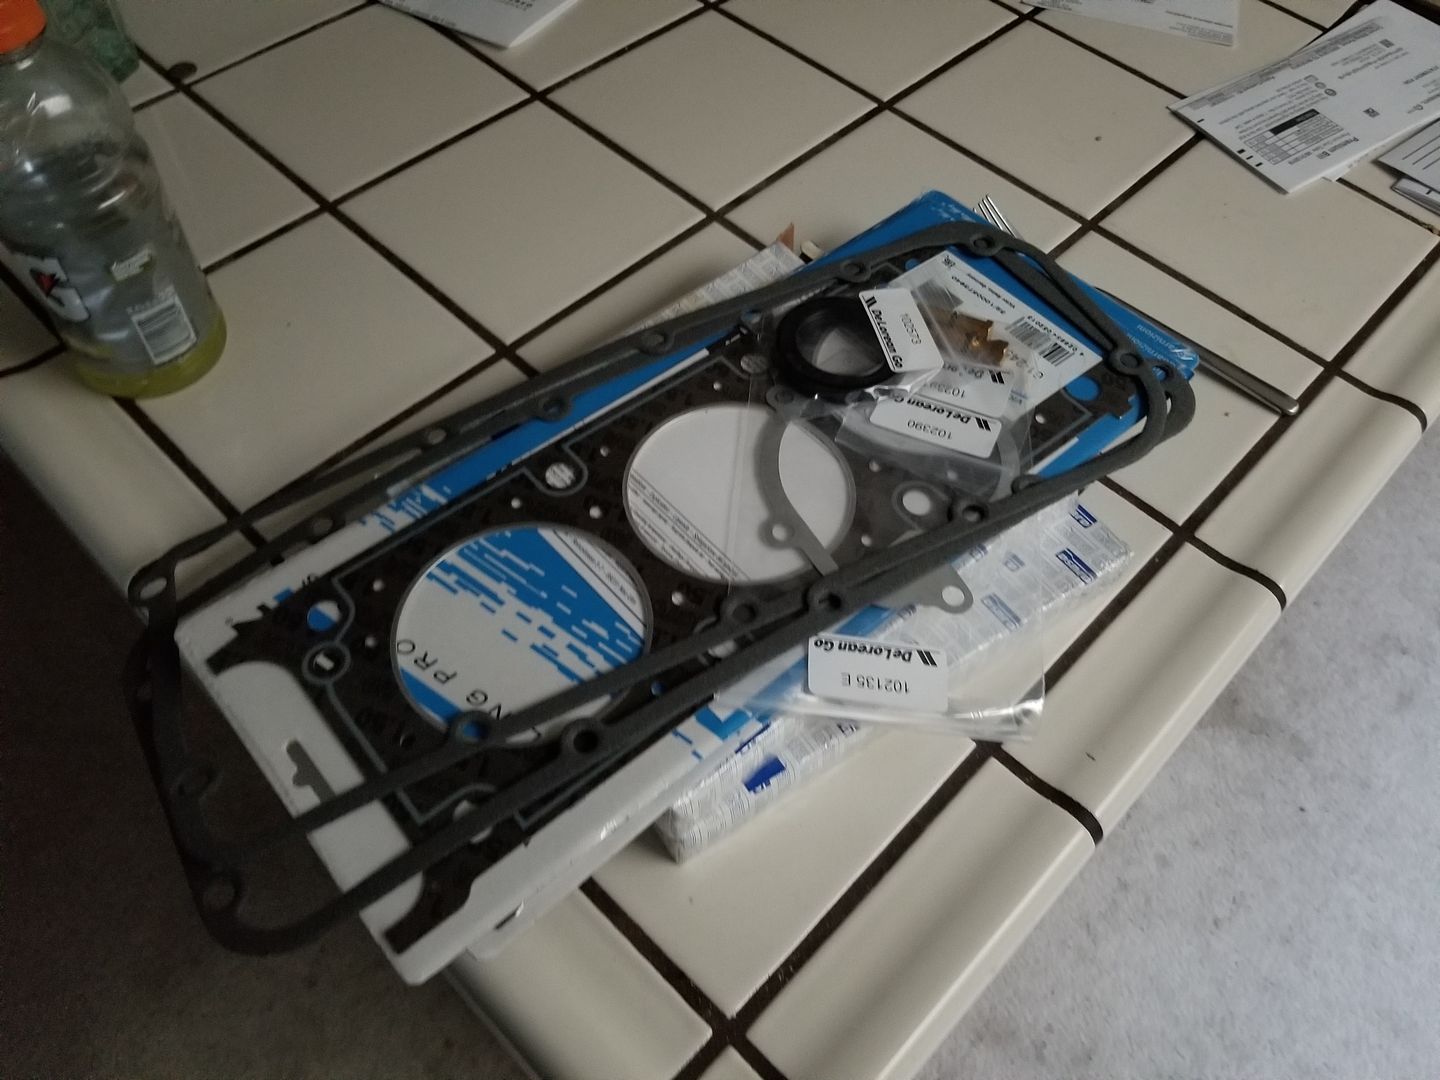
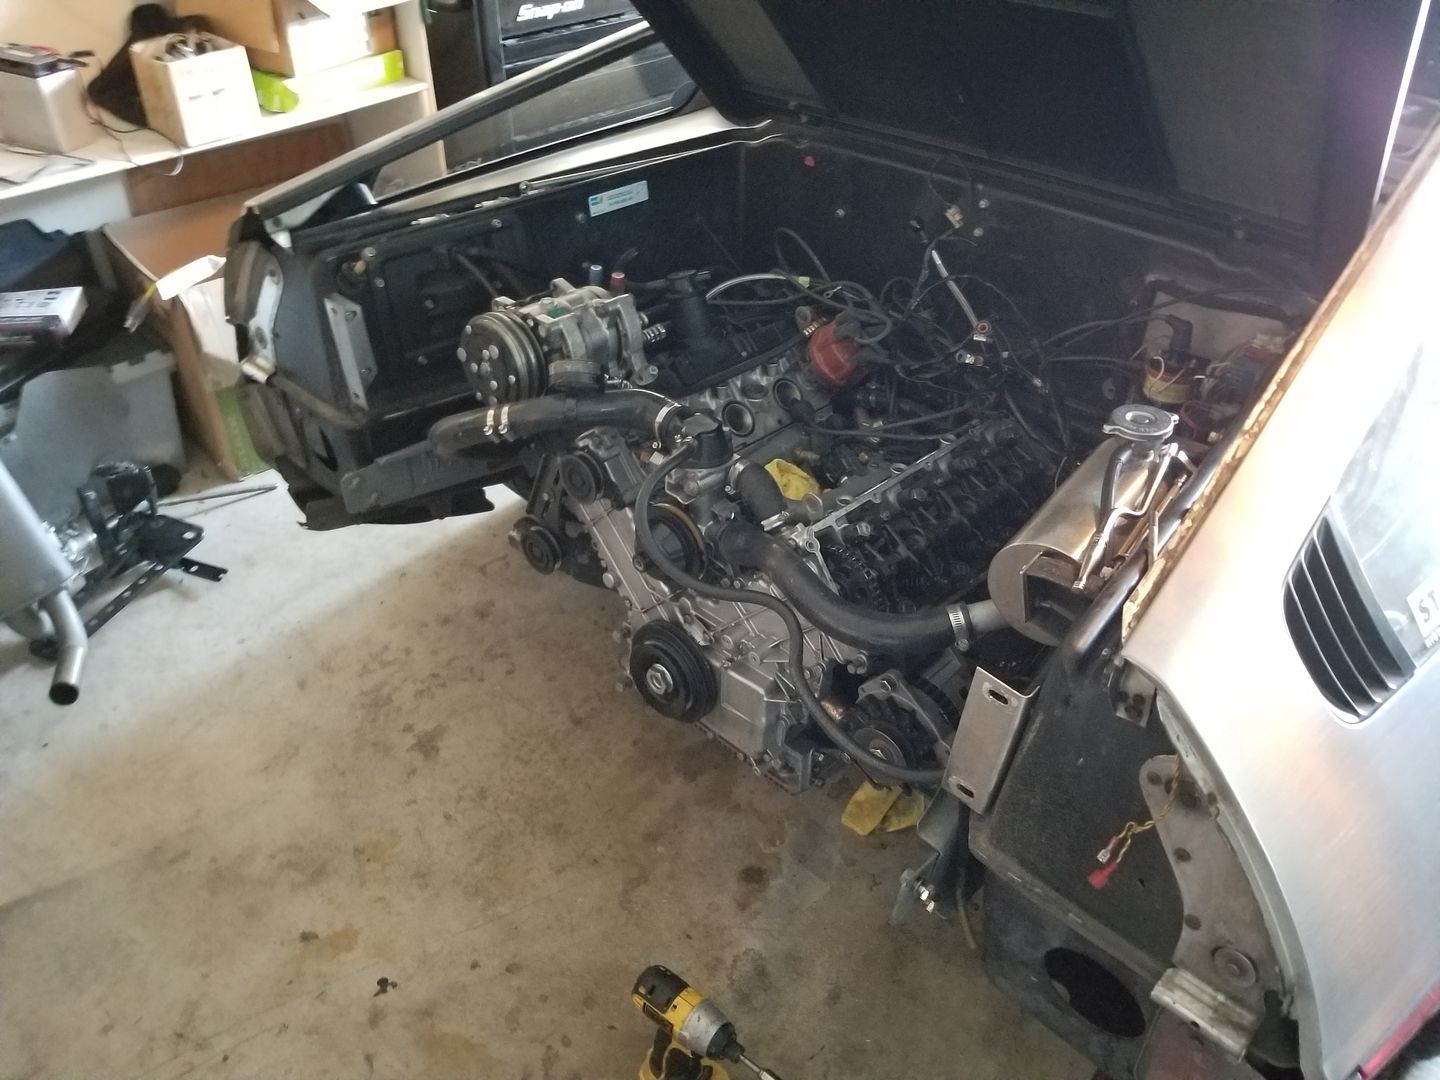
About two weeks after installing stock cams again I noticed some coolant leakage again on the floor, after investigating I found that the new head gaskets were not sealing, I was having leakage on the perimeter of the cylinder heads and into the valley. The heads would have to come off again.
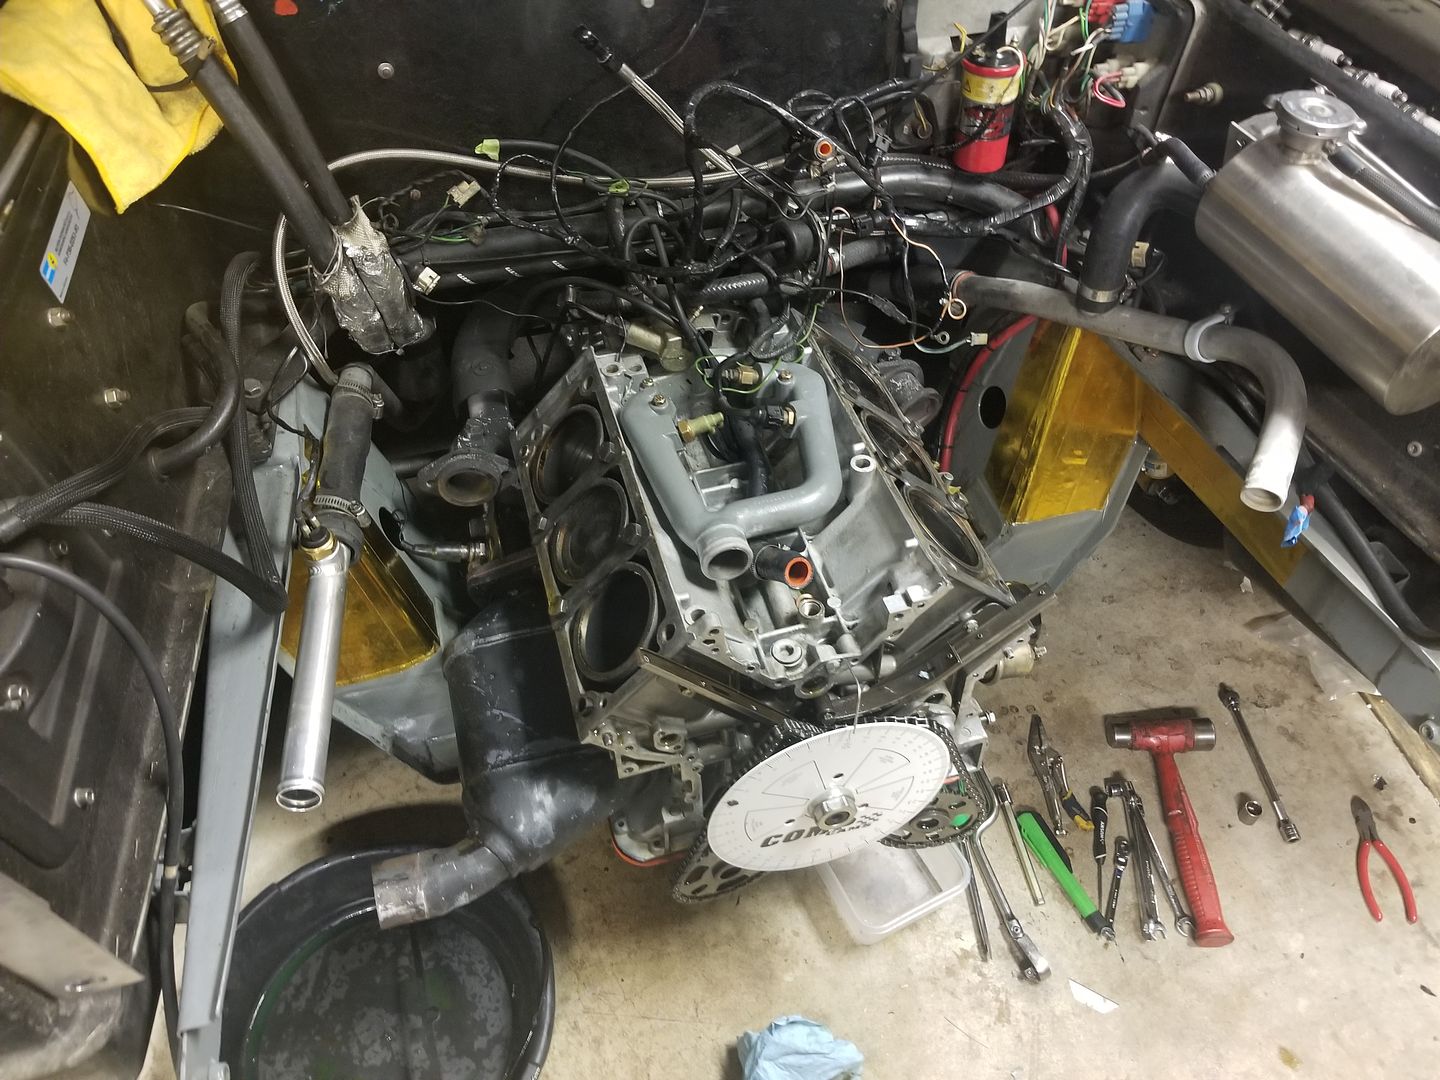
After getting the heads off it was easy to see the gaskets I used were not up for the task of sealing the heads to the block, the "aftermarket" gasket set was not the correct choice even though it came with the rest of the engine gaskets needed to do a top end reseal, lesson learned, stick to quality name gaskets. the cheap gaskets failed in an odd way, the composite paper of the gasket had become very water logged and soft, as if the coolant broke it down into a mush, very odd.
Re assembled again and the engine has been staying dry for a few about 5k miles now. As you may have noticed I had the stock exhaust back on again, another one of our terrible Biannual smogs required it, I still wasnt able to find a local smog shop that would pass my DMCH system, I hope that is the last time I have to swap back to that.
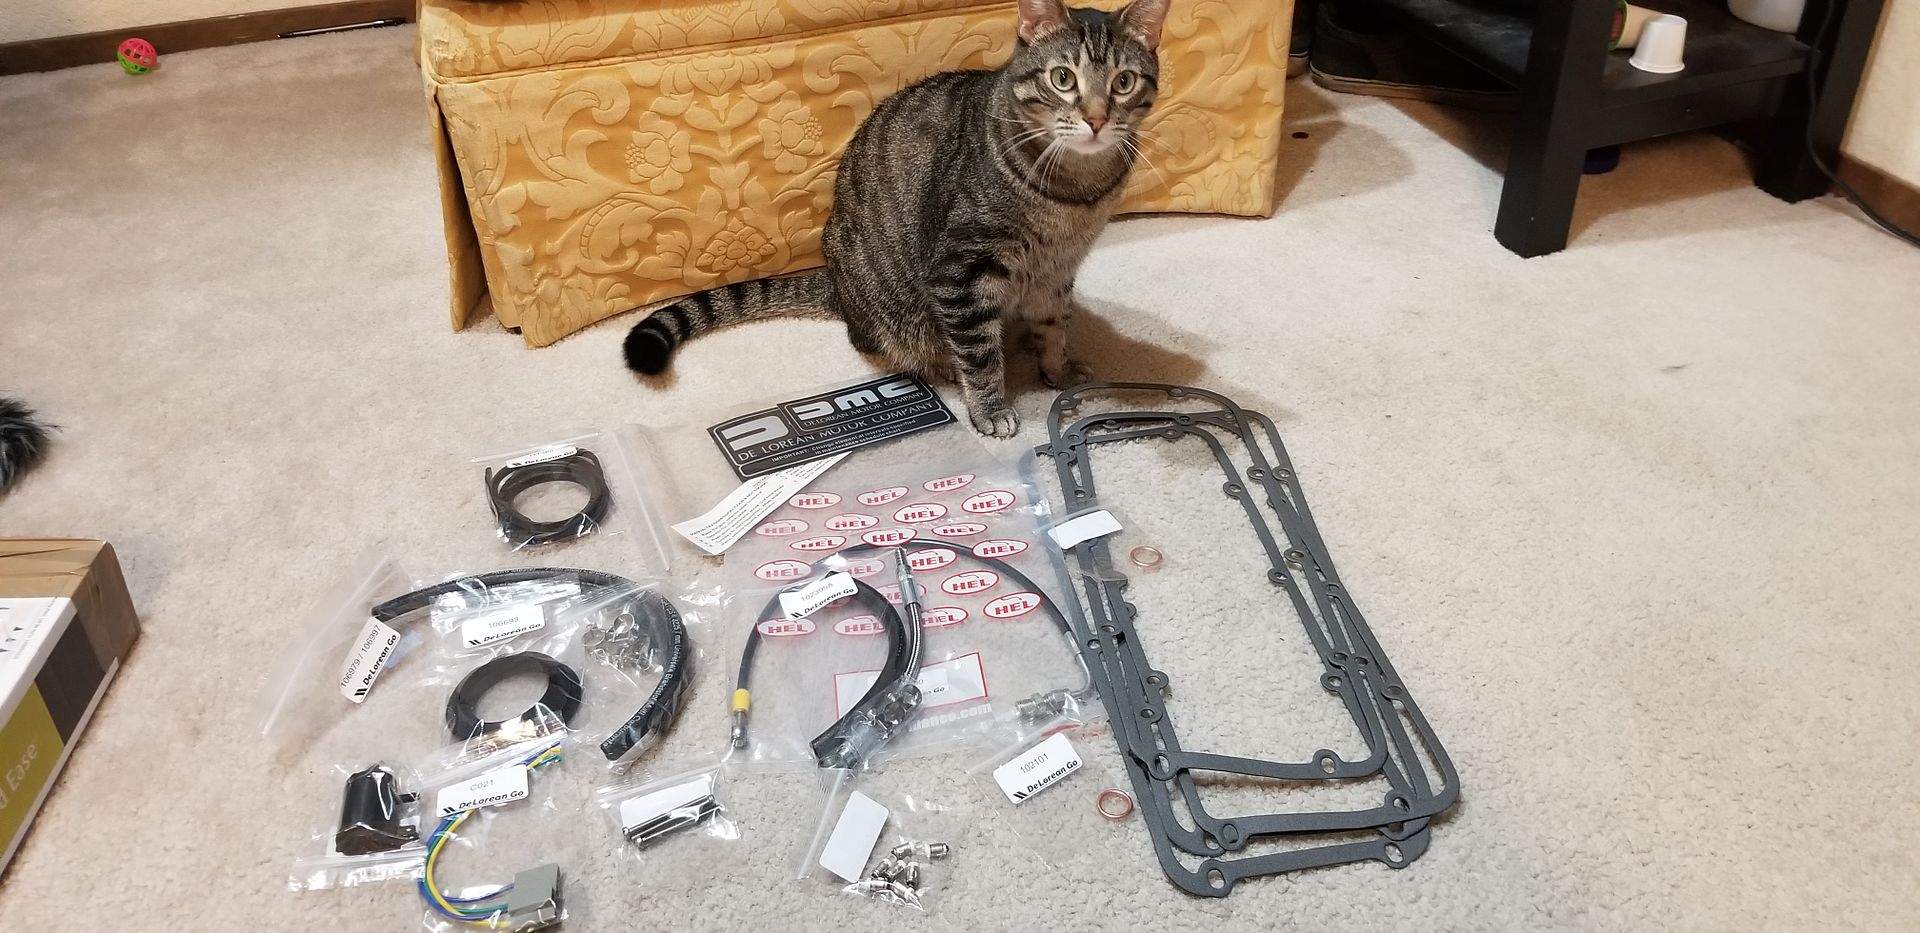
I also picked up a bunch more little parts, more fuel lines-no more originals left on the car, new heater motor resistor connector as mine began to melt, new LEDs, and spare gaskets.
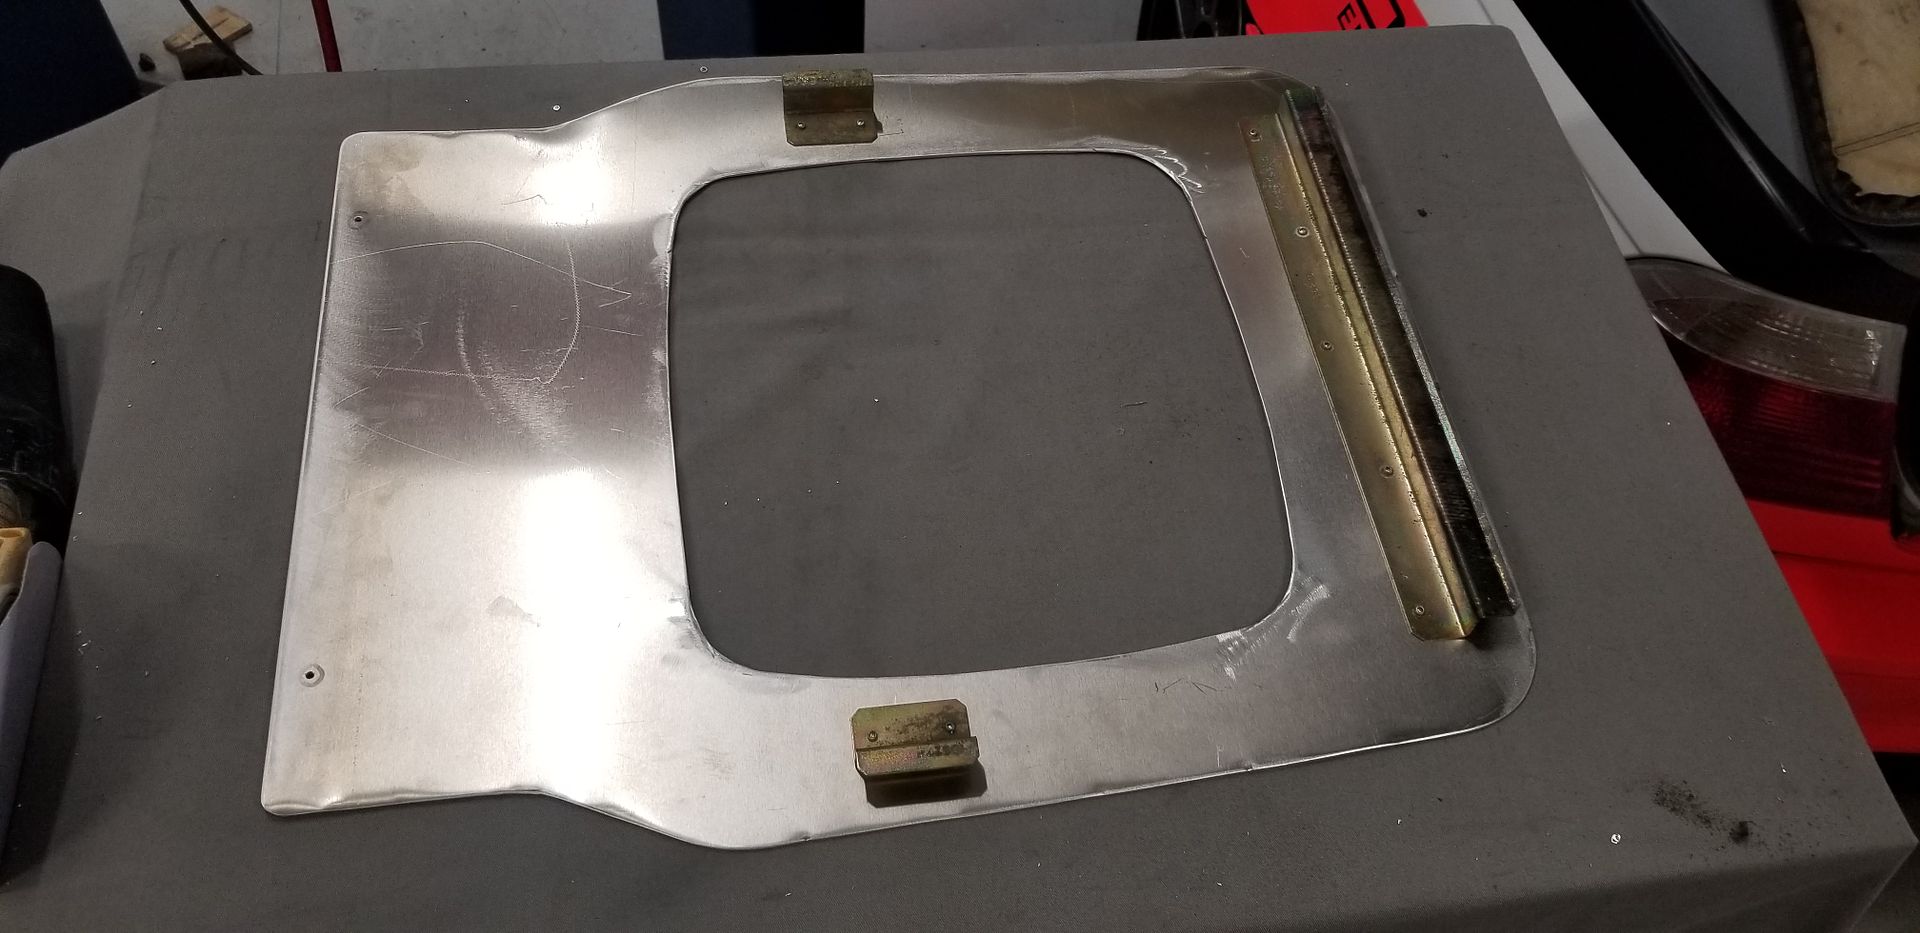
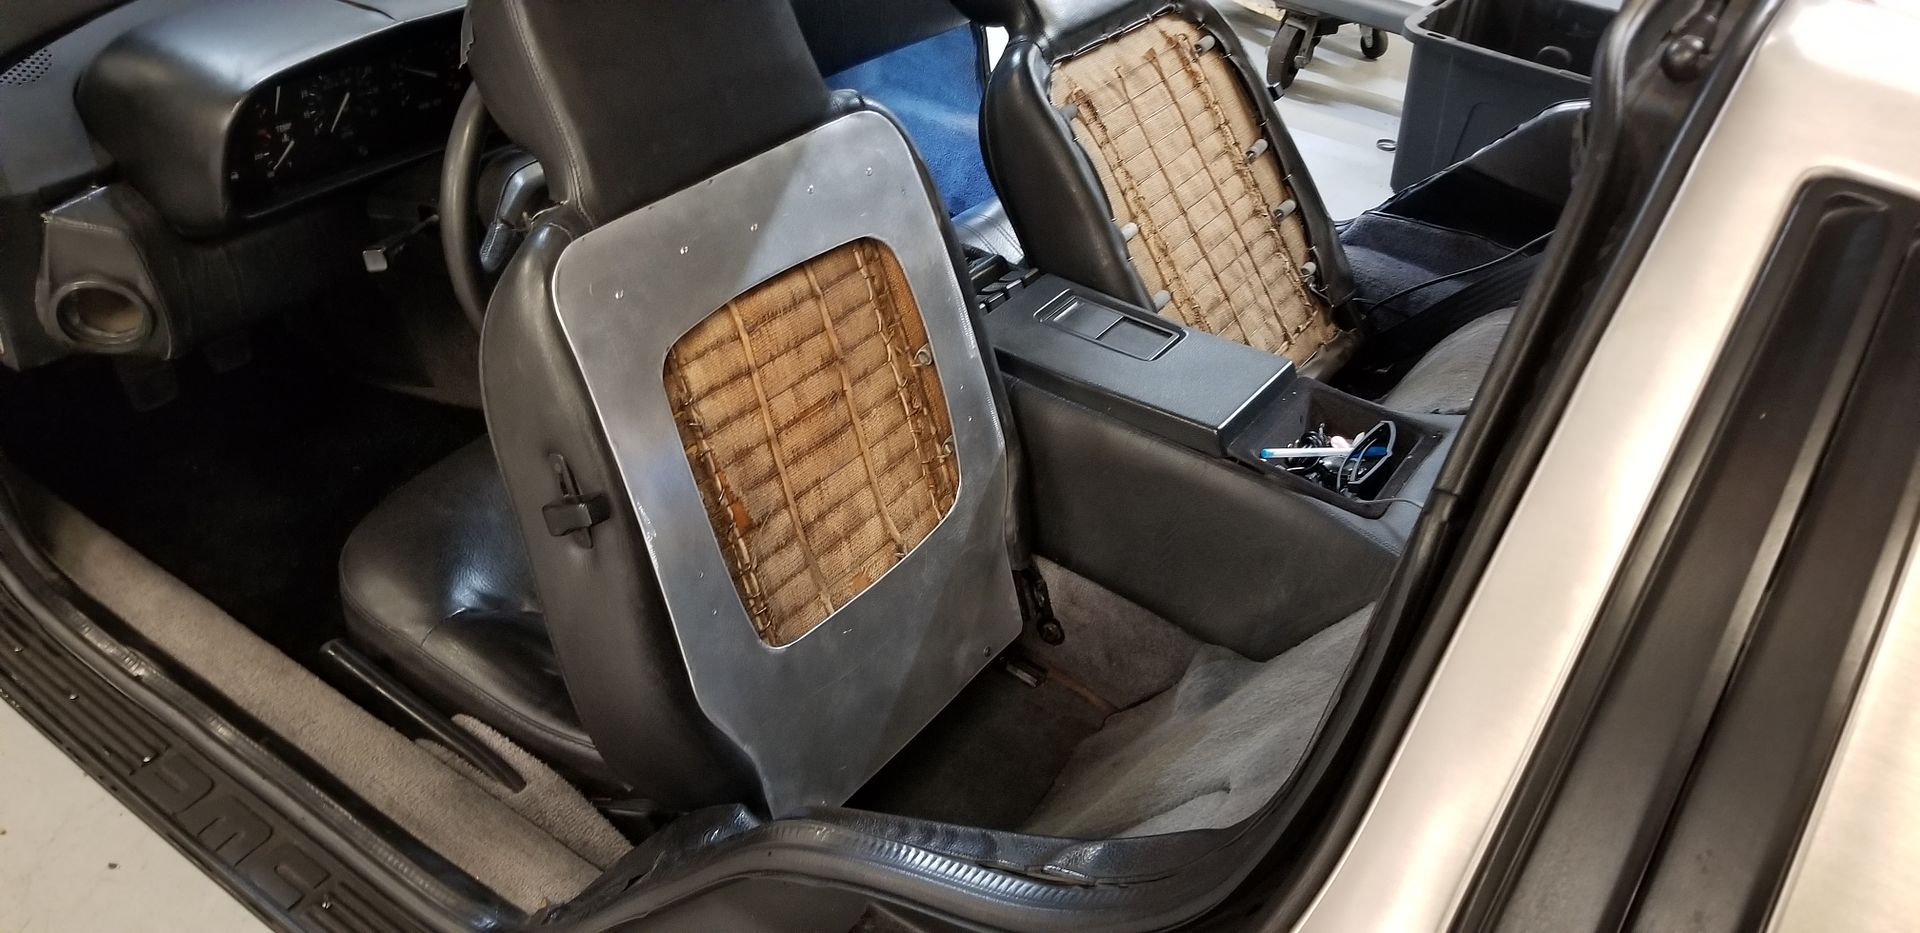
Back in the interior i decided the smashed up seat backs could use an upgrade too:
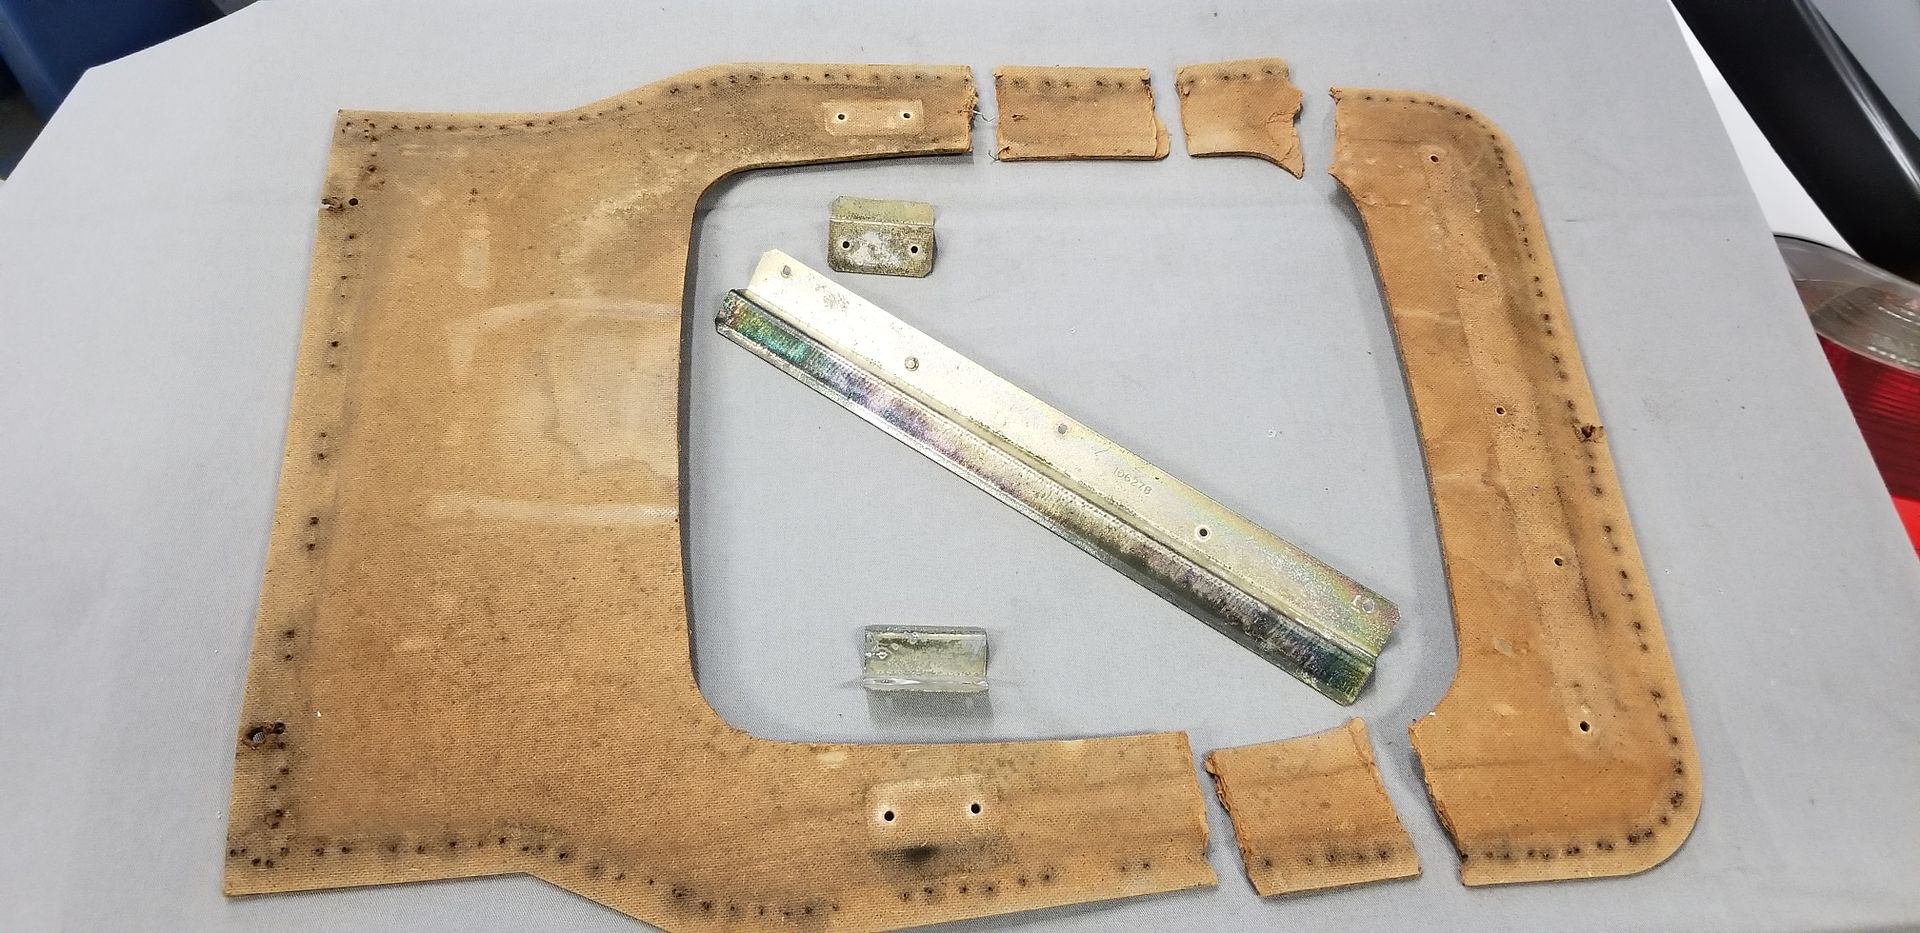
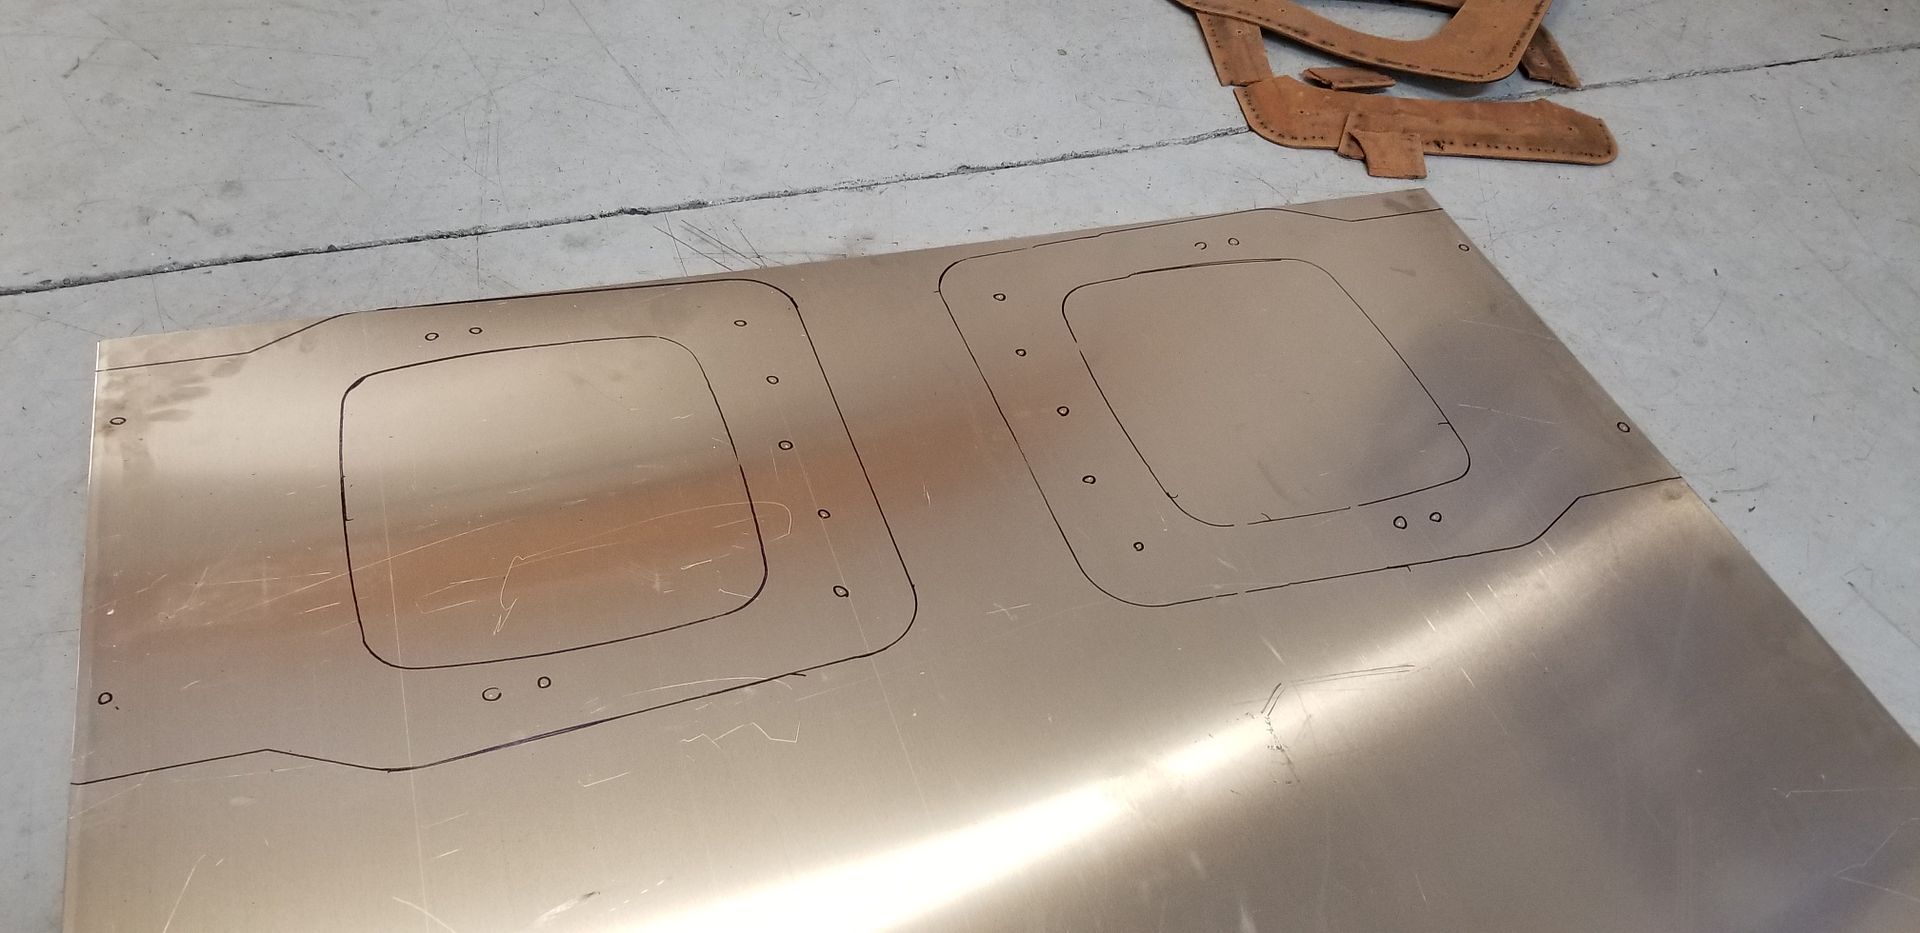
Some .080" aluminum would be much stronger than that fiberboard.


Originally Posted by vwdmc16


 Reply With Quote