FRAMING JOHN DELOREAN - ON VOD
www.framingjohndeloreanfilm.com
-
Senior Member

Seems like you have a funny project with your kart!
I think it would be awesome to drive such a thing 
I'm still amazed when I see the work you've done on your car, even a simple job looks awesome!
Those coolant pipe shine better than their first day!
On the other hand, just by curiosity, you also own an AMC Javelin if I'm not mistaken? Nice car too!
-
Senior Member

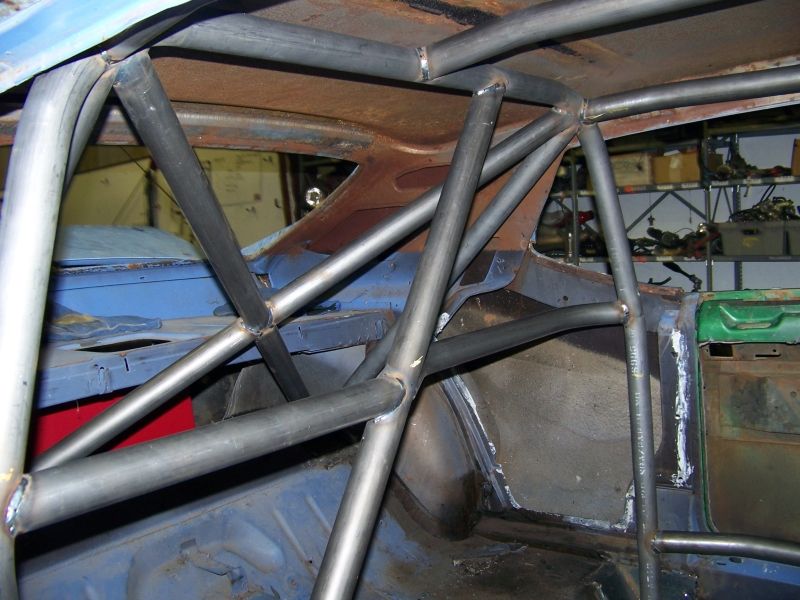
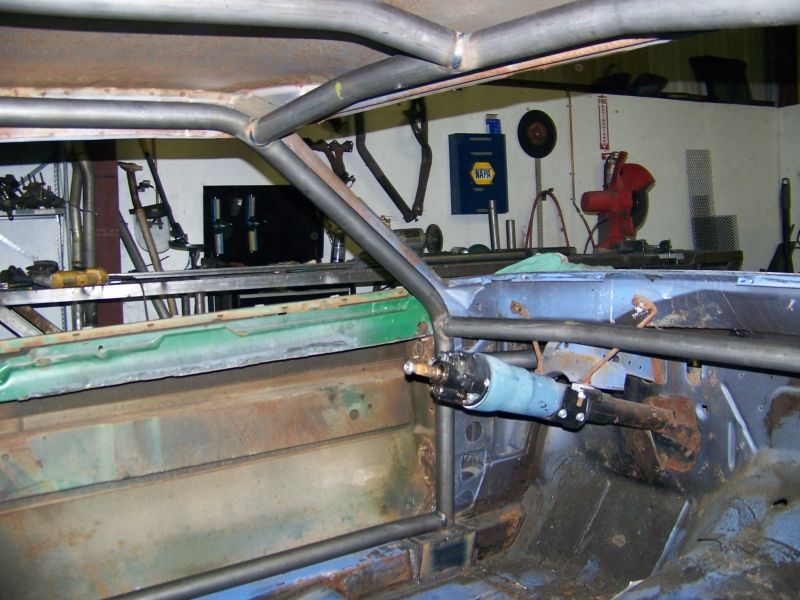
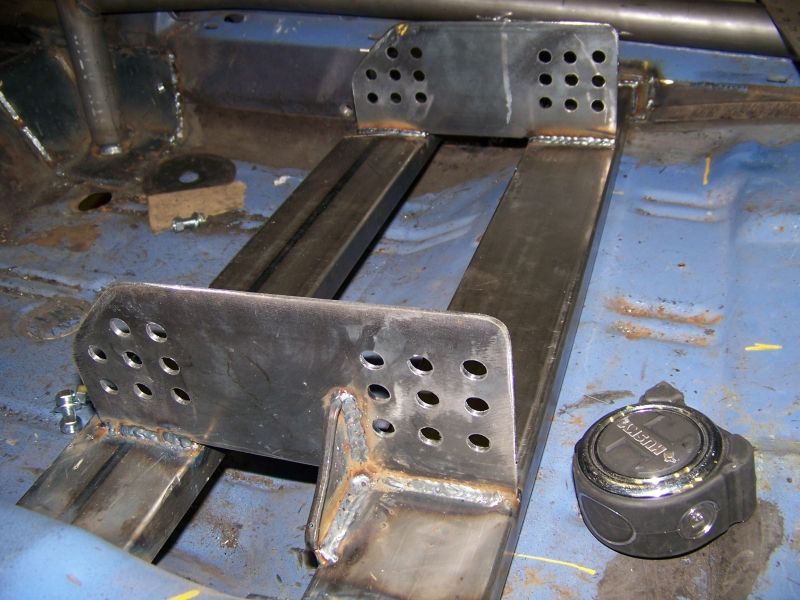
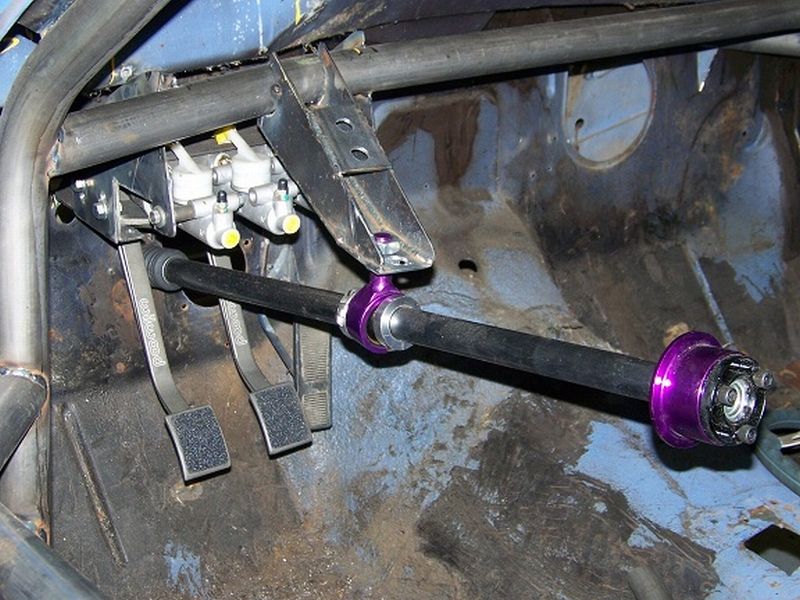
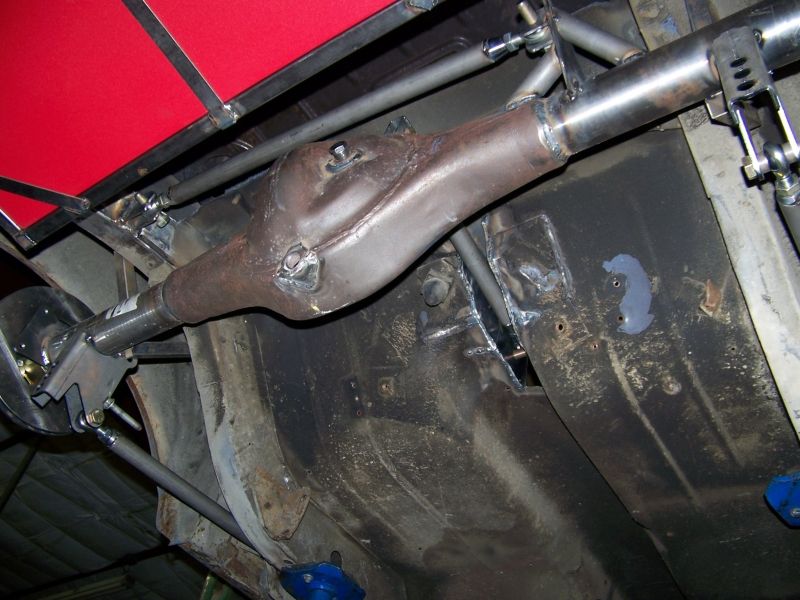
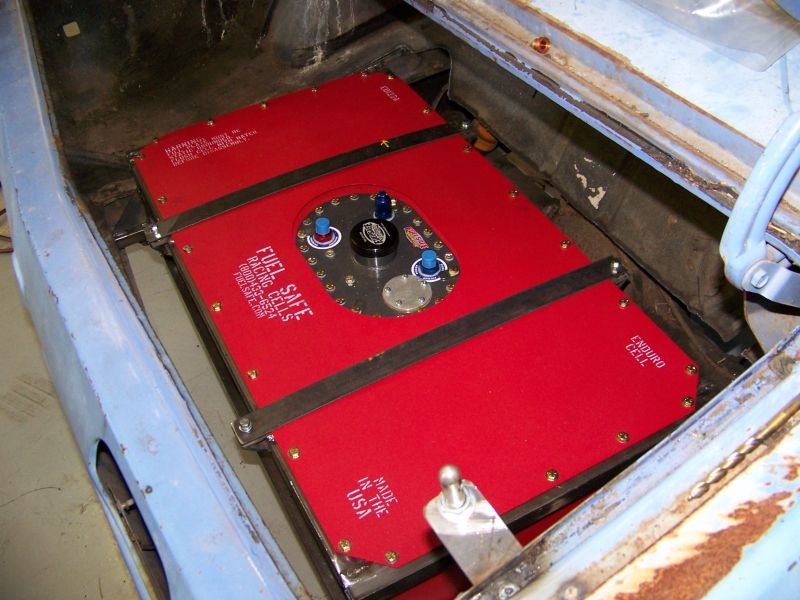
Thanks, I hope the go kart project even happens, And sorry to disappoint but no the Javelin was a customer's car that I build a sweet roll cage and 3rd link for a new axle in the back. ill try to find some pics.
-
My friends think I'm nuts


Originally Posted by
vwdmc16

Thanks, I hope the go kart project even happens, And sorry to disappoint but no the Javelin was a customer's car that I build a sweet roll cage and 3rd link for a new axle in the back. ill try to find some pics.
I didn't even notice the Javelin at first. I thought he meant the Honda! It sort of looks like an AMC
-
Senior Member
-
Senior Member
Wow, amazing job done, as usual 
-
Senior Member
March 13 2012
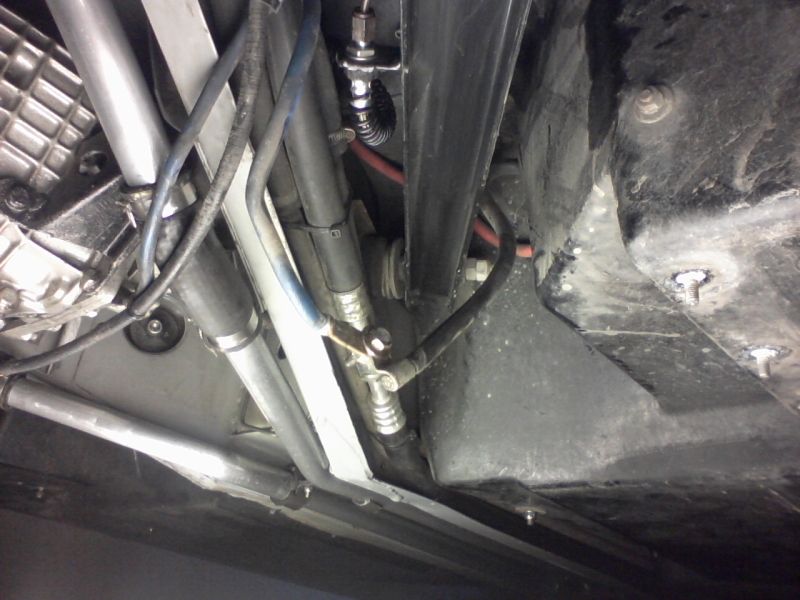
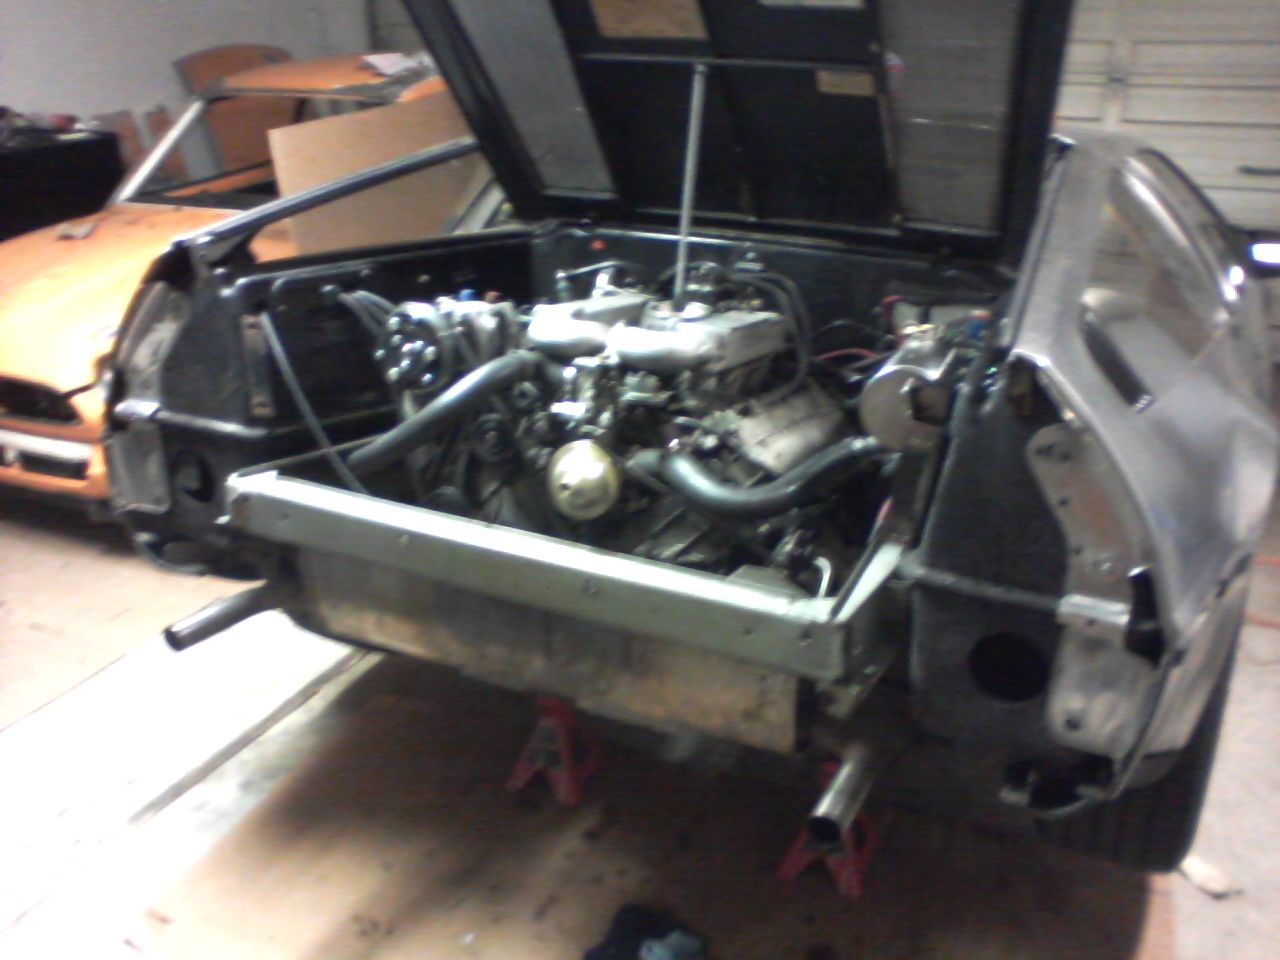
The last 2 coolant pipes are now cleaned, sanded and polished, I also stripped and repainted the pipe brackets and inserted thin pieces of foam to help hold them better.

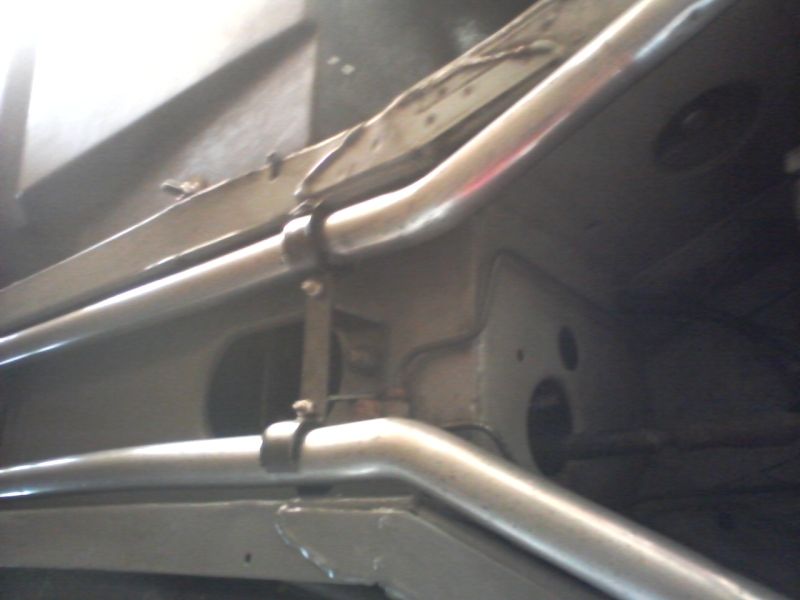
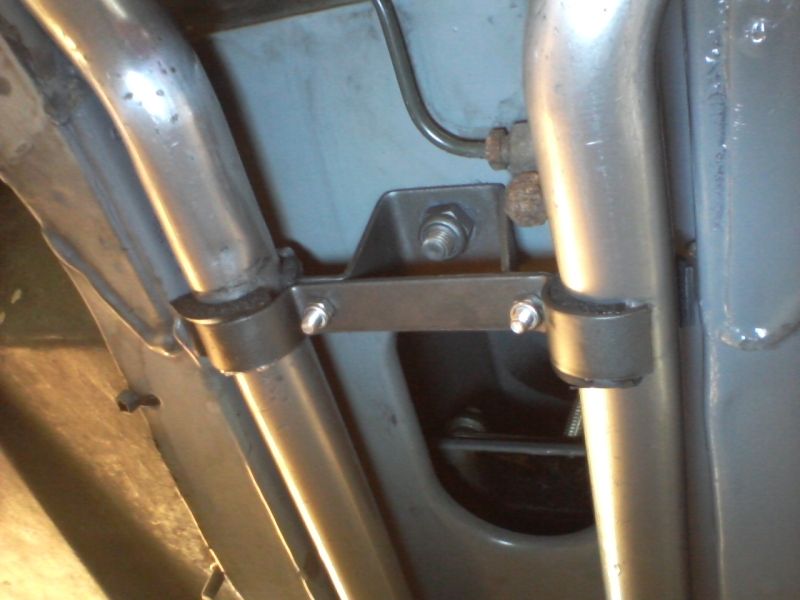
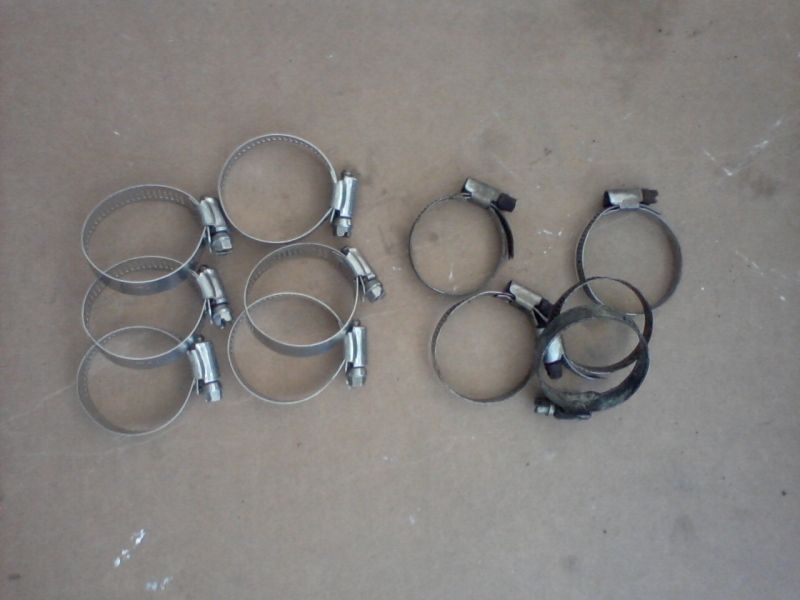
I found these nice stainless clamps from Sweden that have a frosted white nylon cover which I really think looks neat and modern, So they will now assist in holding the tubes.
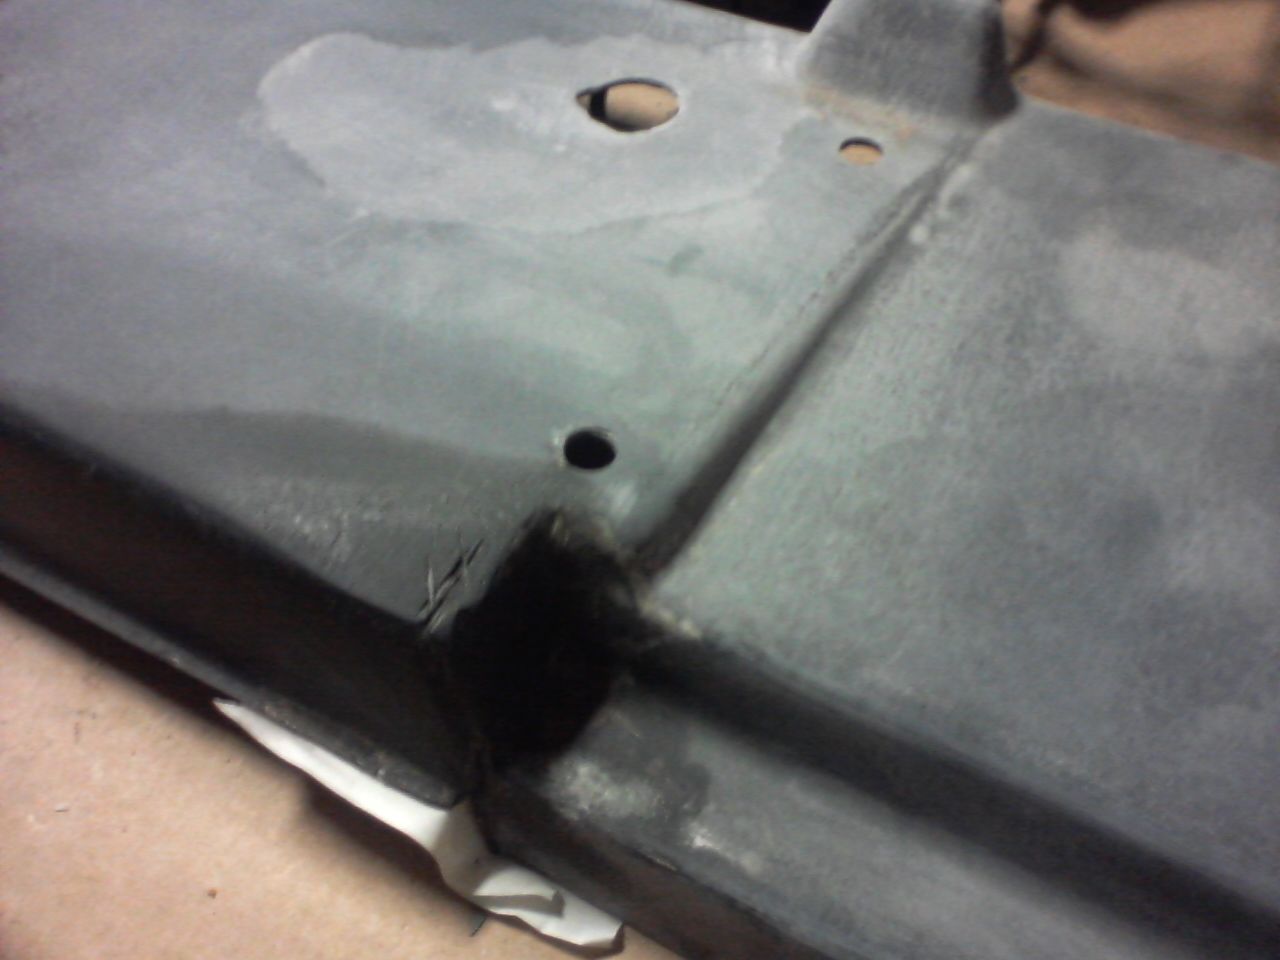
I had a small area rusting where the frame widens, after alot of sanding and wire wheeling the rust is down and I coated it with some paint that I found to be a near perfect match to the original color.
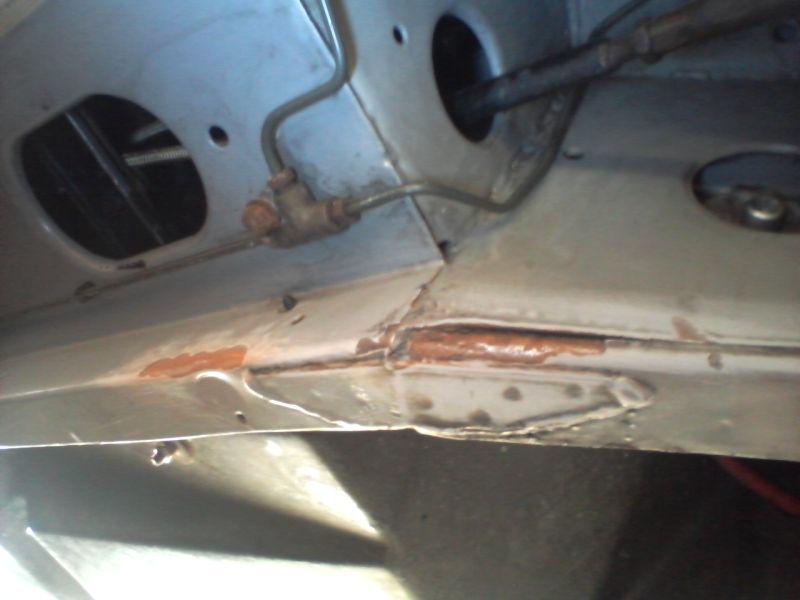
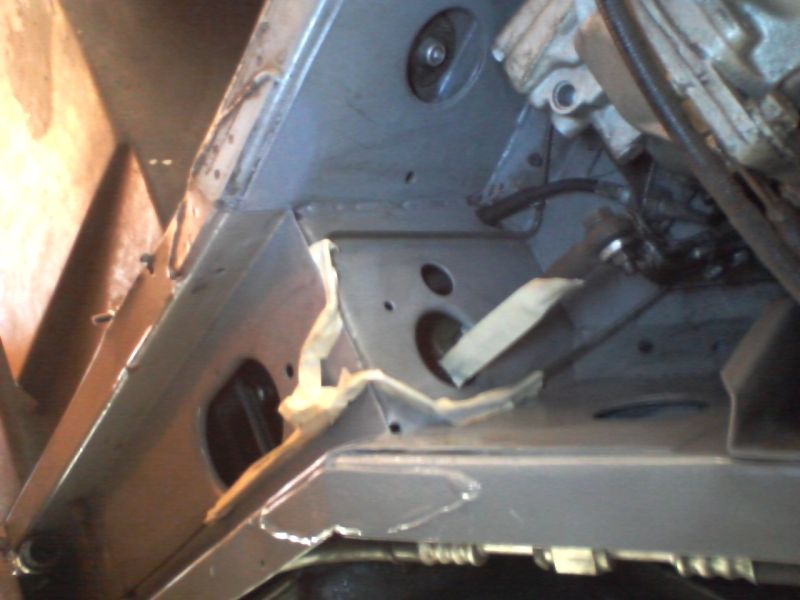
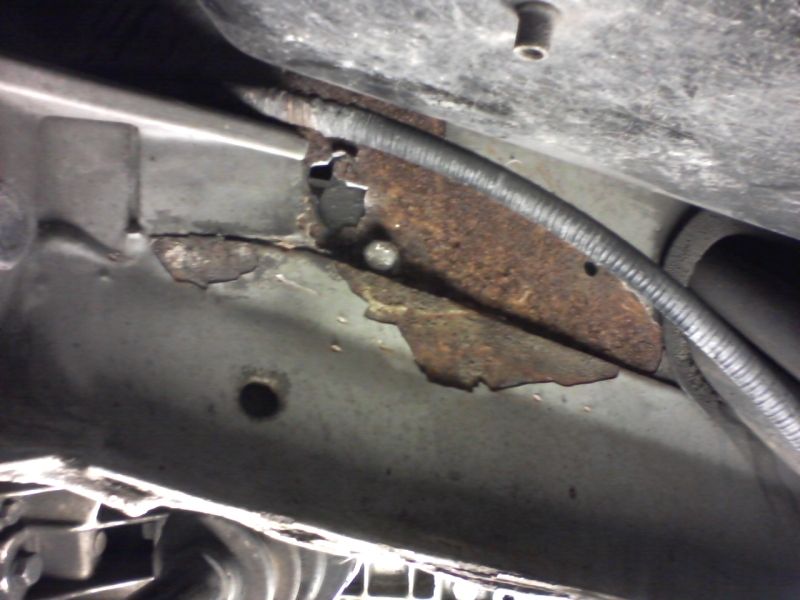
There is however a large area thats rusting I cant just sand away, I will have to weld in new metal here next time the engine comes out.
On the other side of that rust is another cleaned up and painted bracket, New stainless hardware on everything I reinstalled.
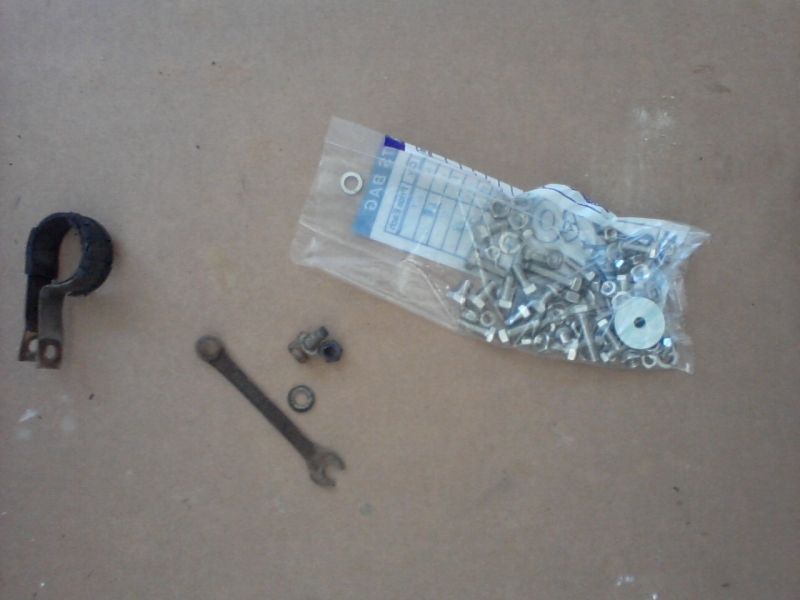
Speaking of hardware, this little bag of stainless nuts, bolts and washers cost a whopping $45, and i'll will need alot more in the months to come. I also discovered a 10mm wrench inside the passenger side underbody with some super rusty washers, Who knows how long this has been in there.
All new stainless hose clamps should stop all my small leaks.
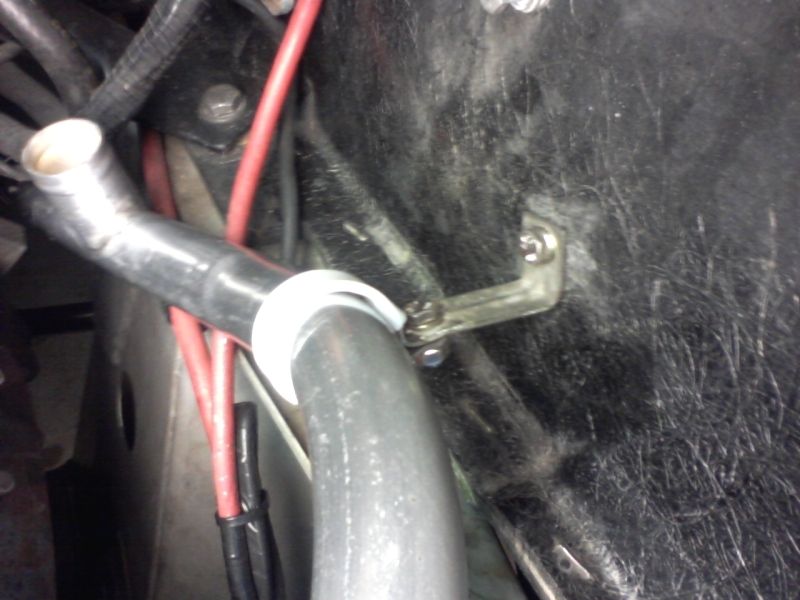
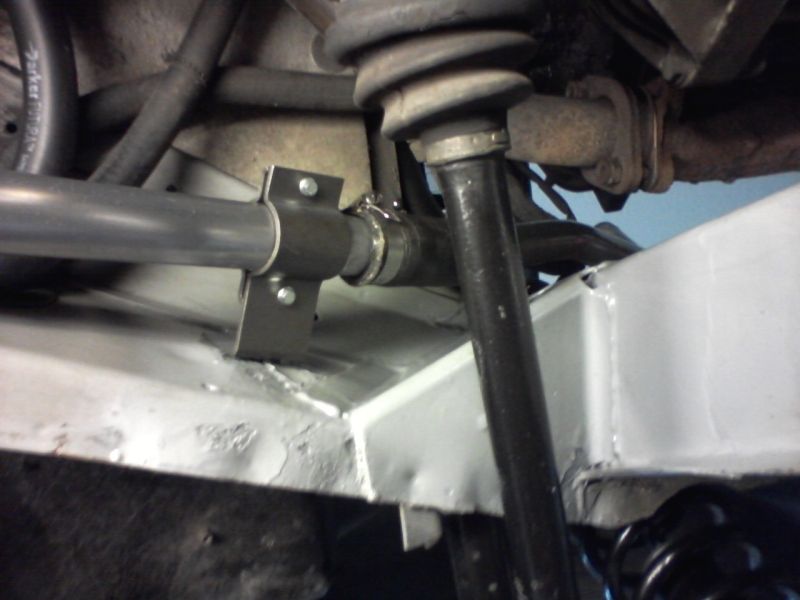
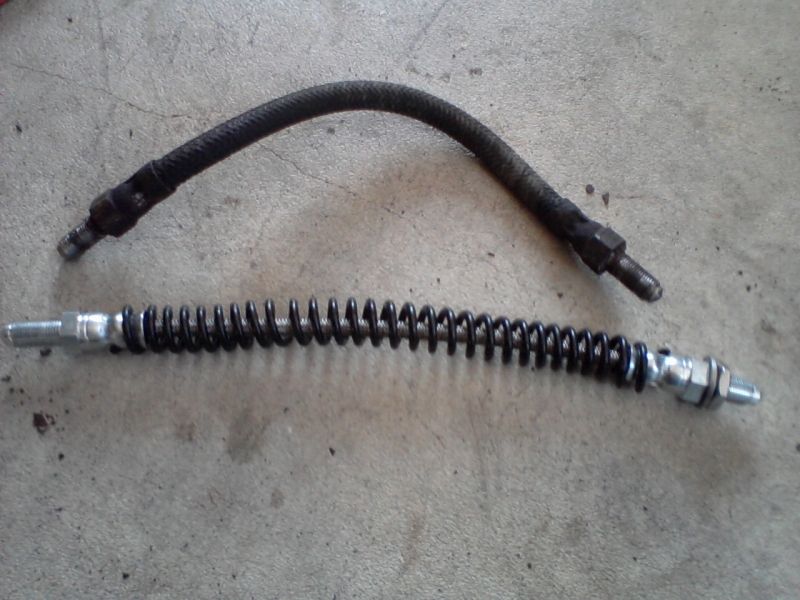
With the underside easy to access I decided to finish up the flex brake line installation, the driver's rear was be far the most difficult to remove, these lines really did not want to come out.
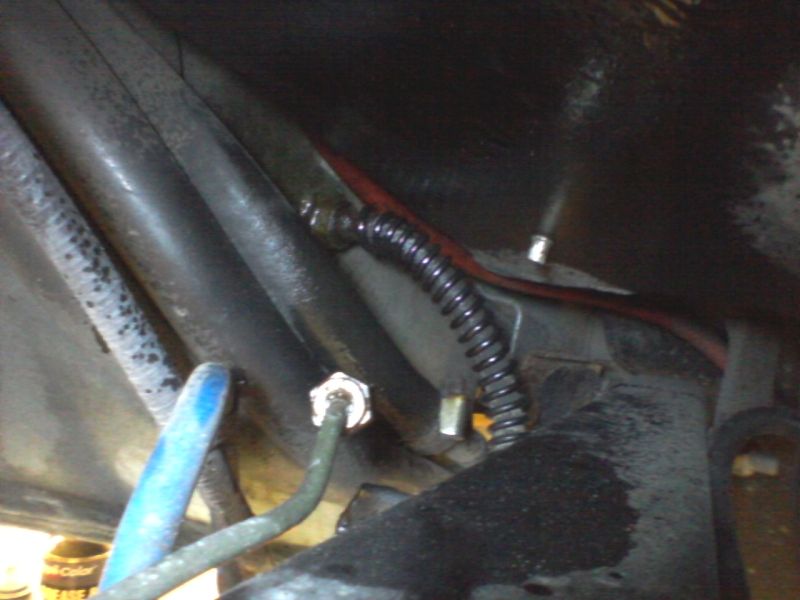
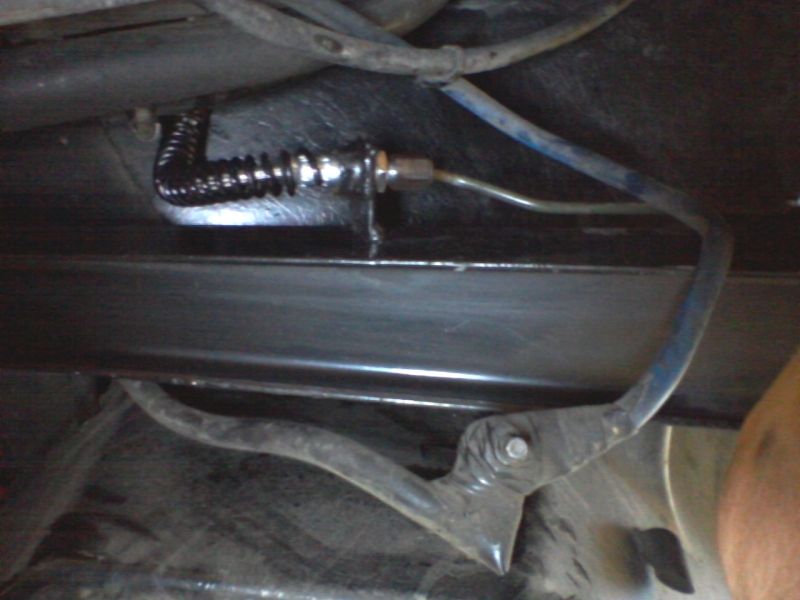
I cleaned up and reused the original plastic spiral protectors.
New lines in, I noticed that the ground wire had been "customized". It seems somebody lengthened the stock battery to frame ground wire by bolting on another 12" piece to the transmission. I will remove this addition and place a new ground back on the frame and then an additional cable will connect the frame to the transmission.
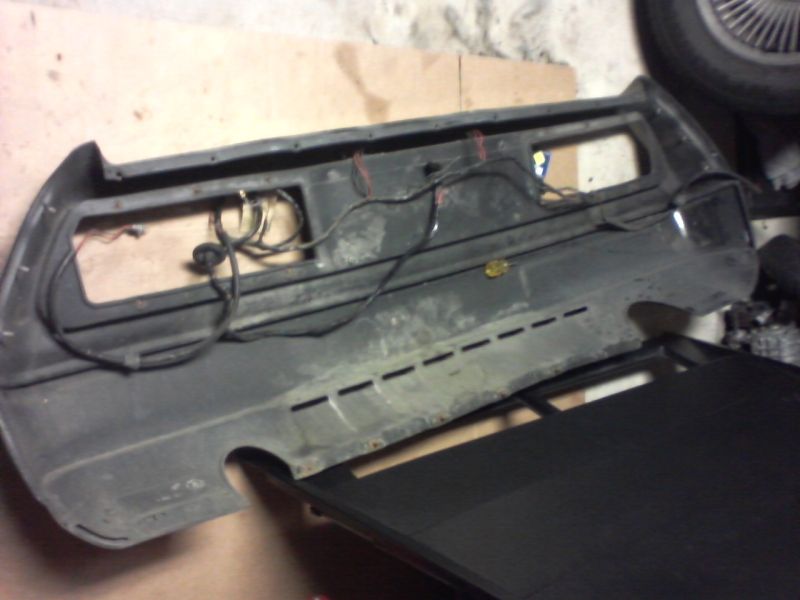
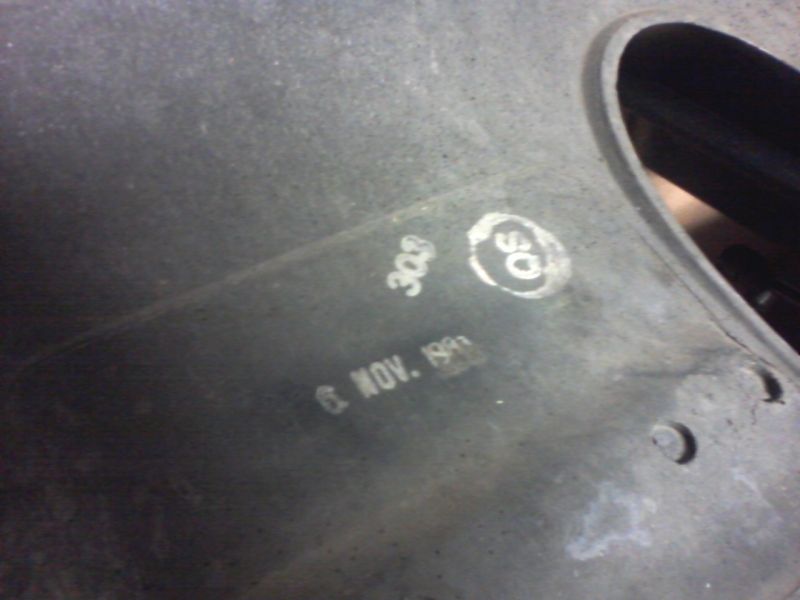
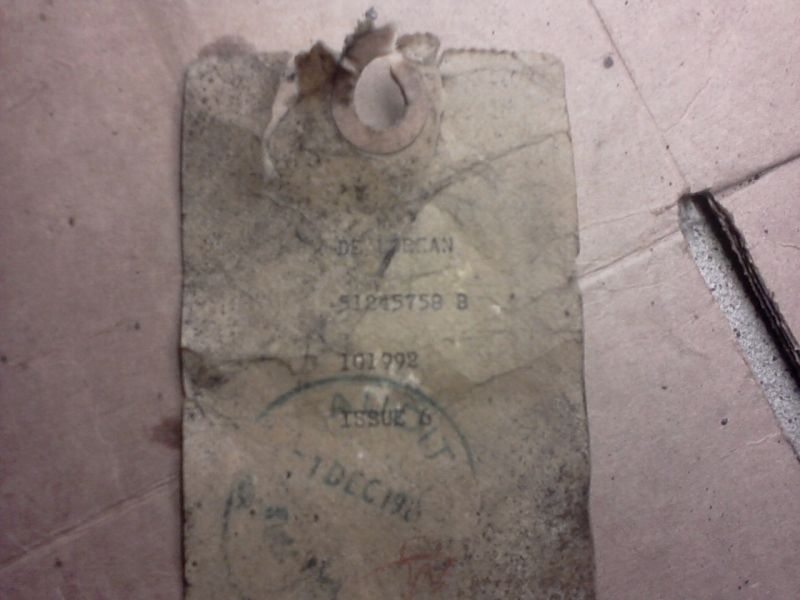
Now the cooling system is intact again, ive begun to work on the rear bumper and supports. I believe this car was rear ended years ago hard enough to bent the rear frame extension, So surely the rear bumper would have been destroyed. Look what I found, the bumper has a date stamped on it November 6th 1981, and also a tag on the rear taillight harness dated December 1st 1981. The car was built June 1981. Therefore I believe these parts to not be original to the car but with maybe not with the way things were put on out of order on the assembly line.
-
Senior Member


Wow is the only underwhelming word I can say! I just bought my first DeLorean last week and will be picking it up on Monday. Your incredible project daunts and inspires me at the same time. Thank you for posting and best of luck to you on all of your future projects.
-
Aussie Member

Originally Posted by
AugustneverEnds
I just bought my first DeLorean last week and will be picking it up on Monday.
Congratulations mate! Sure your VIN is correct though - 41287 is incredibly high?
-
Senior Member
On his avatar area it says 10287
-
Senior Member
March 21 2012
Ive purchased some new headliner material that is not a factory match but it looks pretty nice. I stripped the passenger side backing board bare of the old glue and foam. Im not ready to show the first attempt with the new material but I must confess it did not turn out well, so more on that later.

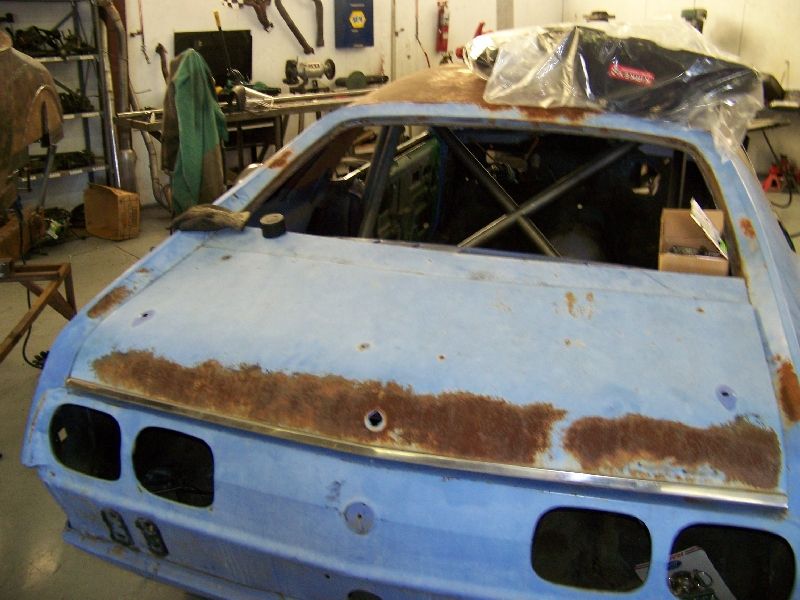
Meanwhile the rear of the car is still apart.
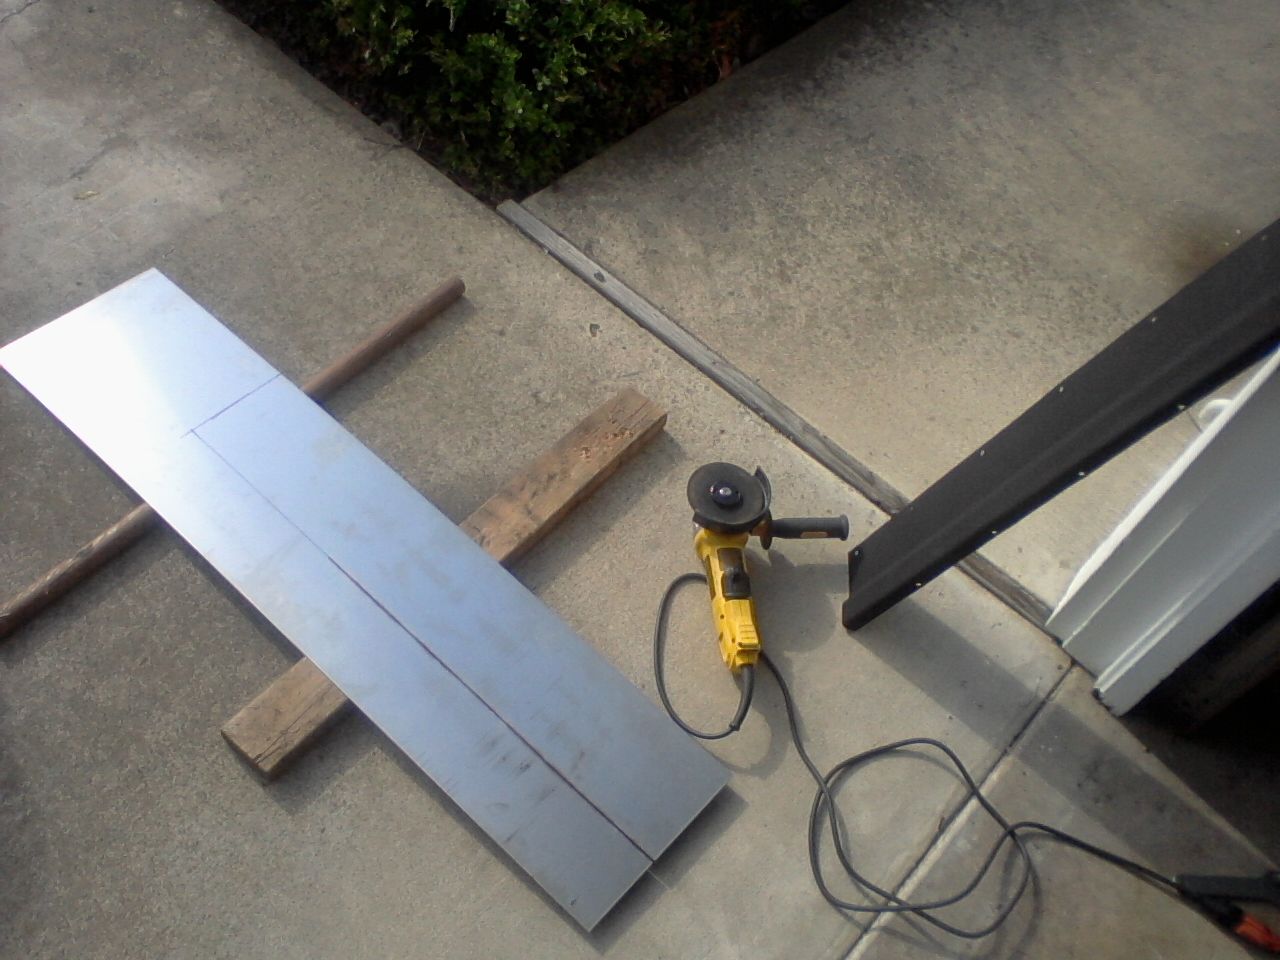
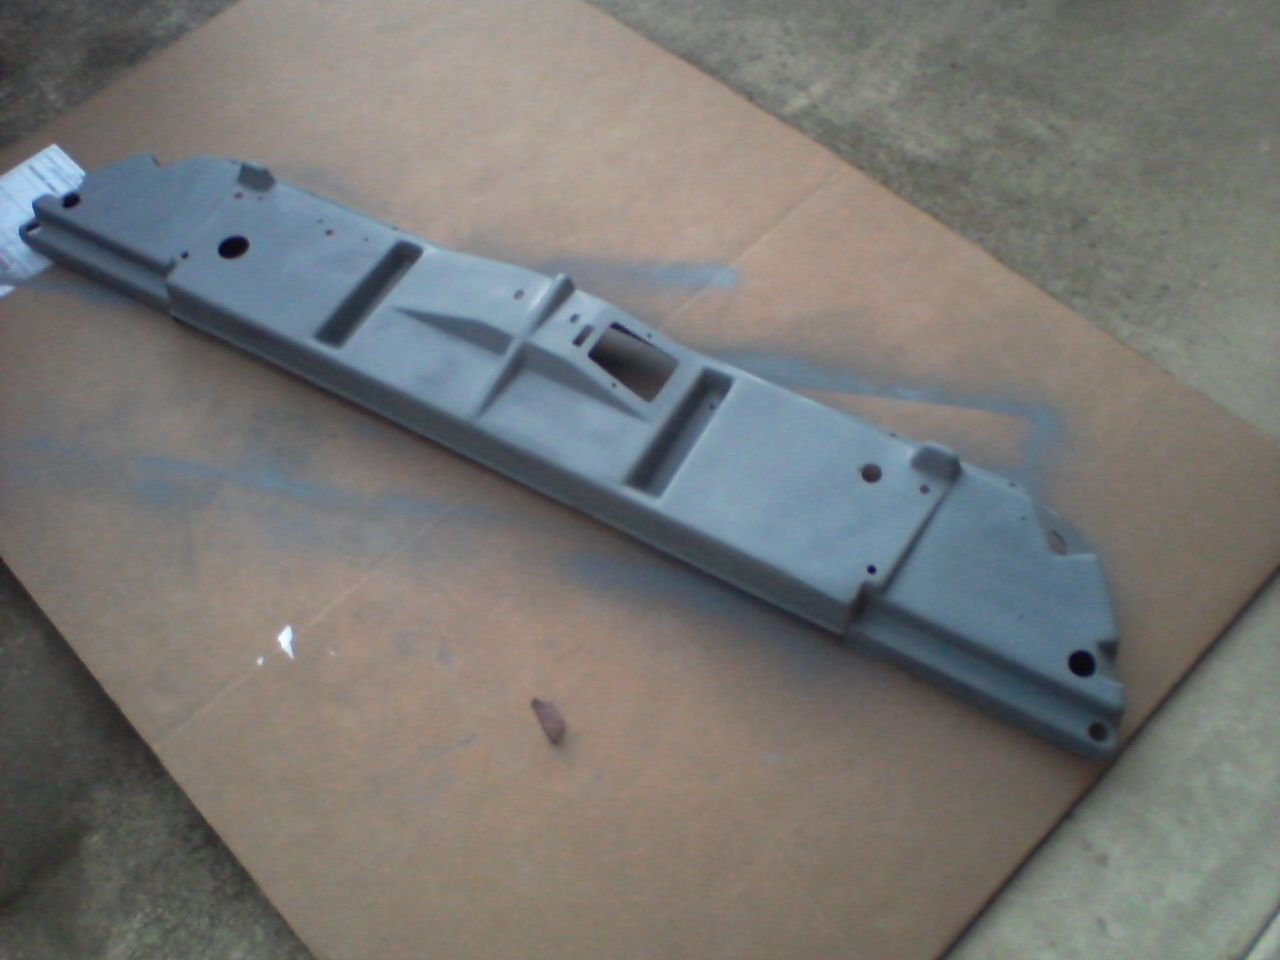
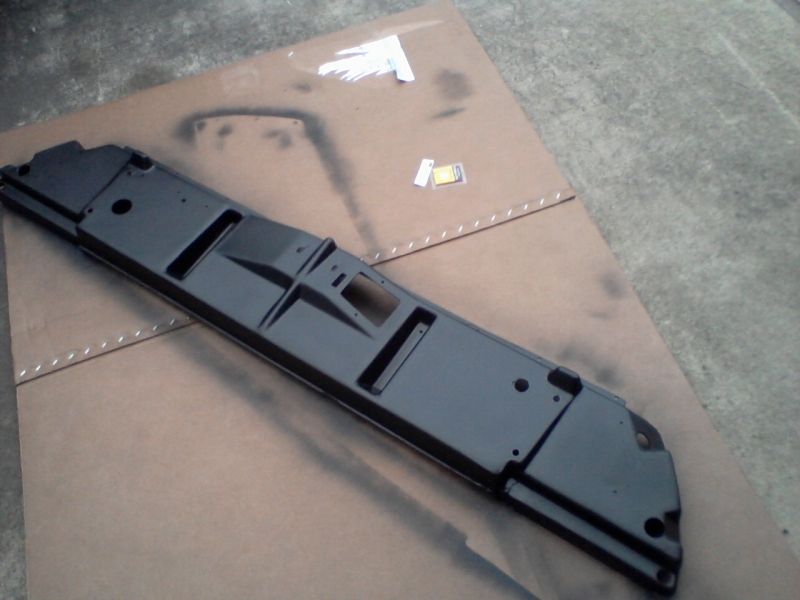
The remaining rusty parts on my car are really bothering me so I took my rusty and bent up Rear Fascia/ muffler heat shield off, ground the rust down, straightened it then painted it with high temp black paint. The shield is just a pressed 16 ga steel panel with some holes and zinc plated. A whopping $72 for a NOS one.

Mine isnt bad now, just ugly, but I wished to improve it so I purchased some 16ga Stainless steel sheet for $35 and began to make my own, I'll have the finished product ready soon. You can see the original that is repainted on the right.
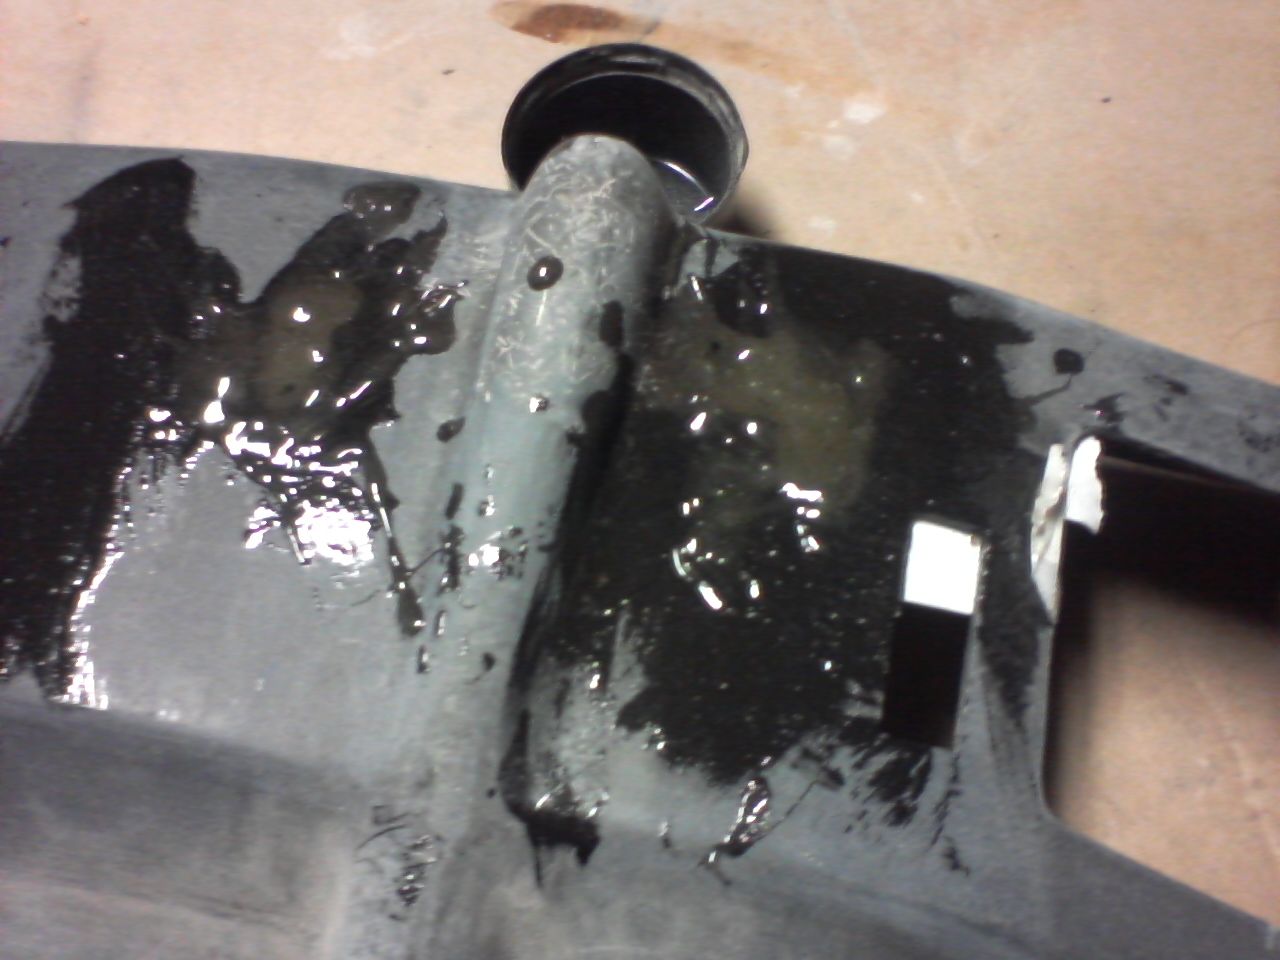
The car has been apart for weeks and ive become quite distressed at the fact I cant drive it, however i've restrained myself from assembling the rear just to go for a joy ride and instead began repairing the rear Fascia inner support panel. A previous owner has performed some repairs on this fiberglass panel before but it looks like they never finished sanding the repairs, also many new cracks have formed that I need to fill with fiberglass epoxy.
I dont know why there needed to be such a large repair for the small hole that the tail light harness passes through, but it still needs work.
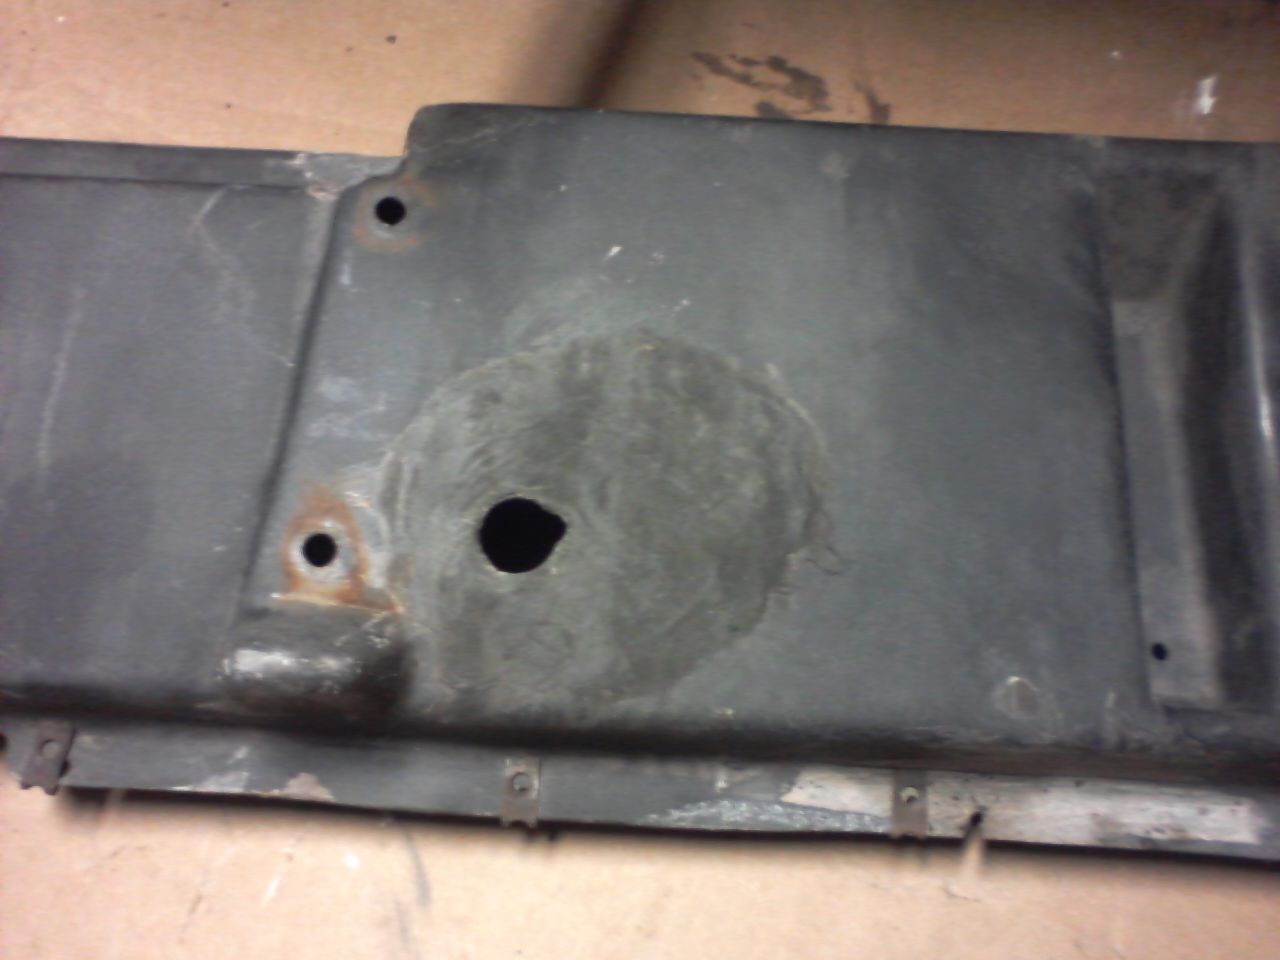
I taped up the back side of the holes I wished to fill, and made some dams with tape to contain the epoxy over the cracks and low areas. Somebody has ovaled out the lower engine lid latch holes. im filling these L shaped cuts up and drilling two new slots.
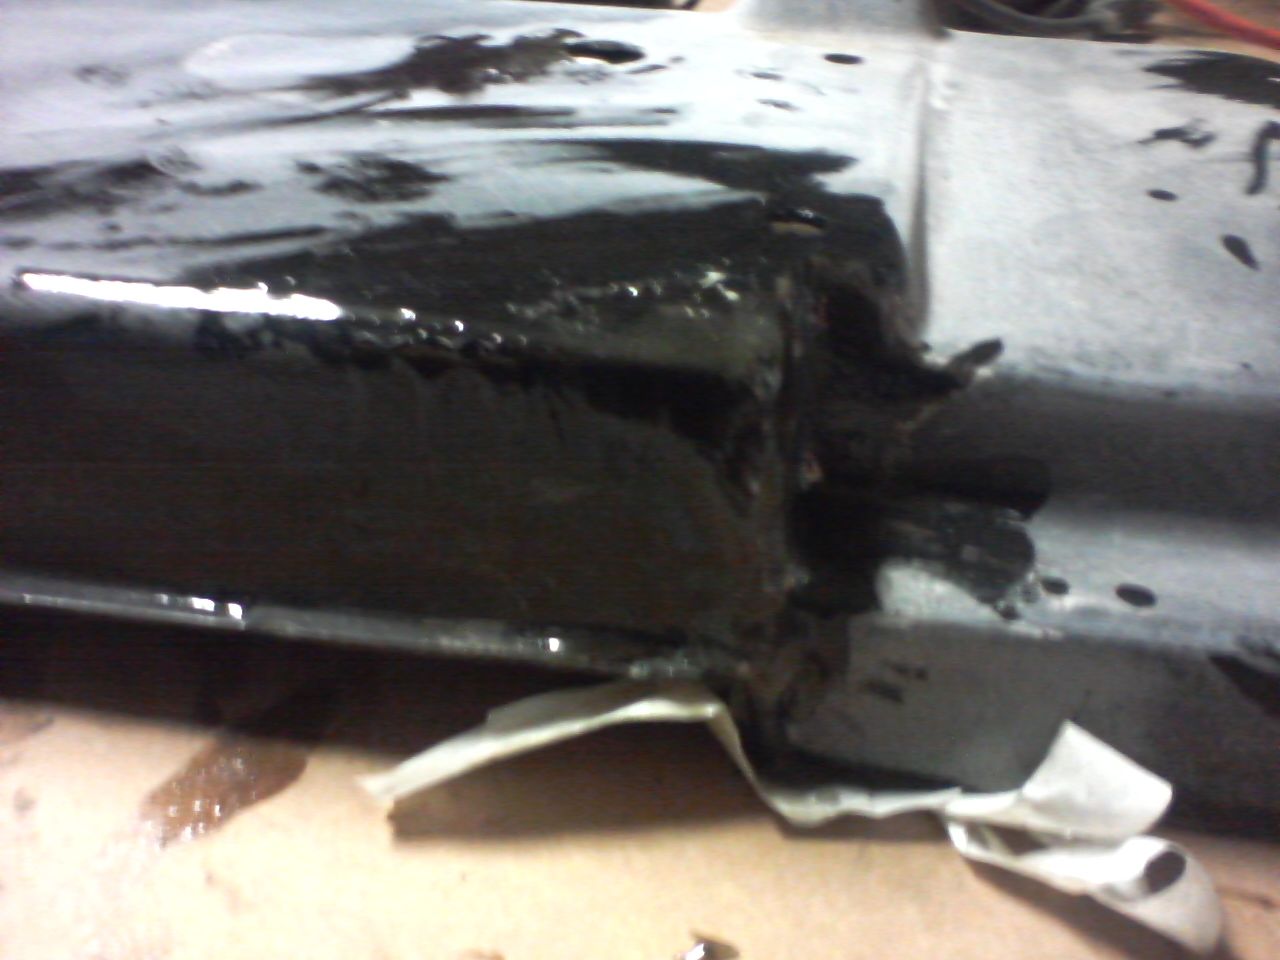
The largest crack is in this corner and will need alot of reinforcing.
Epoxy everywhere! It was immediately after i poured the epoxy that I realized I should have put the tape on the face of the panel as to mold the new epoxy to a nice flat surface, that would have cut down the sanding later.
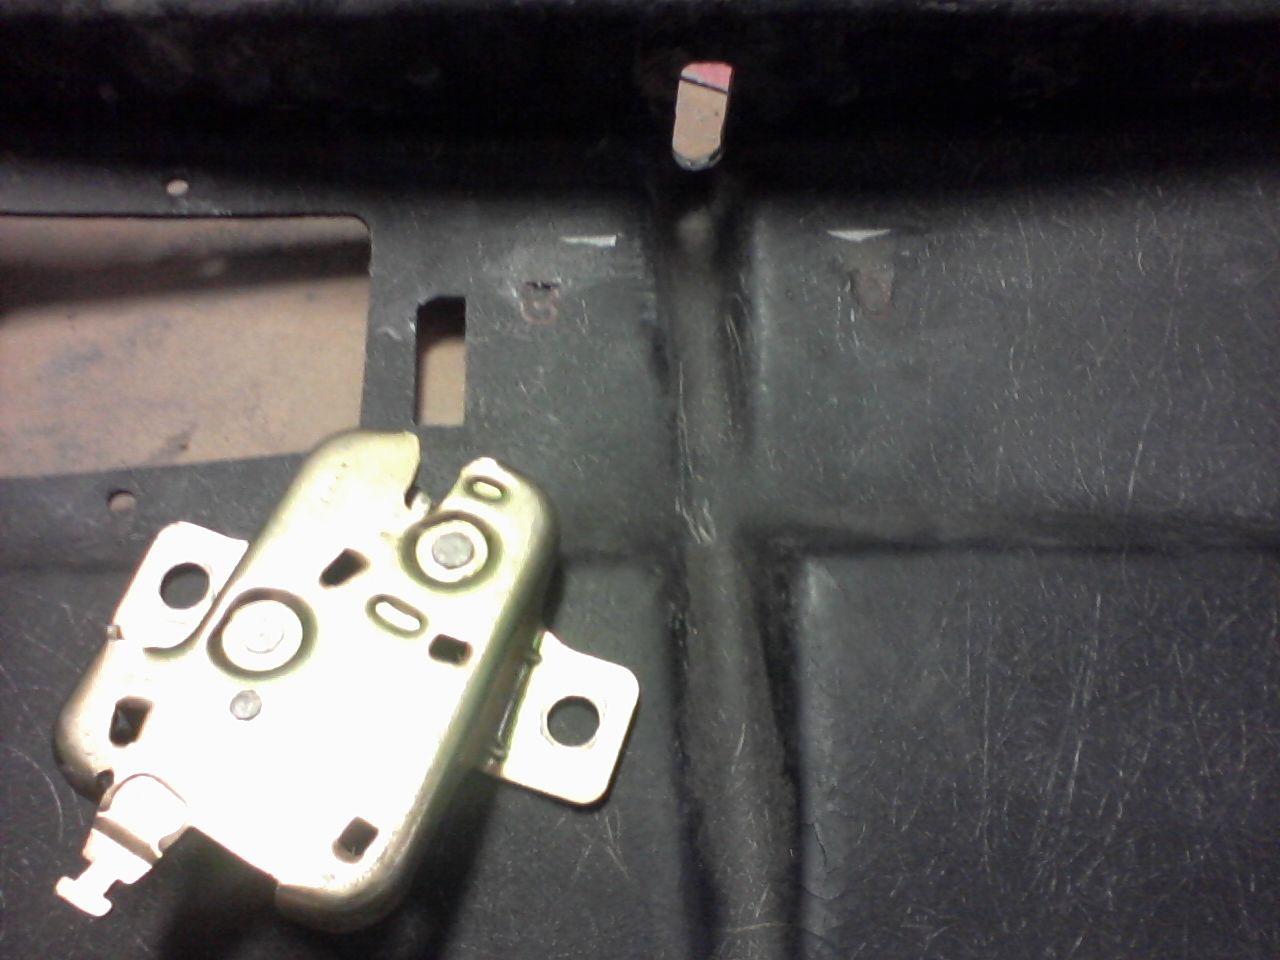
After a night for the epoxy to dry It was time to sand the excess and drill new holes for the latch mechanism. Super keen observers will notice that is in fact a 1994 Mazda Miata trunk latch. The Delorean latch is not longer available NOS, and even used ones are not really available, this is an issue because my car has been missing this part for years. But just my luck that the mazda bit is in bountiful supply at wreaking yards and fits perfectly, It literally bolts on and the delorean release cable clips right on.
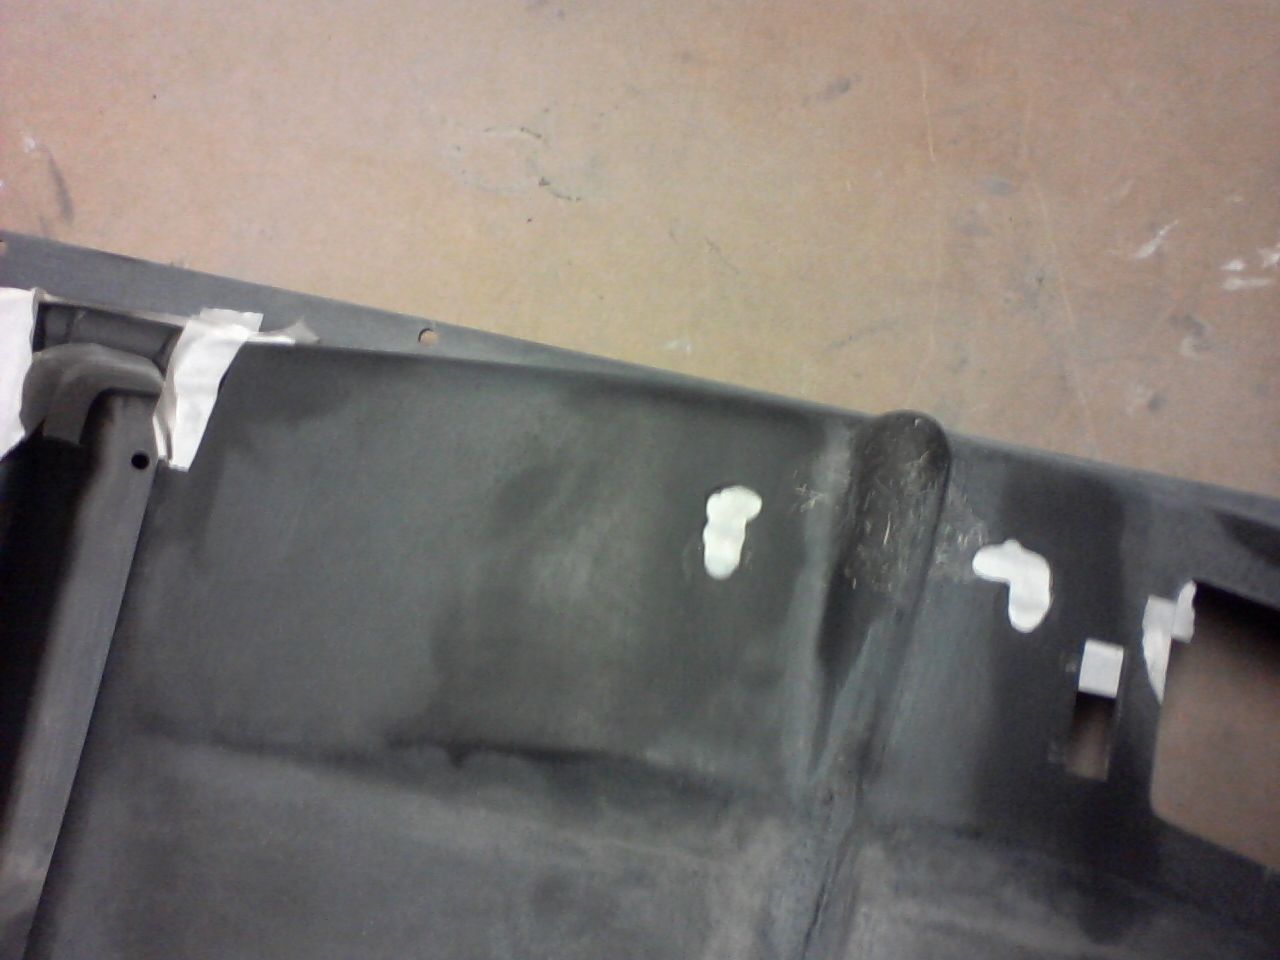
With an evening of sanding done I primered the panel.
The next day it was ready for some SEM Trim Black paint, however I was not satisfied with how some parts came out, more sanding and paint will be needed before mounting to the car.
While letting the paint dry I turned to the rear bumper cover
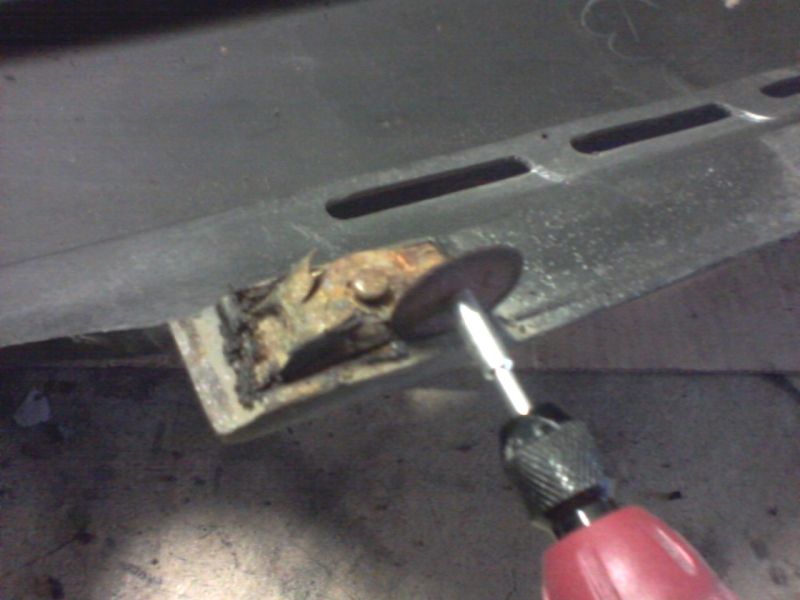
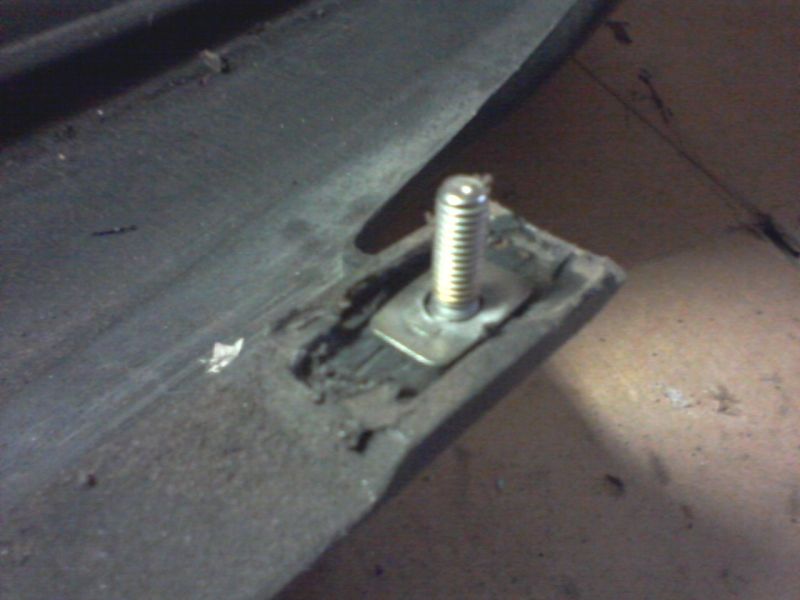
My cheap "dremel" I used on the car's firewall comes in handy again as I removed the 5 broken studs that were molded into the edges of the urethane bumper cover, these snapped studs are what have attributed to my very warped and saggy rear bumper, the most obvious and surly part of the bumper.
Old stub remains and one new stainless stud.
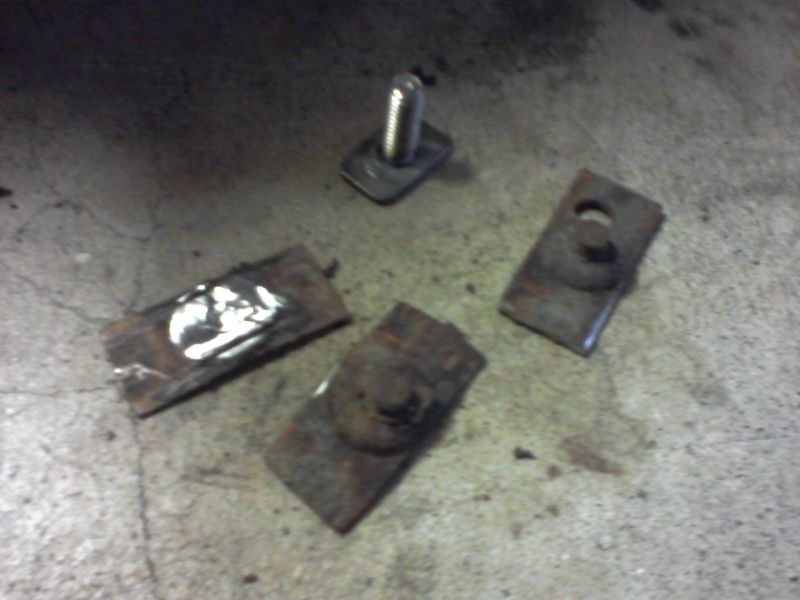
How the new ones will mount, Im getting some serious glue to attach these, is supposedly NASA derived and about $60 a tube.
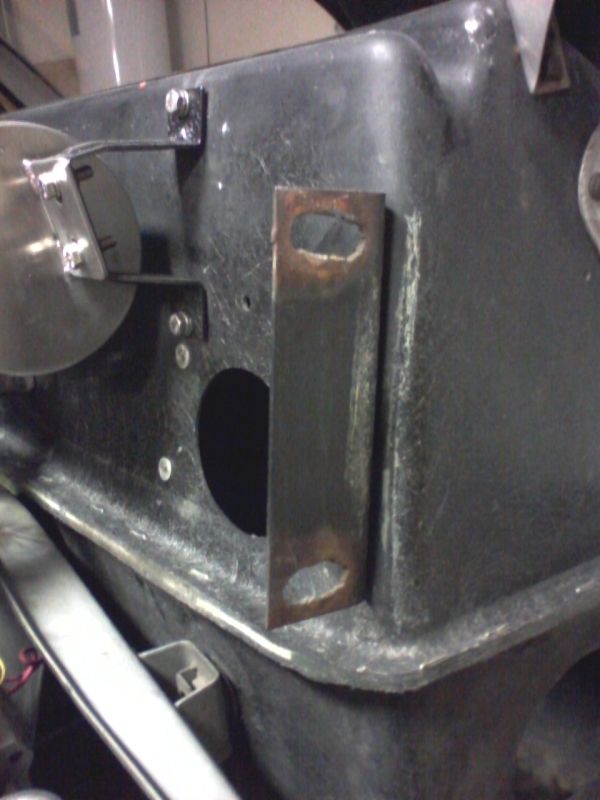
Ive started another little sub-project on my car here; replacing all the simple steel brackets with stainless steel. These two are relatively easy, just a 5" tall 90' steel sheet with 4 holes. You see these also have been slotted quite poorly by a previous owner, probably to get better bumper alignment with the bent rear frame.
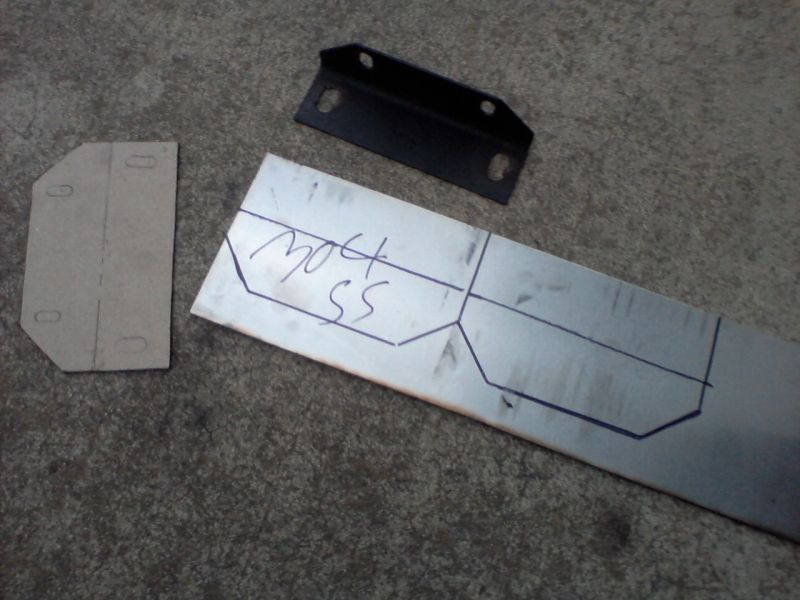
More 16ga 304 SS to the rescue, My neighbors must hate the sound of my angle grinder cutting up metal.
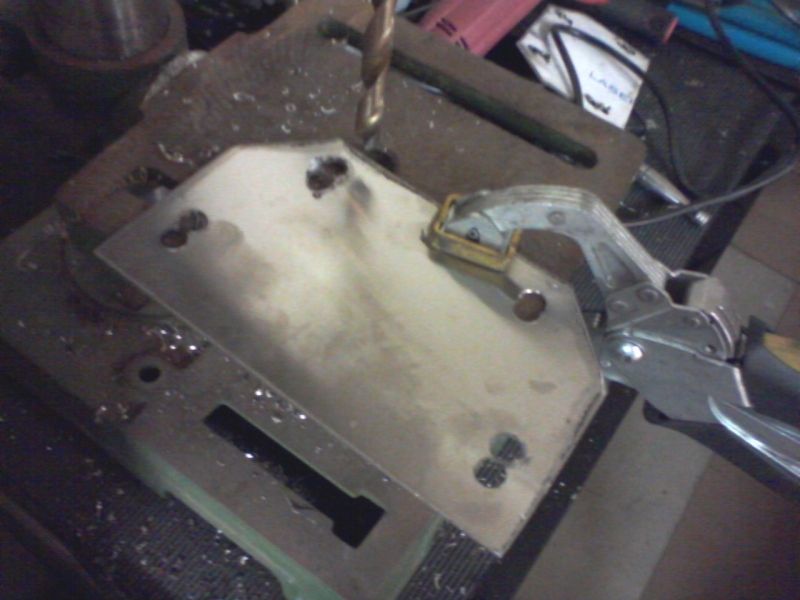
Next some drilling to make some adjustable slots, i'll bend these up in a bench vice after the slots are done.
Tags for this Thread
 Posting Permissions
- You may not post new threads
- You may not post replies
- You may not post attachments
- You may not edit your posts
-
Forum Rules


 Reply With Quote