Best thread ever. I already know how it turns out and I'm still anxious to see what's next


Location: Sacramento-ish
Posts: 4,408
My VIN: 02100
Club(s): (NCDMC) (DCUK)
Best thread ever. I already know how it turns out and I'm still anxious to see what's next
Jon
1981 DMC-12 #02100. July 1981. 5-speed, black, grooved w/flap.
restoration log, March 2011 to present
full and detailed photo restoration log

Location: sacramento
Posts: 1,415
My VIN: 1768
Club(s): (NCDMC) (DCUK)
April 6 2012
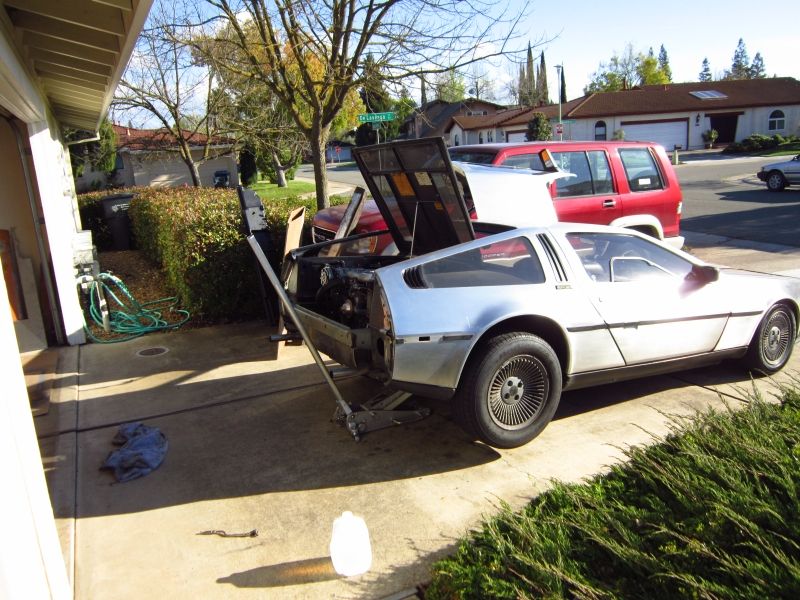
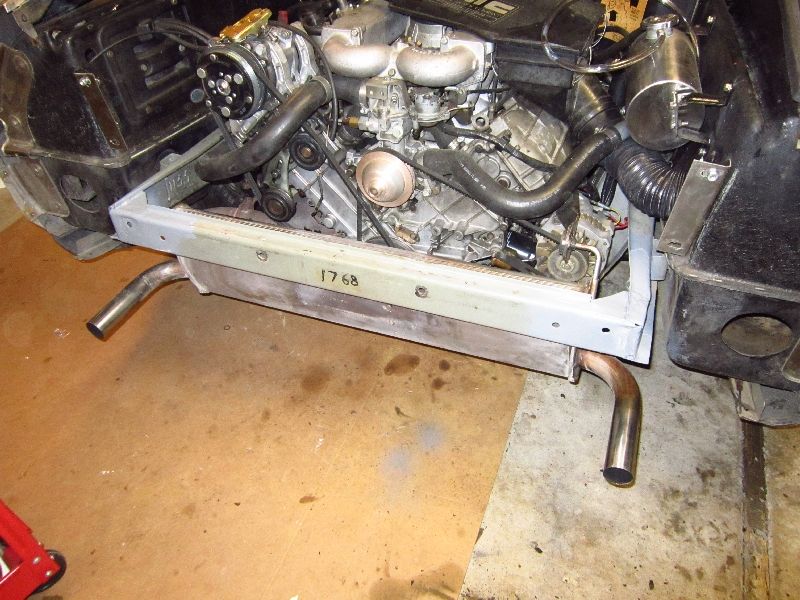
I've had a few delays on getting the rear together, I won't have the glue I need for the new studs in the fascia for another week or more. The car hasn't moved in like 6 weeks, this was getting depressing for me. The stainless brackets are done however and fit great. I will however I will need to do a "rough adjustment" of my rear frame tomorrow so things will line up properly.
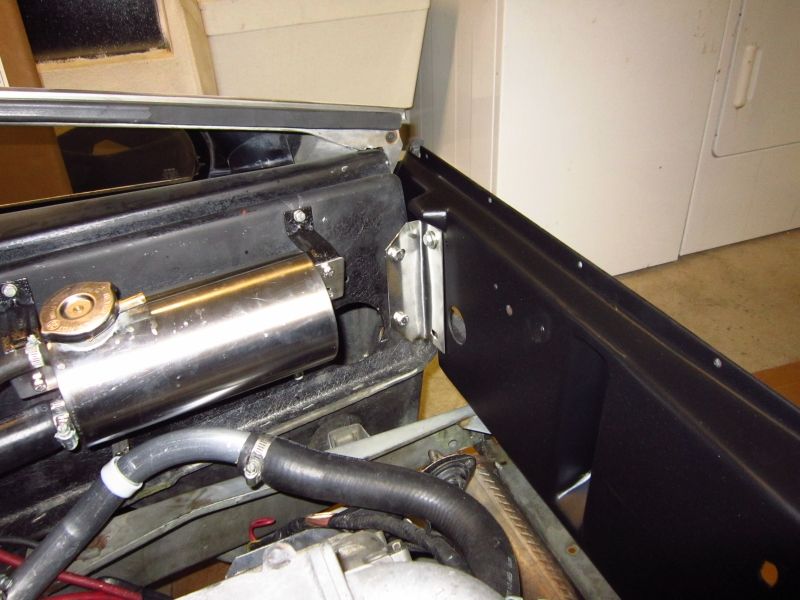
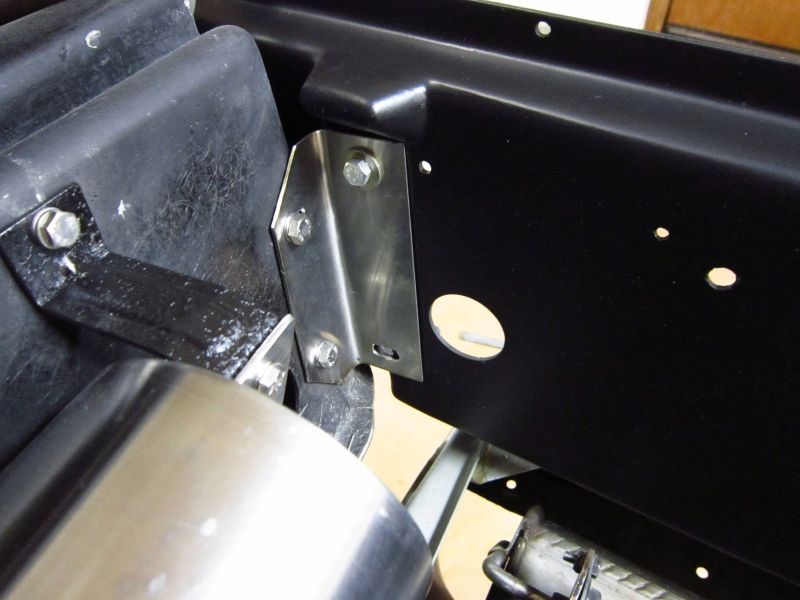
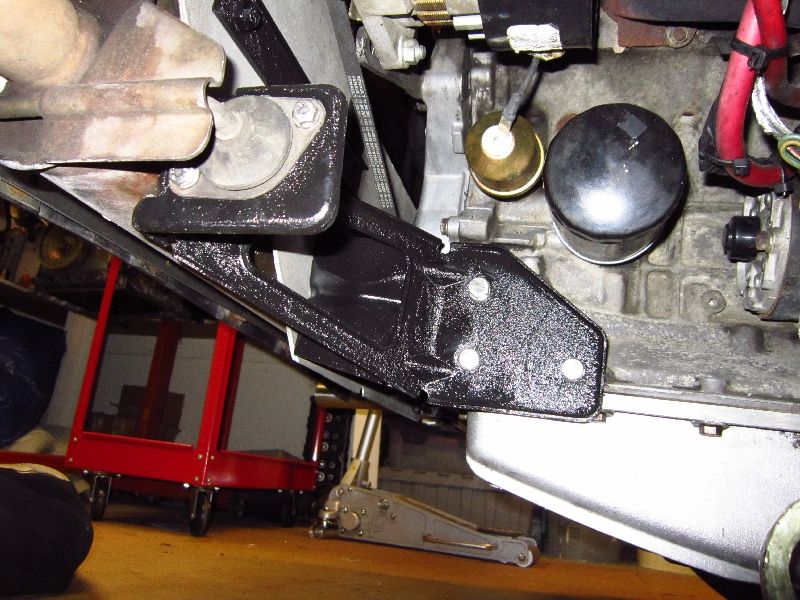
Heres those 90" brackets in place:
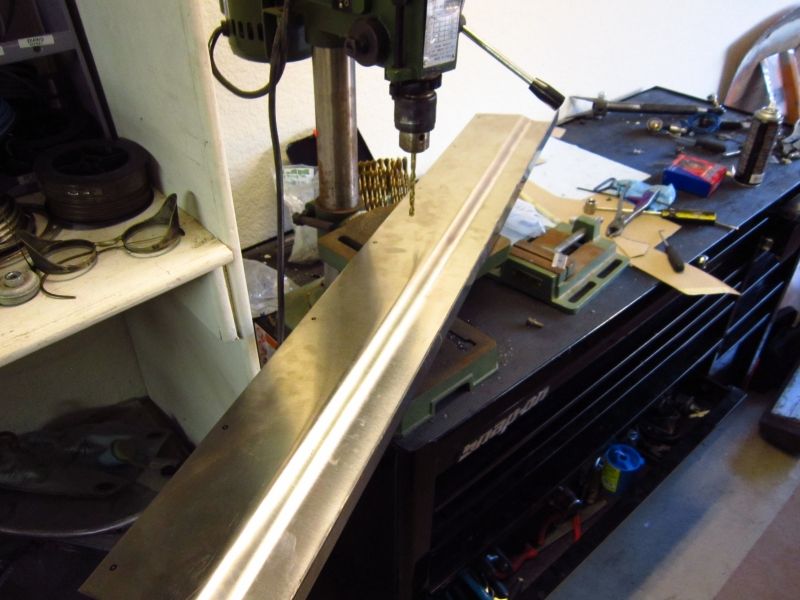
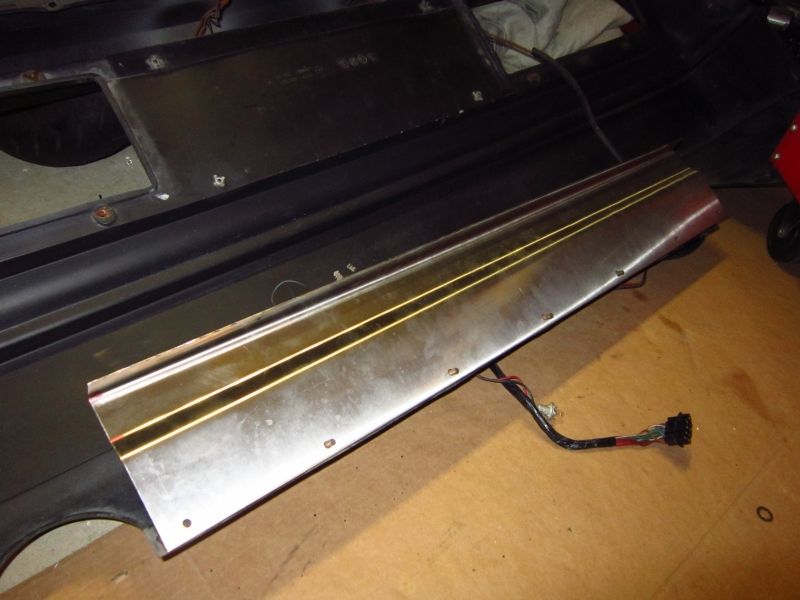
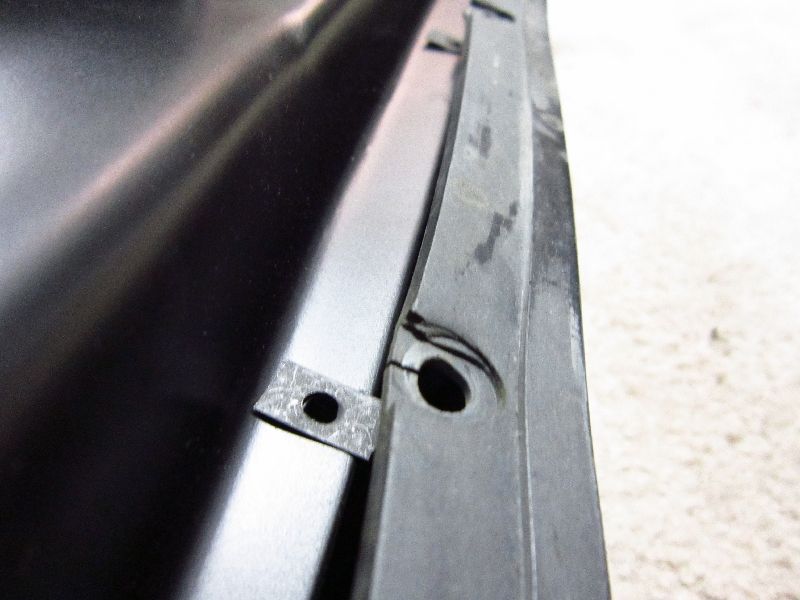
I had my lower fascia bracket/heat shield bent up on a friend's Metal brake, it looks great!Next I drilled the 12 holes for the fascia studs.
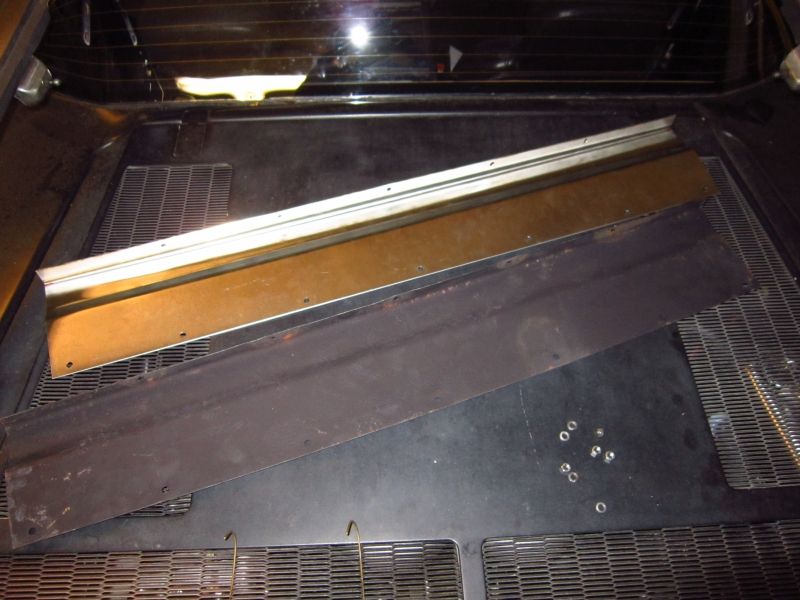
New vs old:
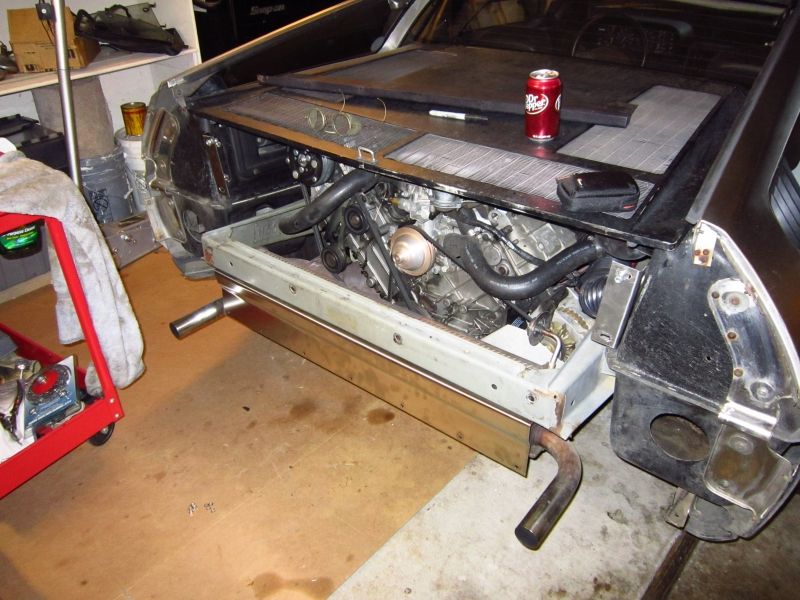
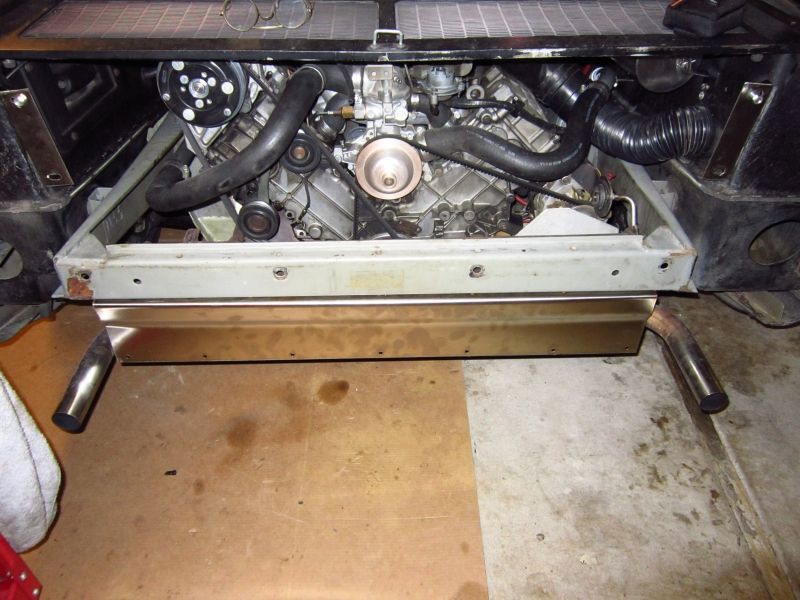
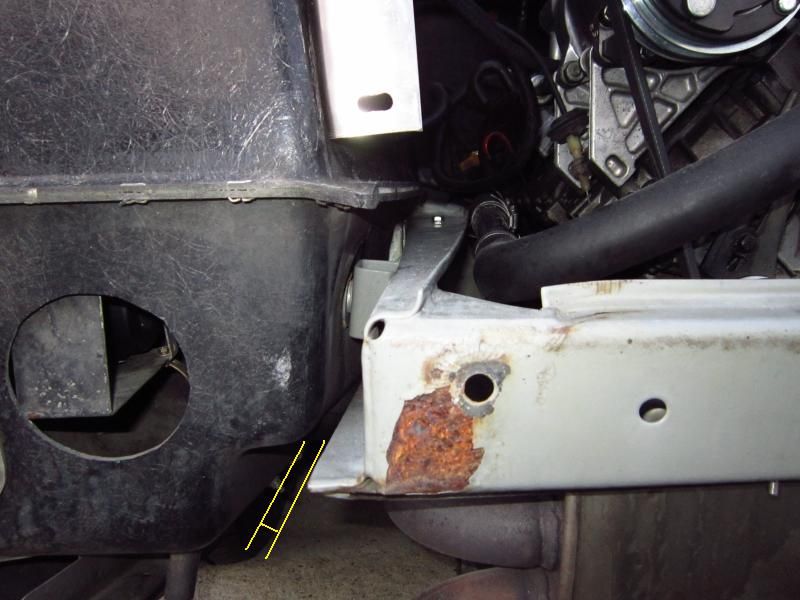
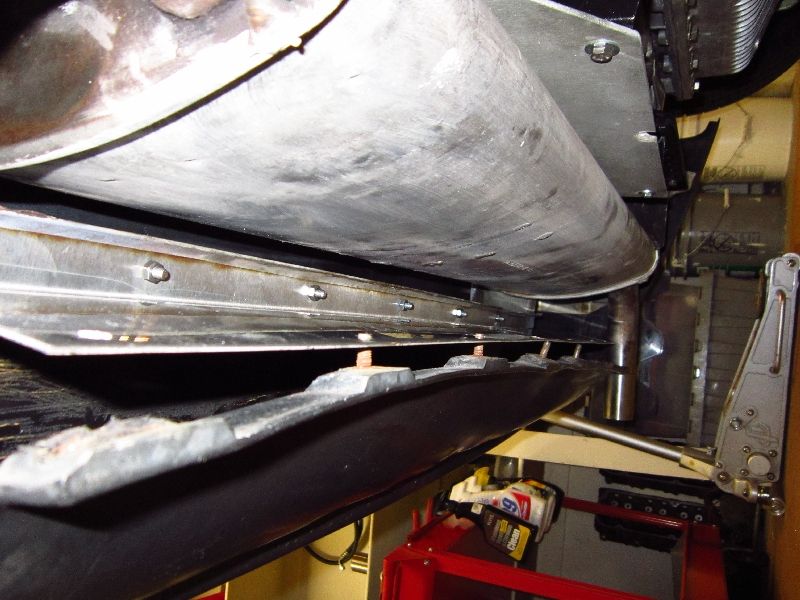
Test fit on the bumper and frame: You can see how bent the frame is by comparing the gap between the muffler tips and the heat shield too.
My local metal supply shop sells a bunch of strange surplus parts including these rubber mounts for just $0.50 each, They fit perfectly to replace the factory muffler mounts, I just needed to drill the two mounting holes to 6mm. I saved $25.50 over NOS DMC mounts.
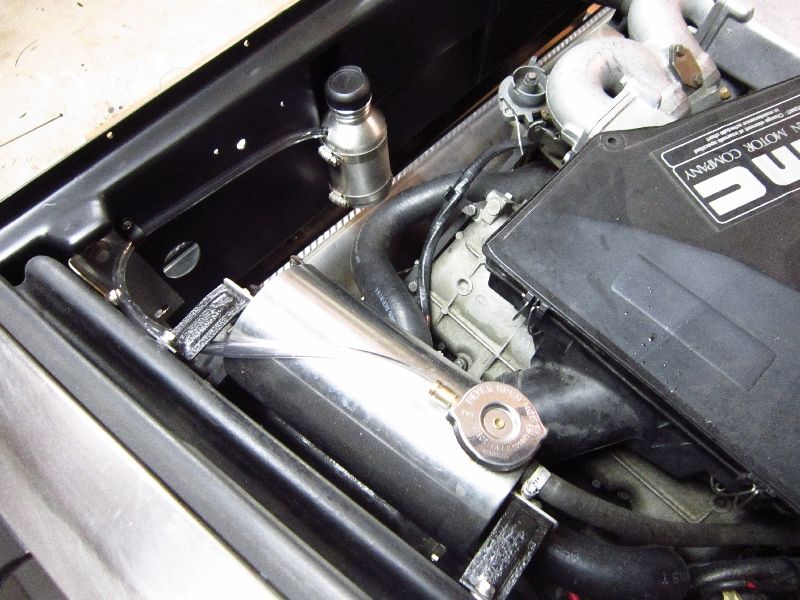
I pressure tested my cooling system at temperature and found a few leaks that a clamp adjustment fixed.
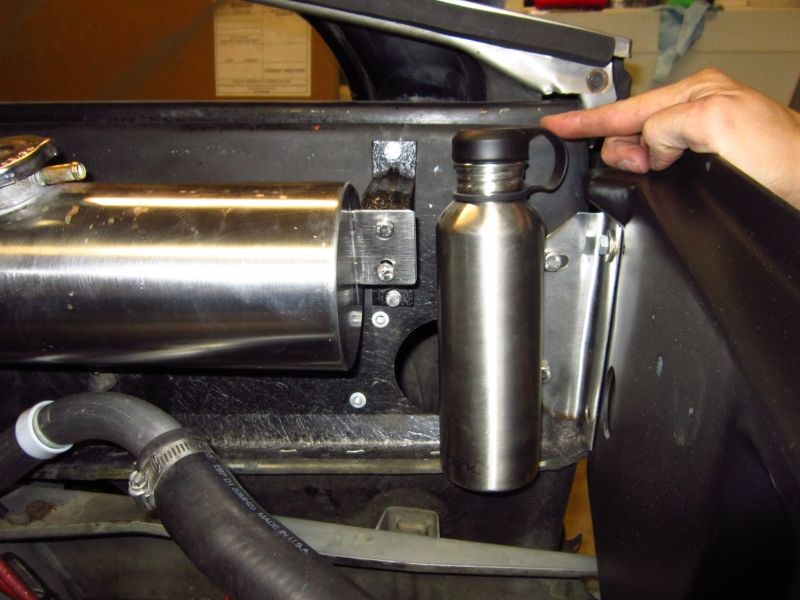
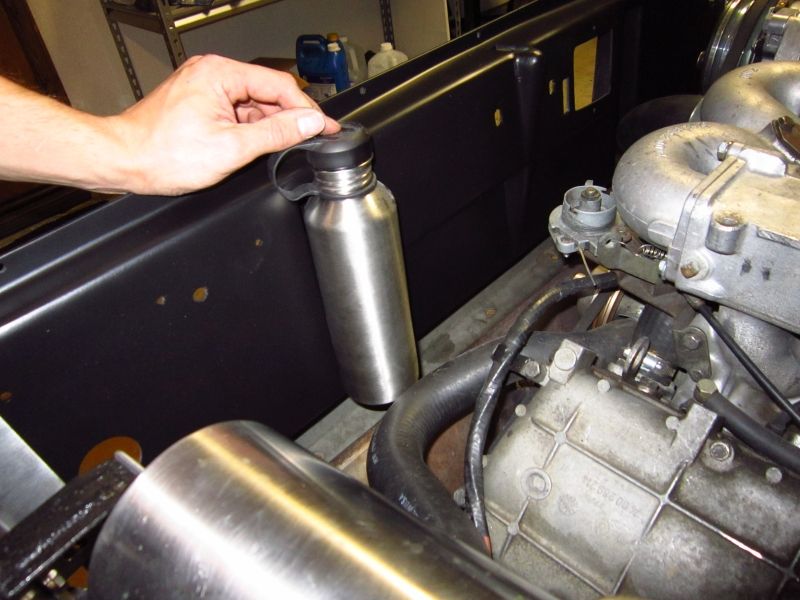
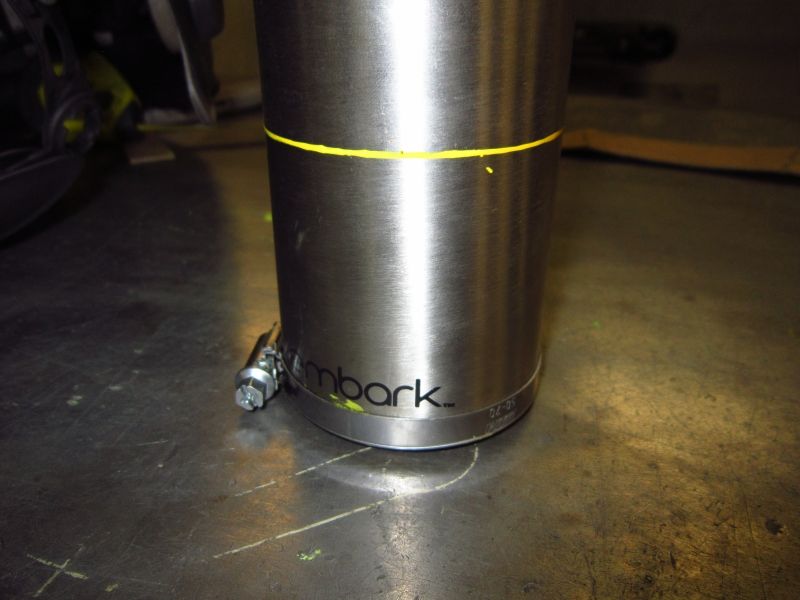
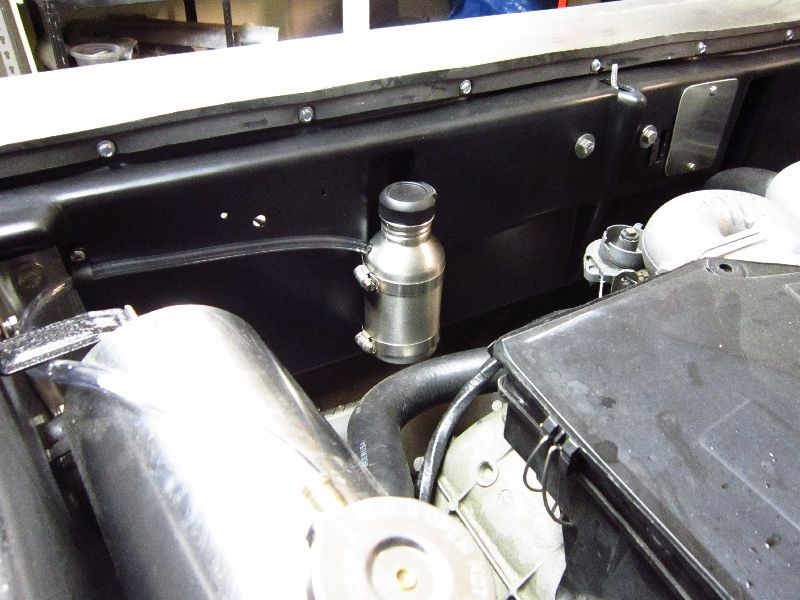
Now to the creation of a Coolant overflow tank which I mentioned before. I mocked up some mounting ideas, I think im going to have to cut down this bottle unless I can find one at least 2.5" shorter.
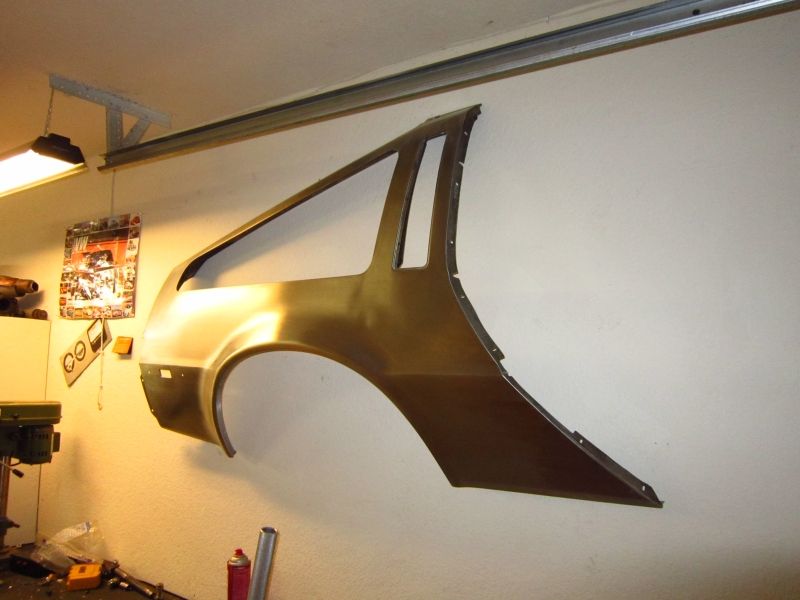
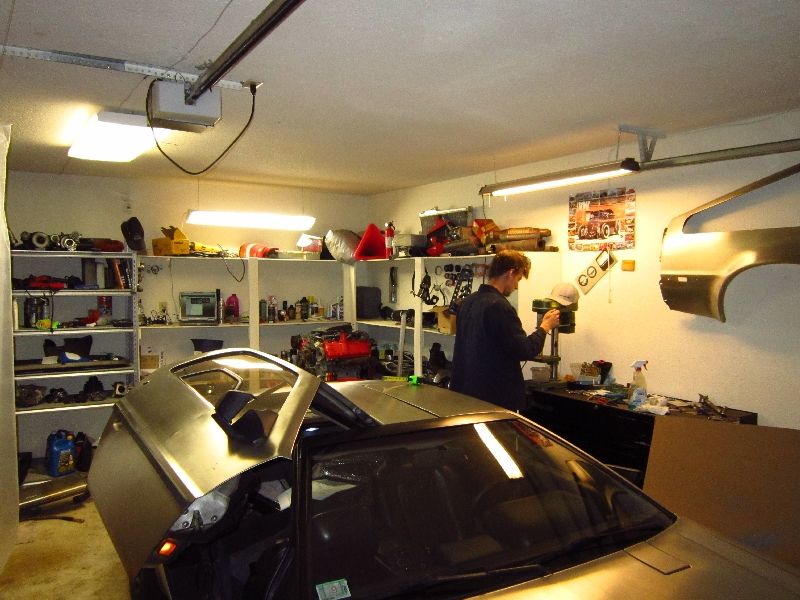
You can see I attached my spare quarter panel to the wall, decoration and space savings at its finest!
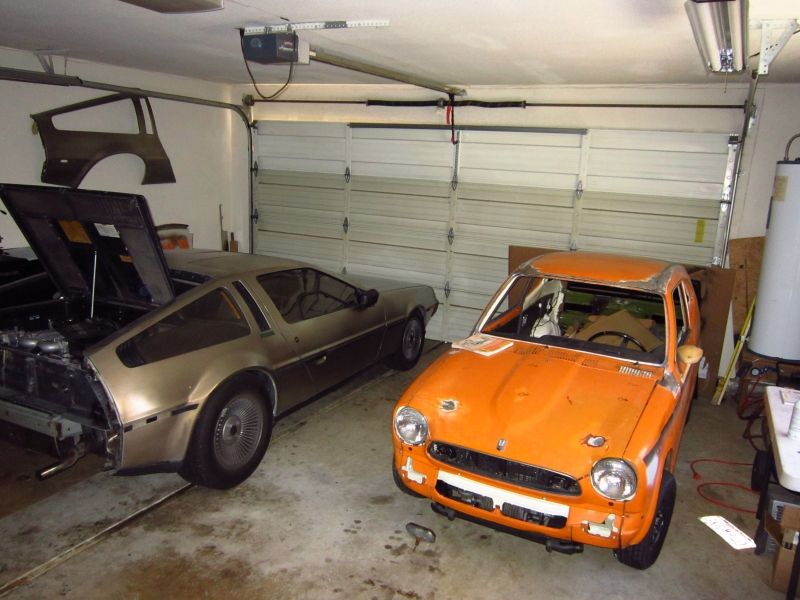
I decided to swap my cars positions in the garage as im starting body work on the Honda and it would be easier to isolate the little car with plastic curtains on this side.
Although im not much for baseball caps ( I think I look dumb in them) I decided to buy one of these new limited edition (1 of 500) DMC hats because it looks good and I can say there is one less of these hats for one of those "Playas" that would wear one of these hats sideways and has never even see a Delorean in person.


Location: France
Posts: 2,457
My VIN: 16951
Club(s): (DCO) (DOA) (DCUK)

I like the job you've done on your stainless bracket/heat shield
Your glasses look like one of the scientist
Location: sacramento
Posts: 1,415
My VIN: 1768
Club(s): (NCDMC) (DCUK)
April 8 2012
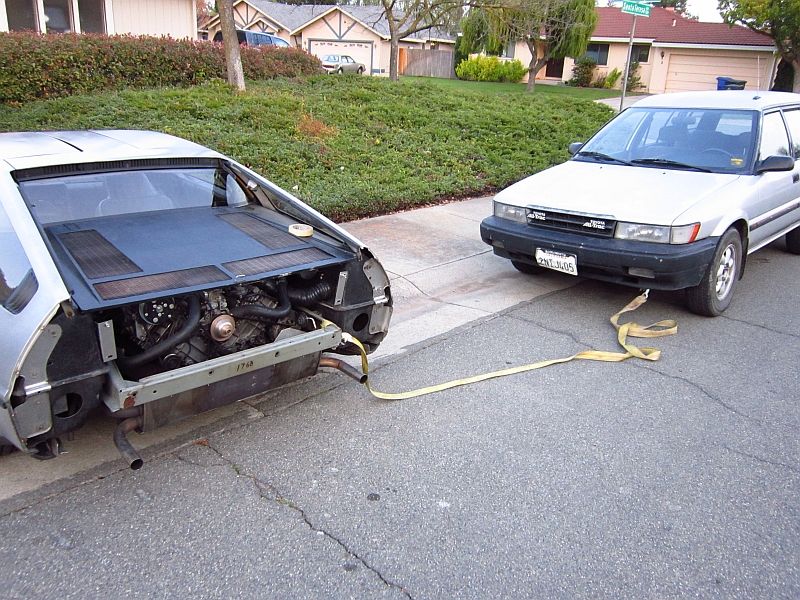
So I performed my "rough frame adjustment" Saturday night. Now it looks really crude and I suppose it was but it worked and performed the same action that a body shop would use, brute force. With a sturdy tow rope I used my Toyota to give a few hard tugs on the right rear corner of the frame and pulling it back to the passenger side about 1" it's still a bit off but miles better than it was before. Not pictured but I did place some large wetted towels on the strap to absorb any energy if the strap were to break and fling towards me or the D.
See the difference in the gap on the driver side, it moved about 1". This side needs some sanding and paint love too.
The rope did bent up the left side some and crack most of the epoxy off( which wasnt holding on well anyway) but I was able to bend it back, some sanding and paint will help making the rail look better.
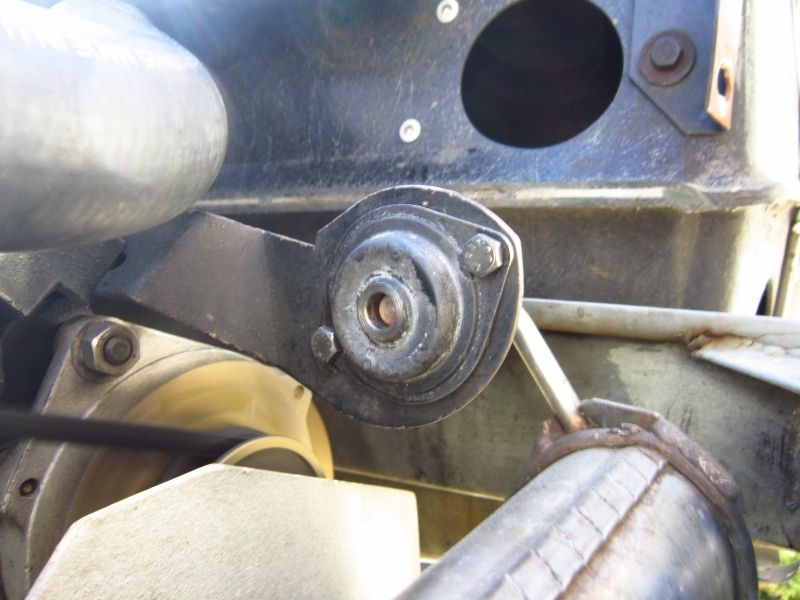
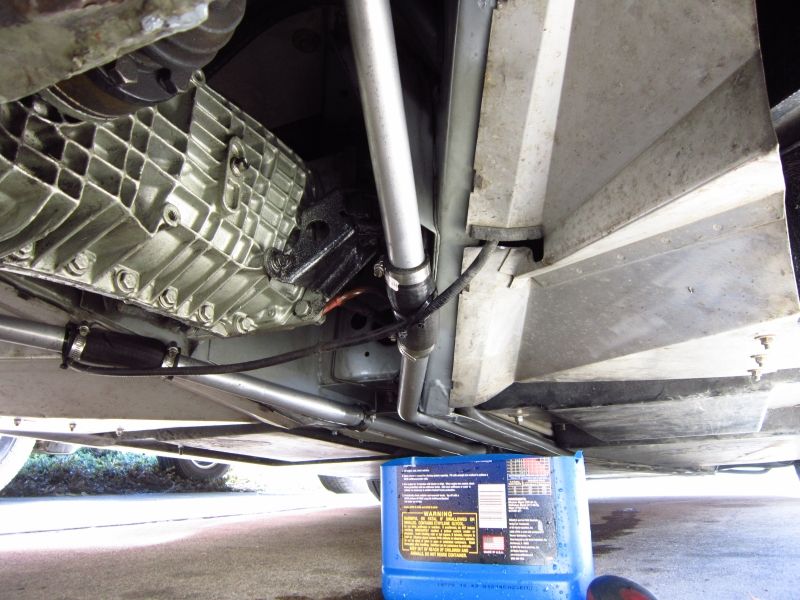
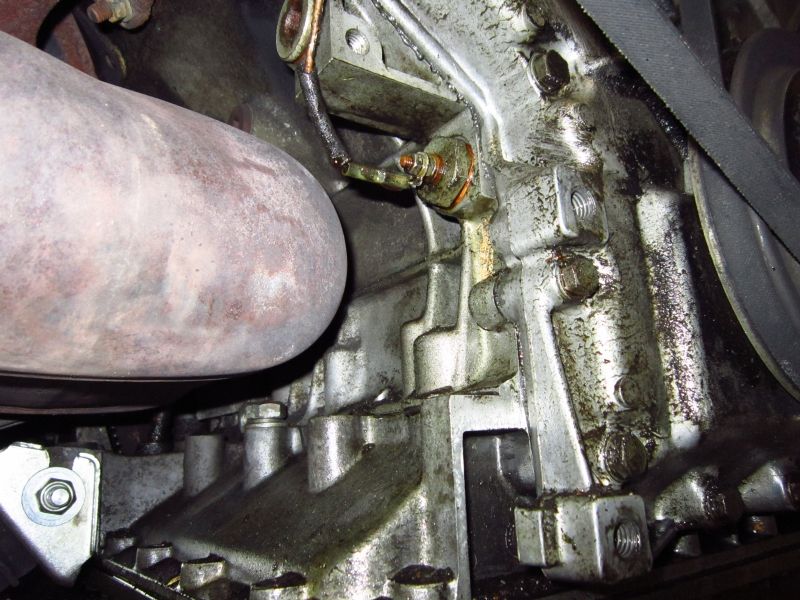
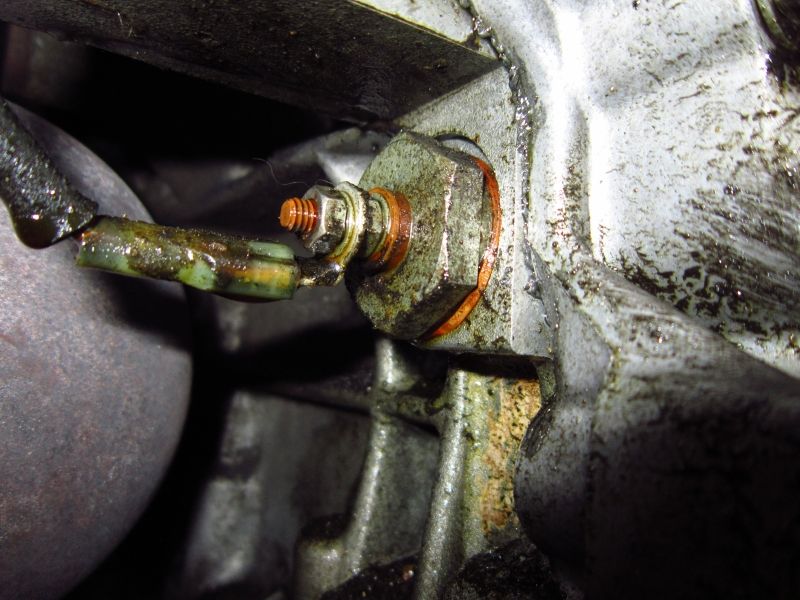
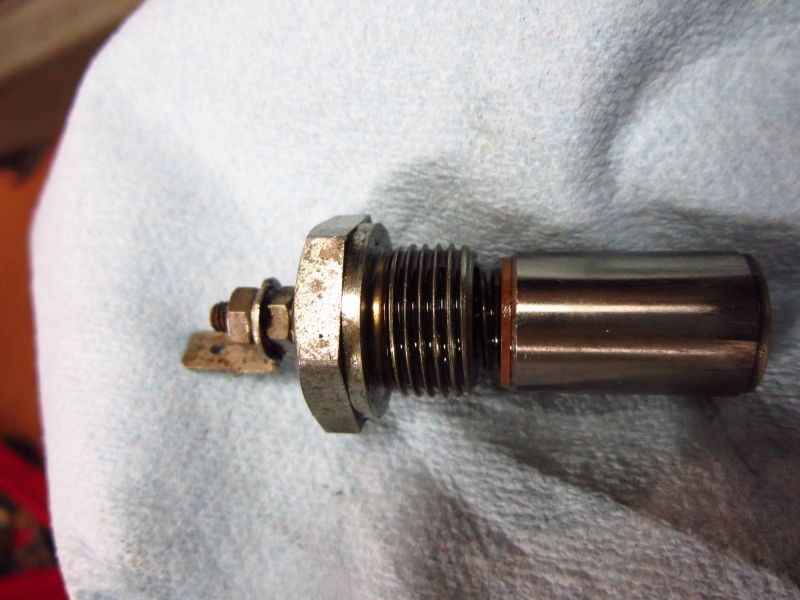
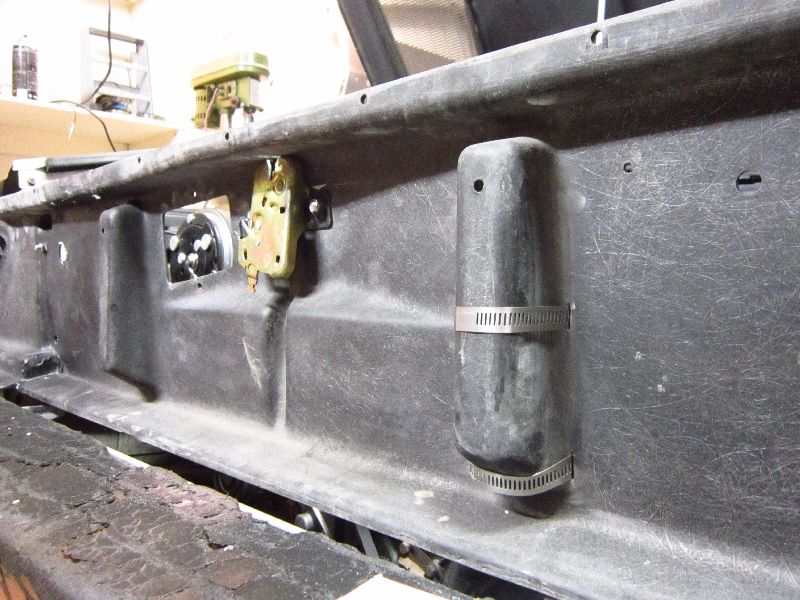
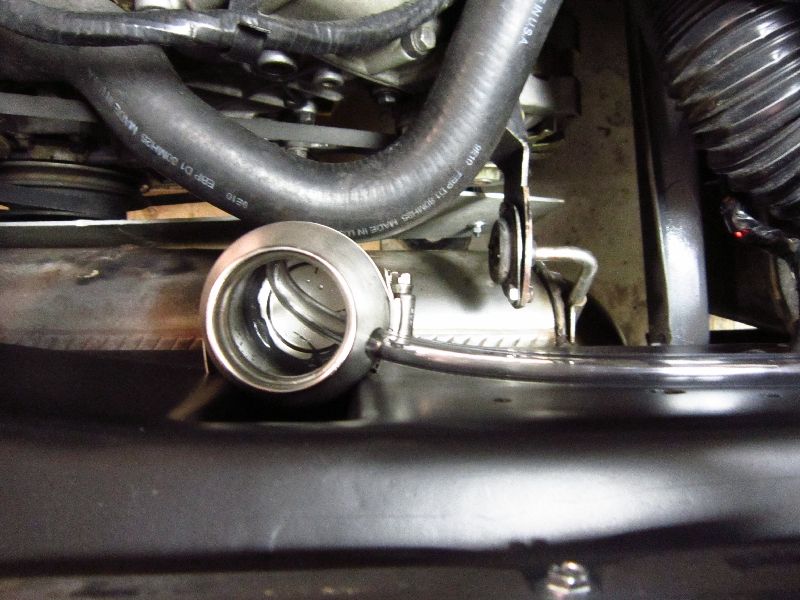
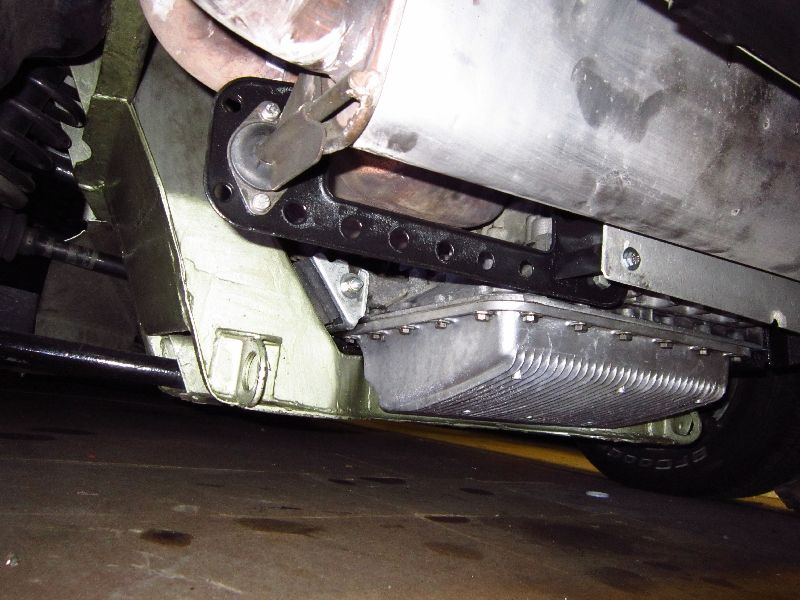
I then took off the muffler and brackets for more cleaning, the engine is constantly shedding its oil onto these parts, I was able to track down another leak. This sensor is an oil pressure sender for the idiot light on the dash which illuminates when there is less than 4 or 5psi oil pressure.
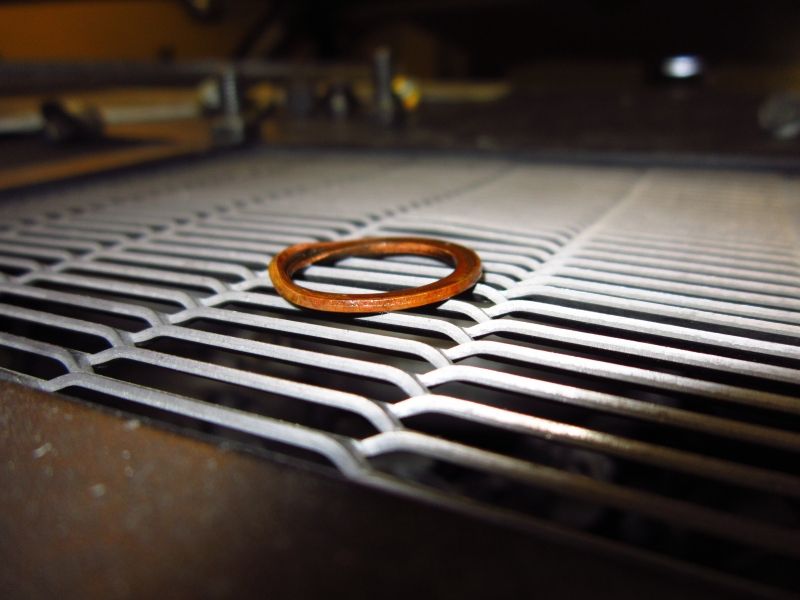
As you can see the copper O ring is bent, it must have been installed poorly. A new O ring fixes that.
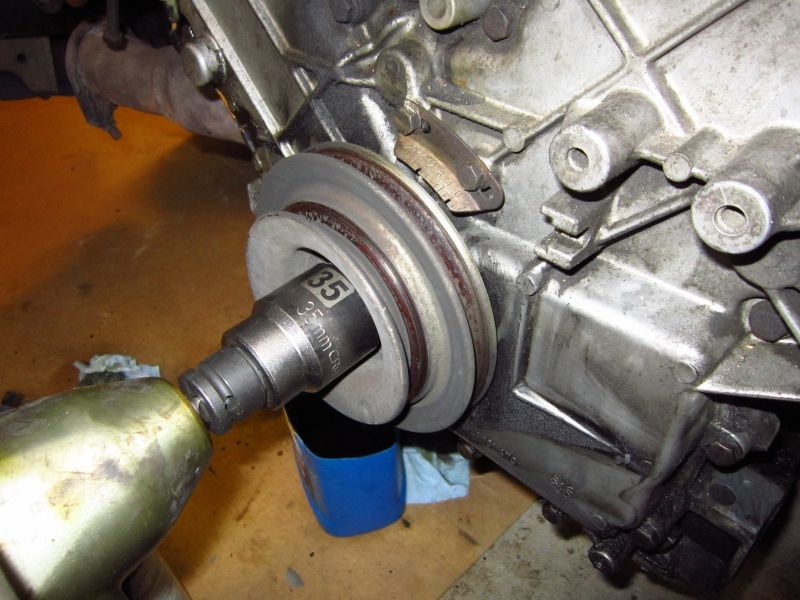
I then attempted to remove the crank pulley as the belt grooved looked pretty rough and could use some wire wheeling, I also could look at the engine's front seal which is leaking too. However no amount of impacting with my gun could get it off. Another time perhaps when I have a torch.
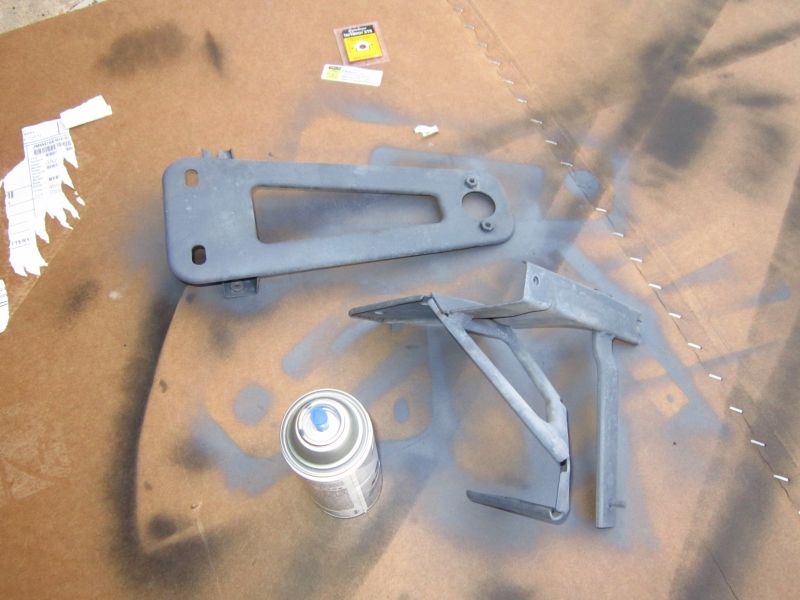
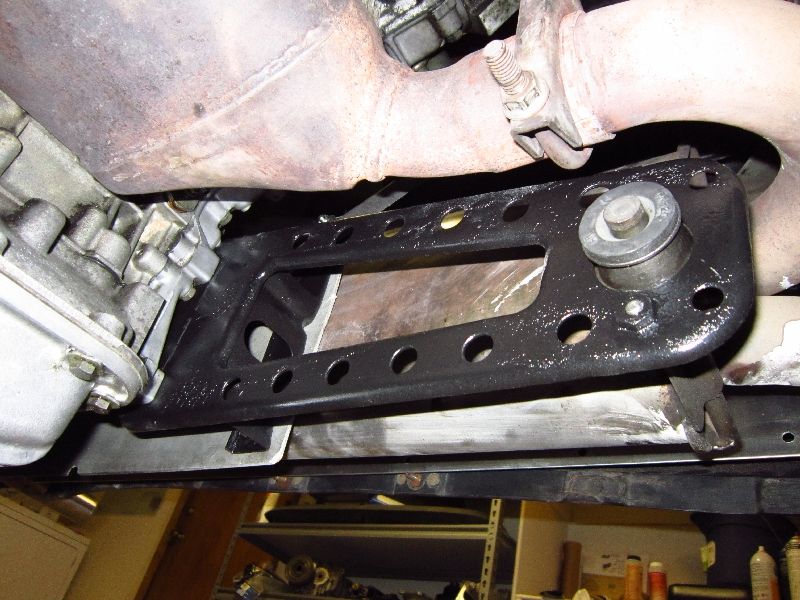
The muffler brackets used to be yellow zinc plated but all the years of oil and heat have worn that down. After a good cleaning I primered them.
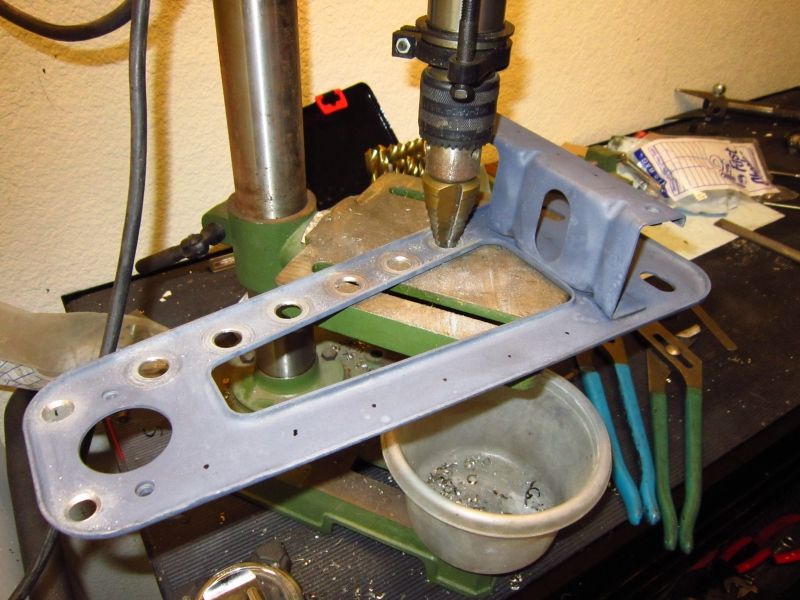
Upon picking them up to hang them to dry I thought hey these are much too heavy. So after they dried I got out the ruler and pen to mark up some lightening holes, drill presses are invaluable sometimes.
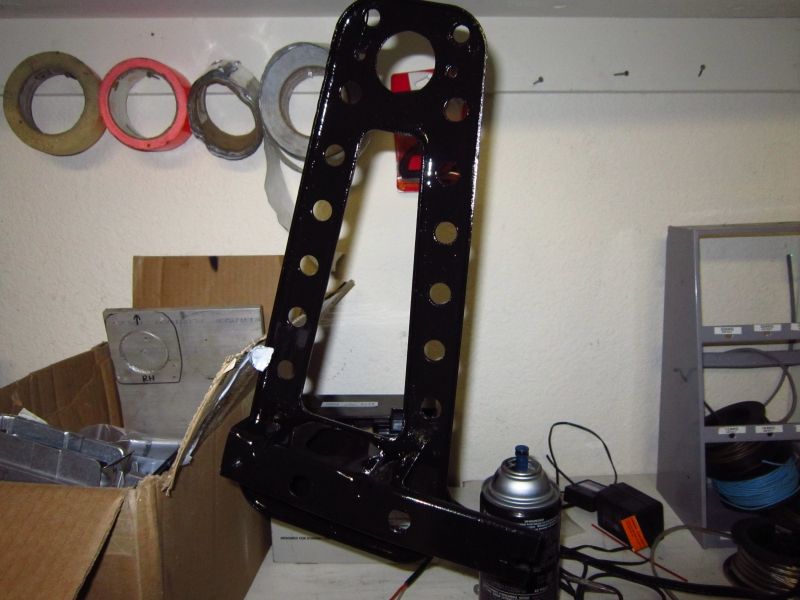
Now a few ounces lighter its time for some Wrinkle Black Paint
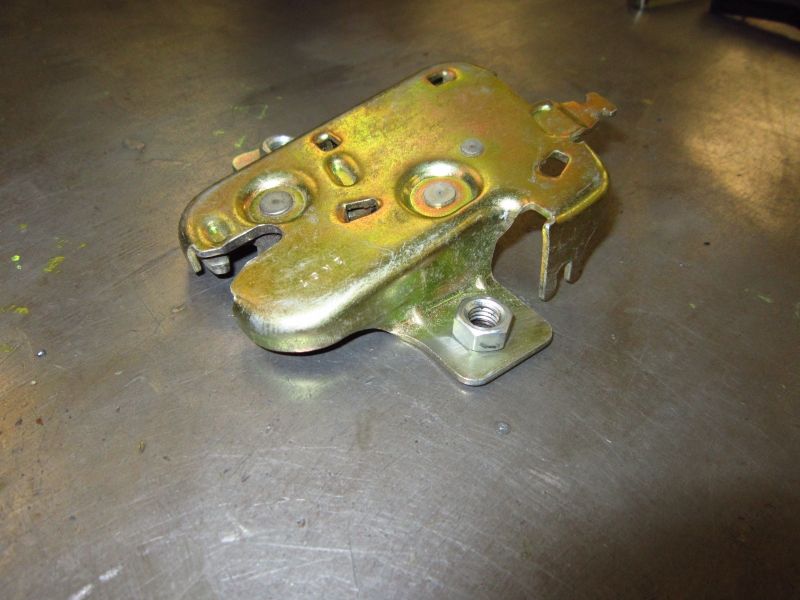
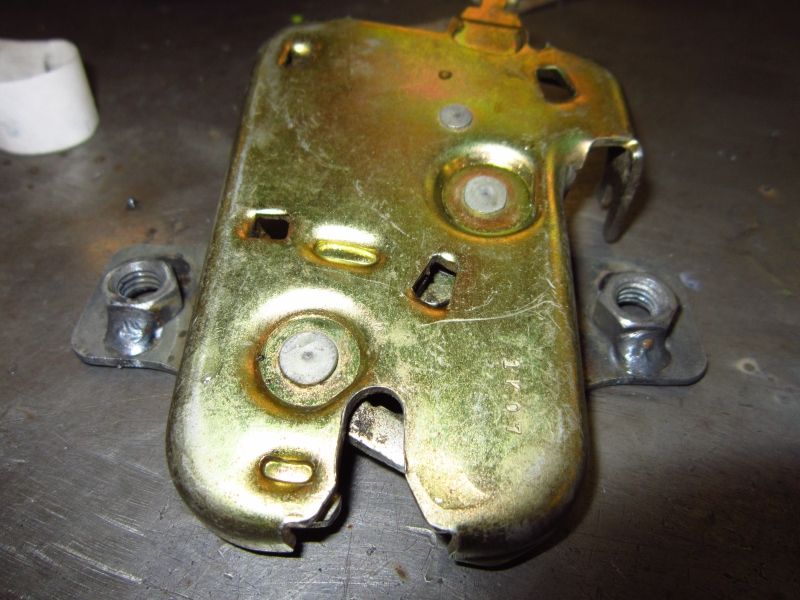
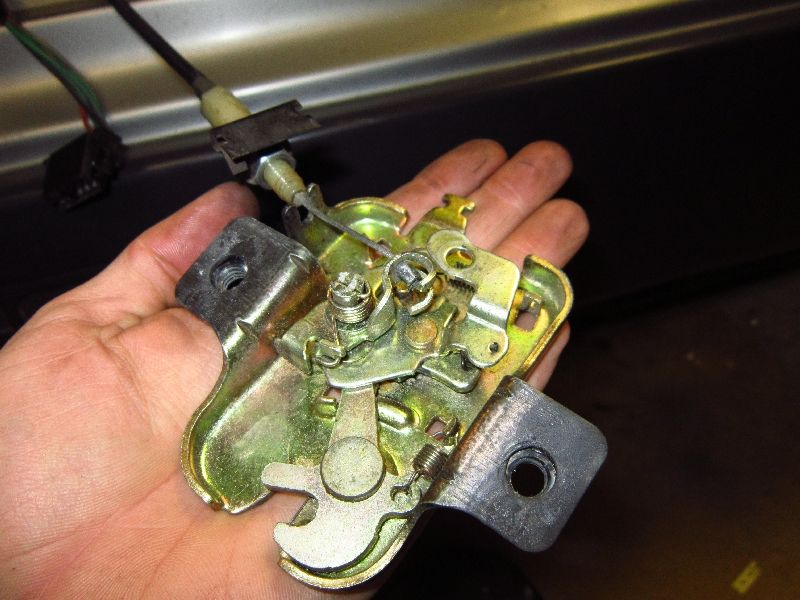
Another small project was to weld some nuts to the lower engine lid latch as getting to these are hard when the latch is in the bumper.
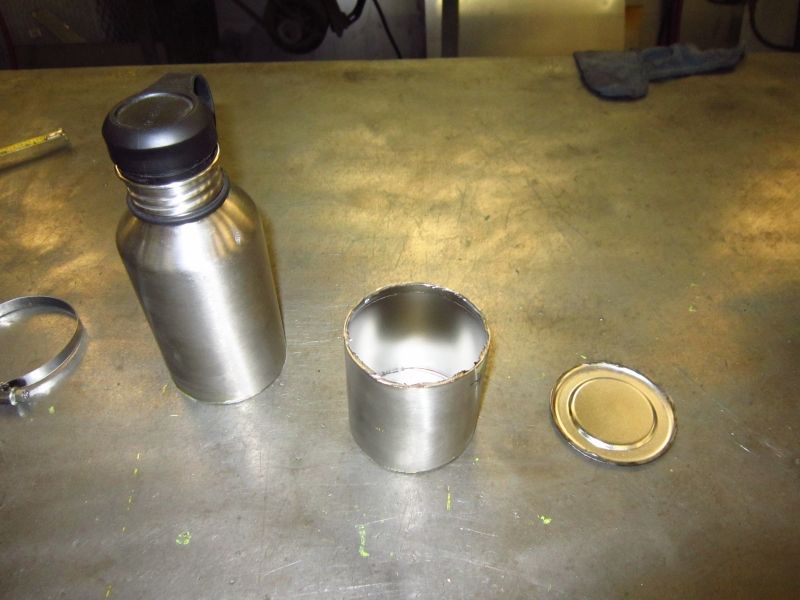
Unable to find a shorter usable Water bottle for my coolant overflow, I cut this one down 2 3/4" using a hose clamp to mark a straight line around the bottle. using a 4 1/2" angle grinder I carefully cut away the section i was removing, this is very thin stainless.
Sadly the Tig welder wasnt working so in the meantime ill have to go the cheap route and just JB weld it, remember this bottle will not be holding pressure, it just has to be water tight.

Location: sacramento
Posts: 1,415
My VIN: 1768
Club(s): (NCDMC) (DCUK)
April 12 2012
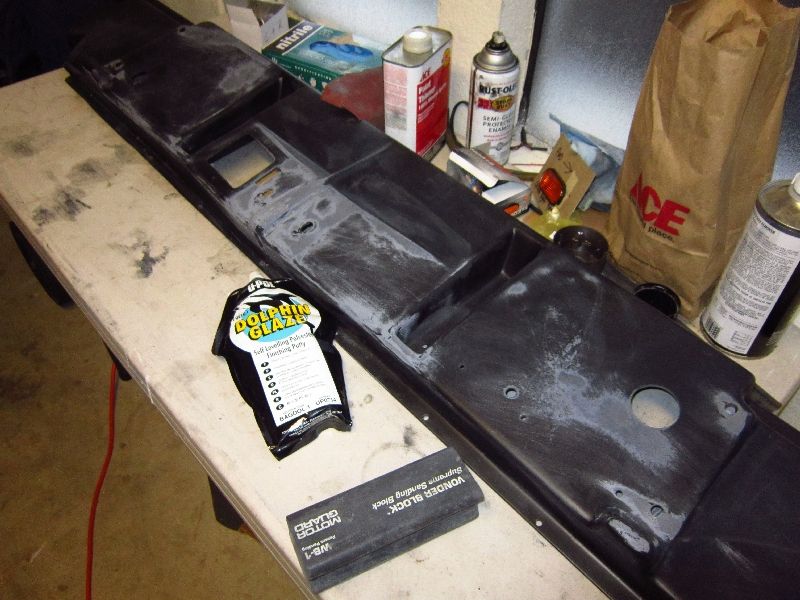
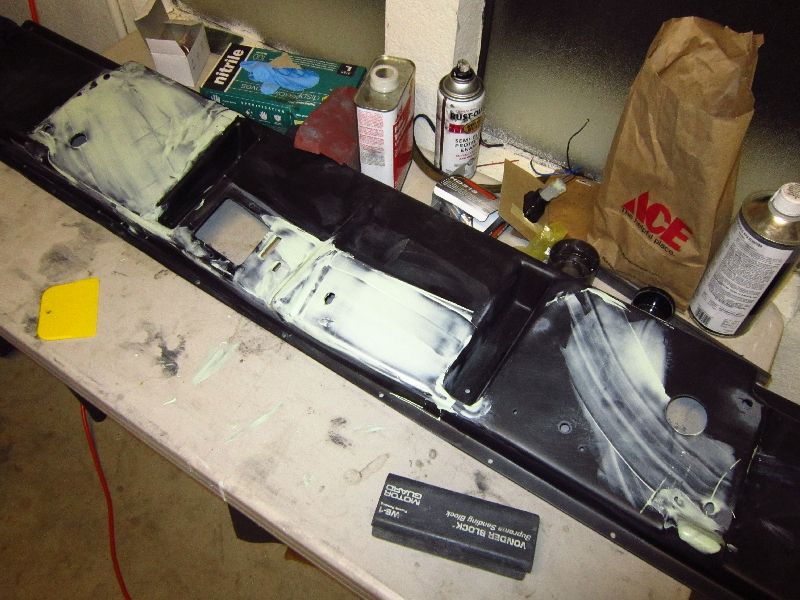
Ive been sanding away at my Fascia support panel everyday after work for the last week and I was not happy with how smooth is came out until yesterday. Some skim filler coats and lots of primer to get this rather panel that isnt super visible anyhow into the proper smoothness.
Yes the filler is extracted from Dolphins....
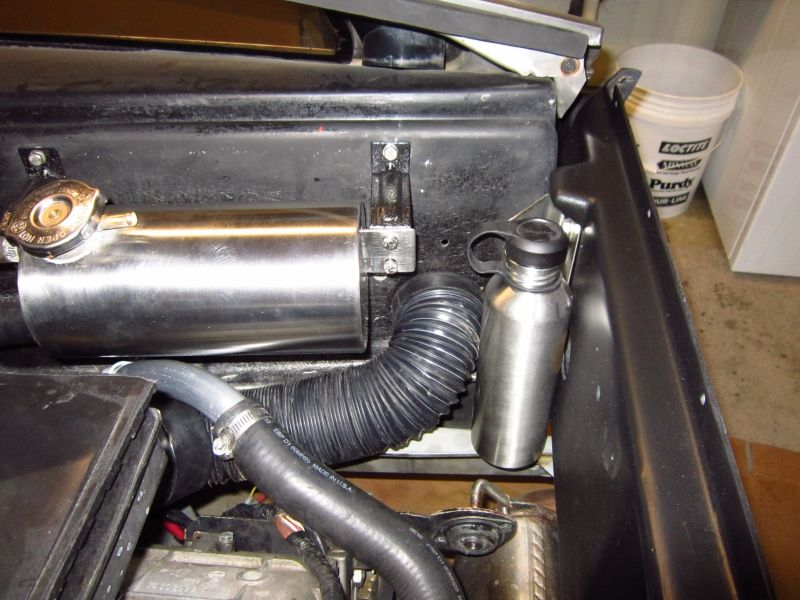
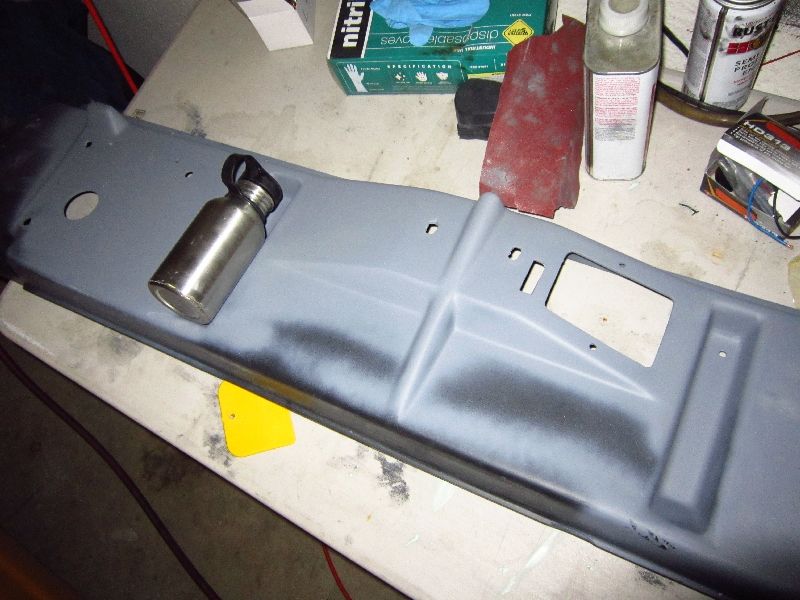
Primered up with the overflow bottle in its mock up location.
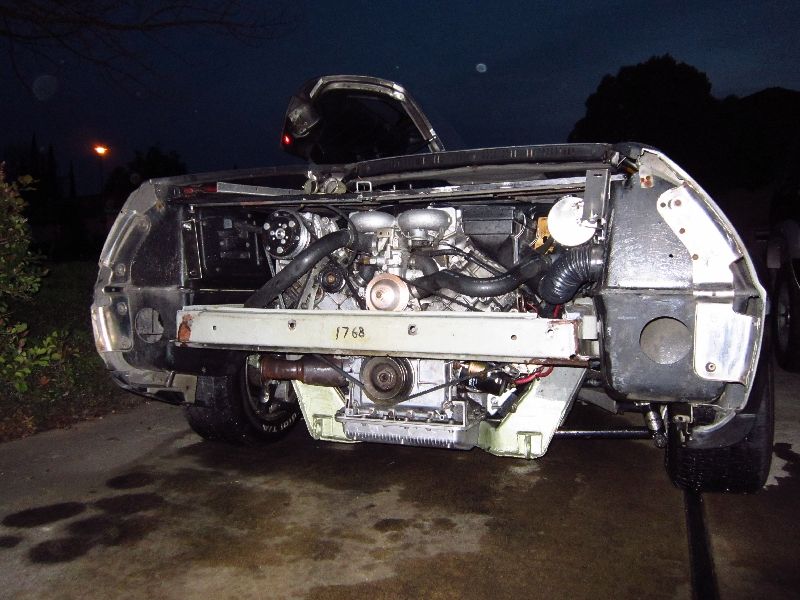
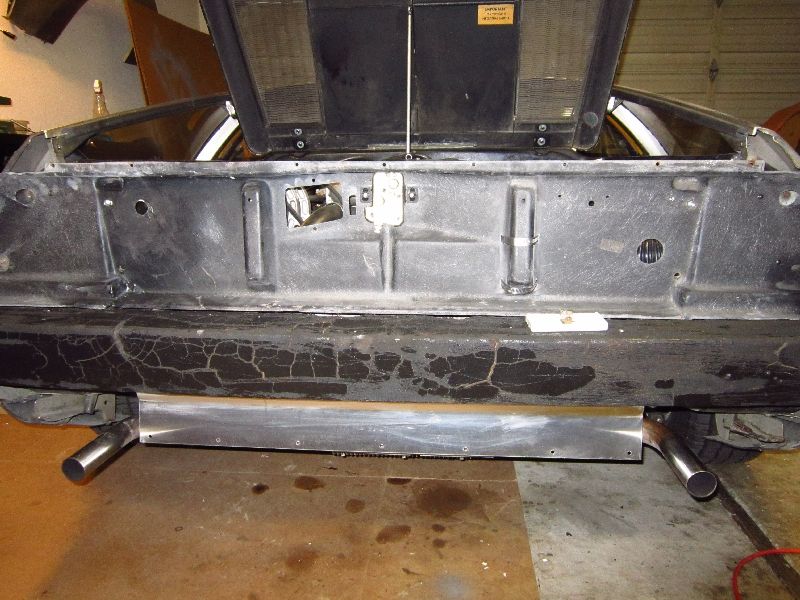
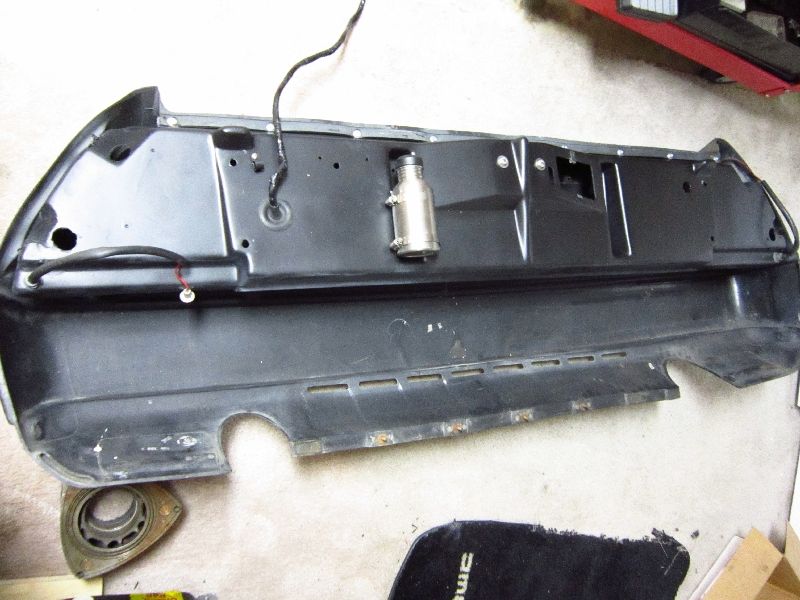
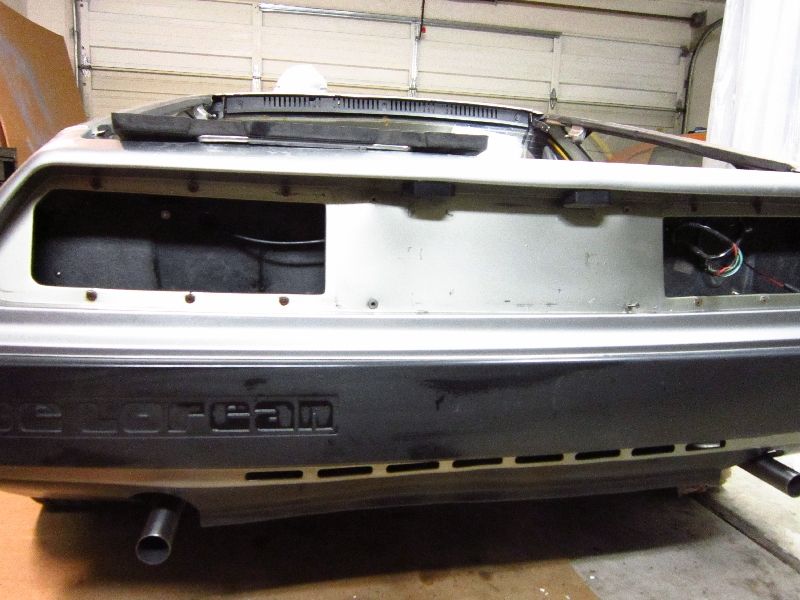
A neat picture of the rear naked.
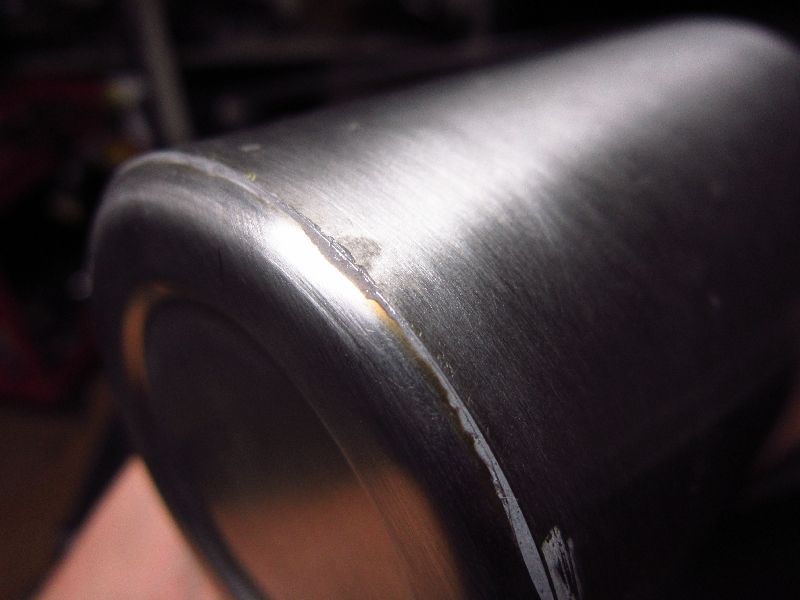
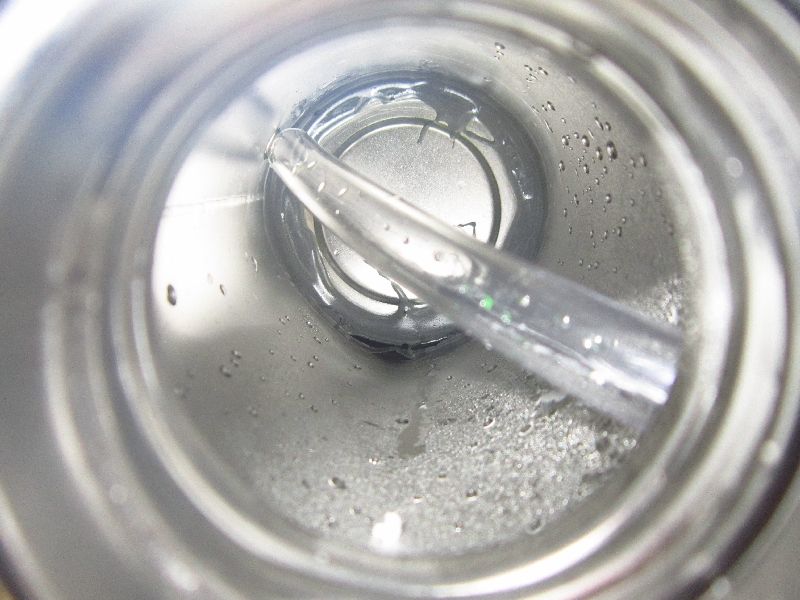
Here is how the seam came out of the Epoxied bottle, im quite chuffed about it.
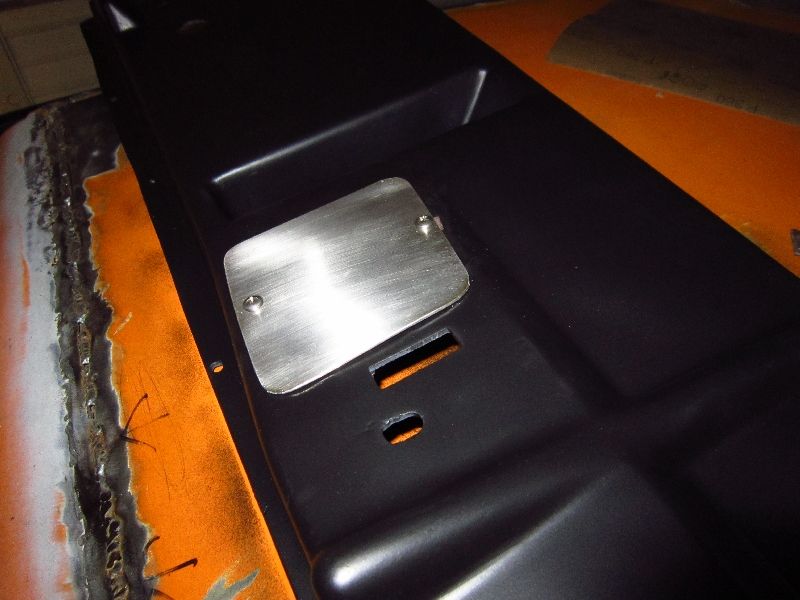
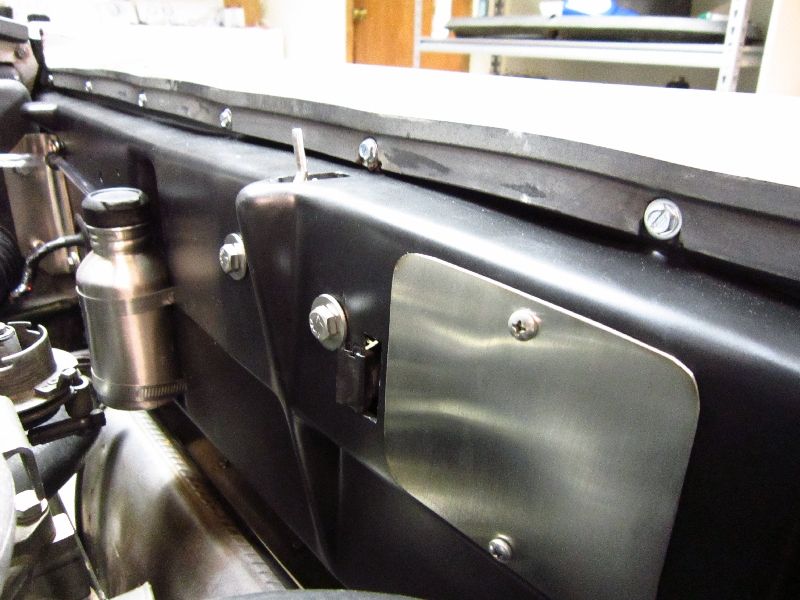
I cut out a little access cover out of my Stainless, this was another part missing from my car, the original is a simple zinc plated steel plate but a NOS one cost $86.71 !!!!!!!!! check it out! there must only be like 5 left. I could cut two dozen out of that $35 sheet of SS I bought.
http://store.delorean.com/p-9652-access-panel.aspx
Next up is to give the urethane foam bumper some TLC. I brushed off the loose foam chunks and whatever black coating was flaking off before spraying on thick coats of Plasti-Dip, that plastic coating spray, Its the same job I did on the front bumper to help keep the foam from deteriorating as quickly.
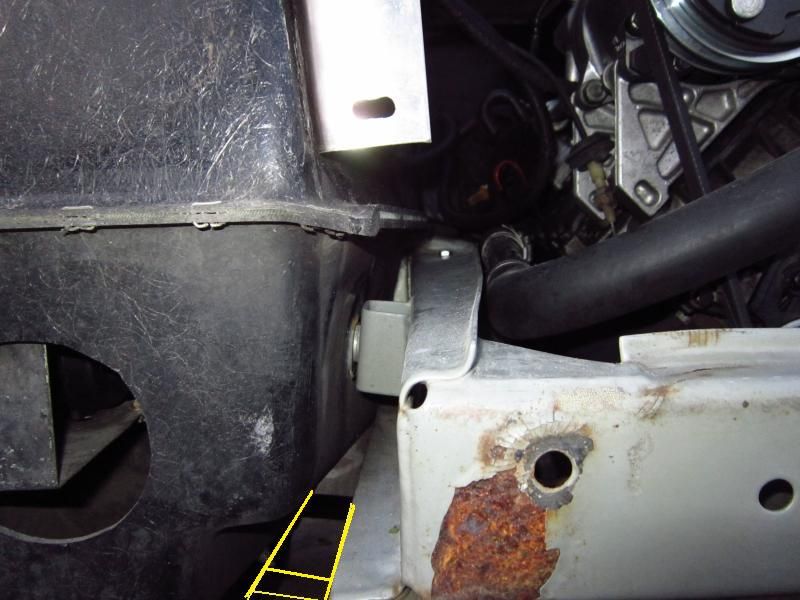
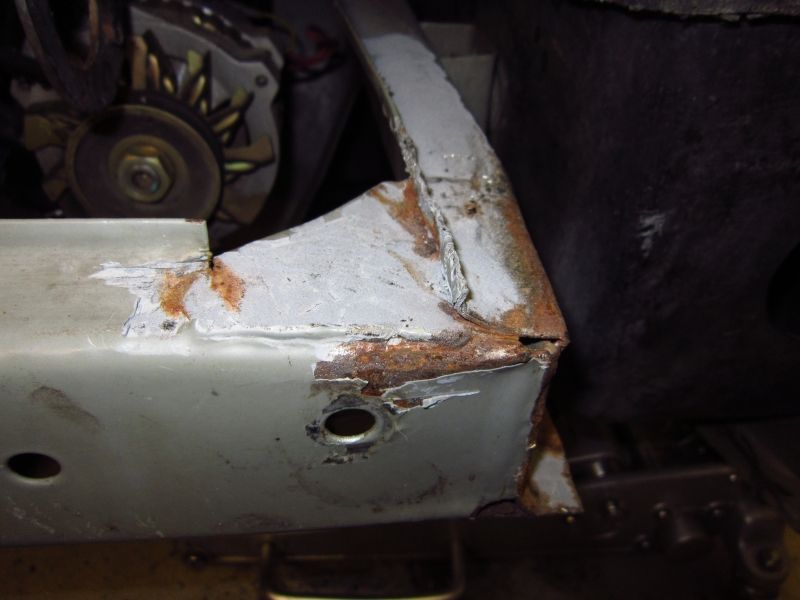
Sanded and repainted the rear frame rail corners.
Location: France
Posts: 2,457
My VIN: 16951
Club(s): (DCO) (DOA) (DCUK)
Great job, what about the round corner? Easy to do?Originally Posted by vwdmc16

PJ Grady Europe use to sale them in stainless, but there is no more product in his shop:
http://www.pjgrady.co.uk//GenericCon...ent=Parts.html
I thought it will be available on DeLorean Performance Industrie but no:
https://www.deloreanindustries.com/s...stainless.html
Anyway, if you decide someday to sale your own plate in stainless, count me in if you're agree to send it to France
Last edited by Domi; 08-14-2012 at 03:43 PM.
Location: sacramento
Posts: 1,415
My VIN: 1768
Club(s): (NCDMC) (DCUK)
April 14th 2012
Another test fit of the rear support panel and latch, you can also see the clamps for the overflow bottle, not the prettiest solution, i'll create something better in the future.
New hose for the overflow, looks sharp.
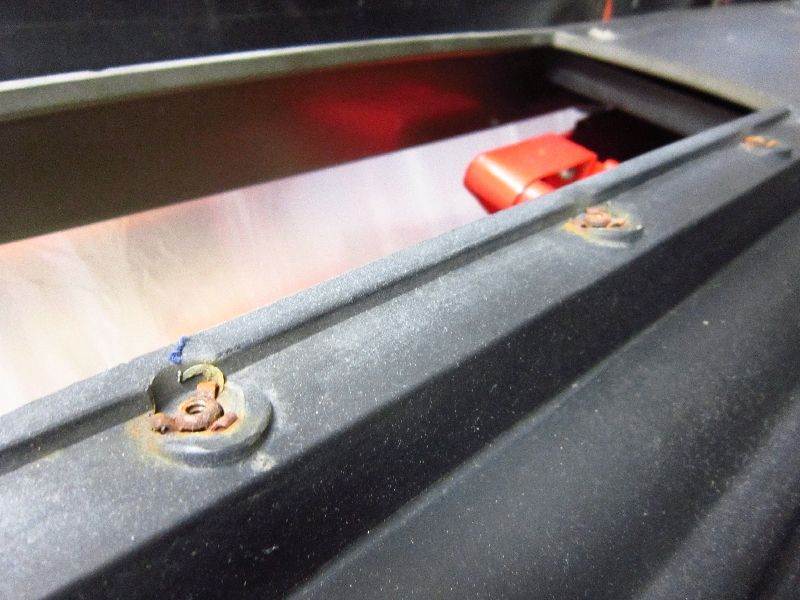
A job before the rear bumper is repainted is to replace these rusted and mostly stripped out jack nuts that secure the tail lamps. they are quite hard to find in this size and at M4x 0.70 pitch.
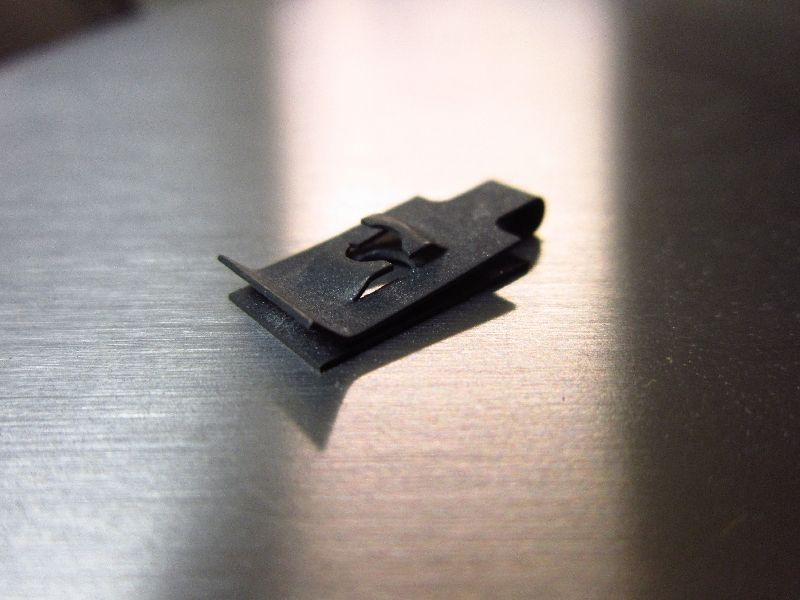
Surprisingly Home Depot ( not Ace which has the weird hardware) carried the proper speed nuts I needed that support the top of the bumper cover to the support. Just one row of screws, nuts and washer but still $10.
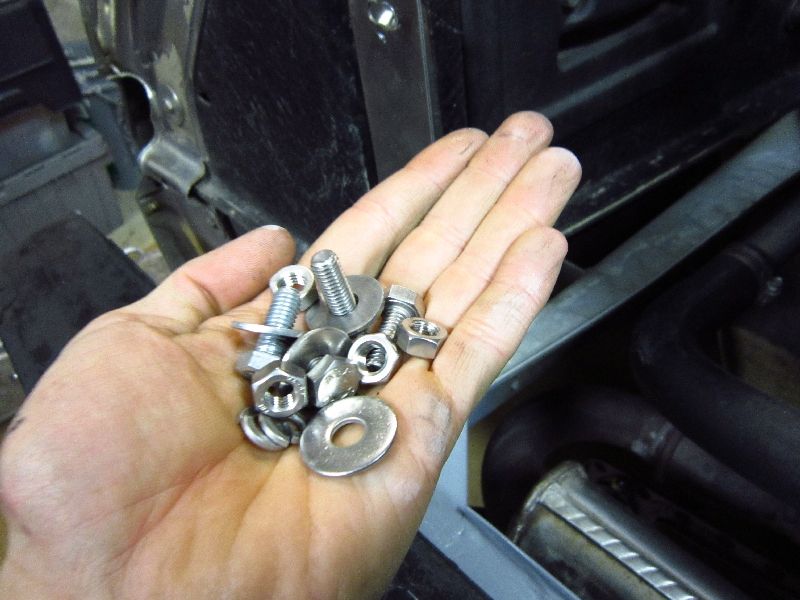
More new stainless bolts all round. Over $40 in hardware this week so far.
All bolted together and ready to install. Yes I know I havent glued in my new lower studs, I still have not gotten my awesome glue, I may have to go with something else but i can do it with the bumper attached.
Close up of the DMC/Miata latch and cable.
Need to Rivet on the engine compartment light but otherwise its looking great!
Hose installed.
Cleaned the Fascia a bit and its looking less droopy and will look even better after the studs are in.
Muffler brackets look way better, Love the look of a non greasy engine.
With everything back on it was time for a test drive, the first in 6 weeks. all went well at first, I pulled over after a few miles to take a look at the bottle and saw it was leaking. It appears I forgot one important step, drilling a vent hole in my custom overflow bottle. All my seams were air tight and this allowed pressure to build in the bottle ( remember I said it wasnt going to be pressurized) and partially blew out the bottom.
Damn time for more Epoxy.
At least She's drive-able for this weekend's Norcal DMC club meet.

Location: France
Posts: 2,457
My VIN: 16951
Club(s): (DCO) (DOA) (DCUK)
Enjoy your week-end and please post some pictures
Location: sacramento
Posts: 1,415
My VIN: 1768
Club(s): (NCDMC) (DCUK)
April 14
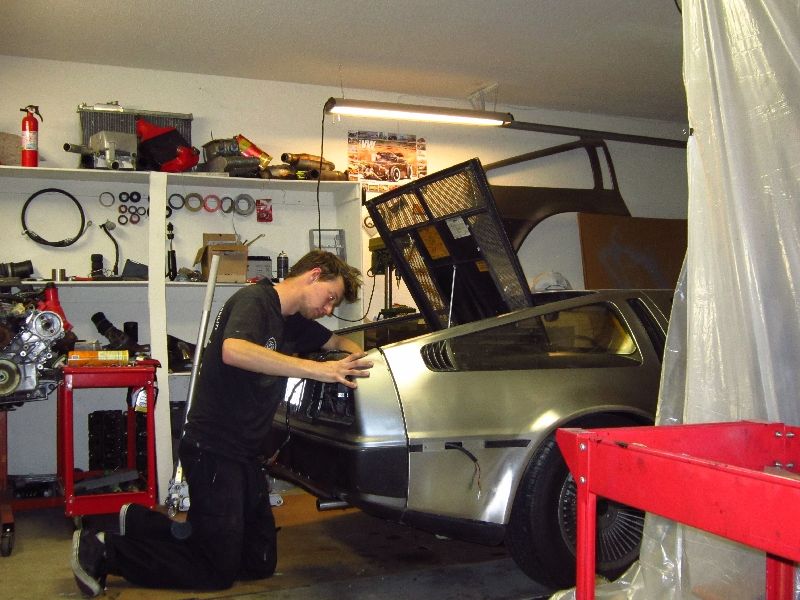
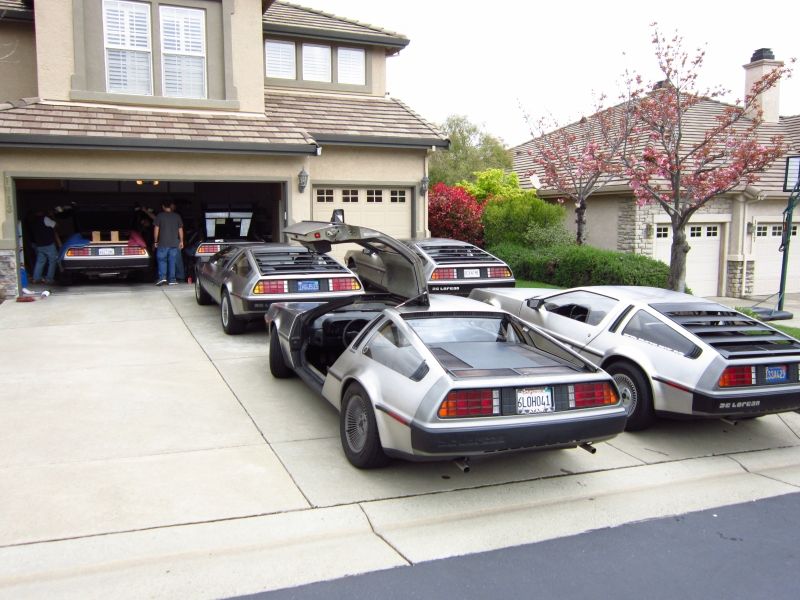
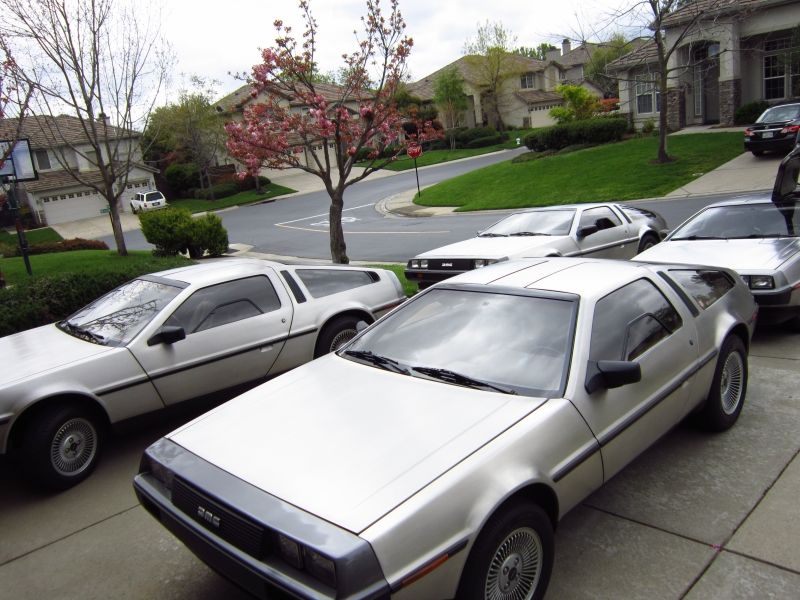
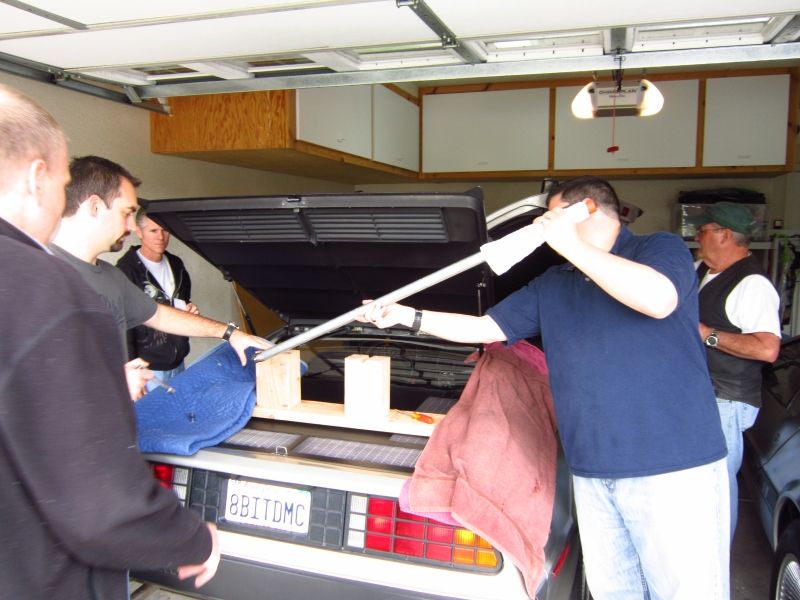
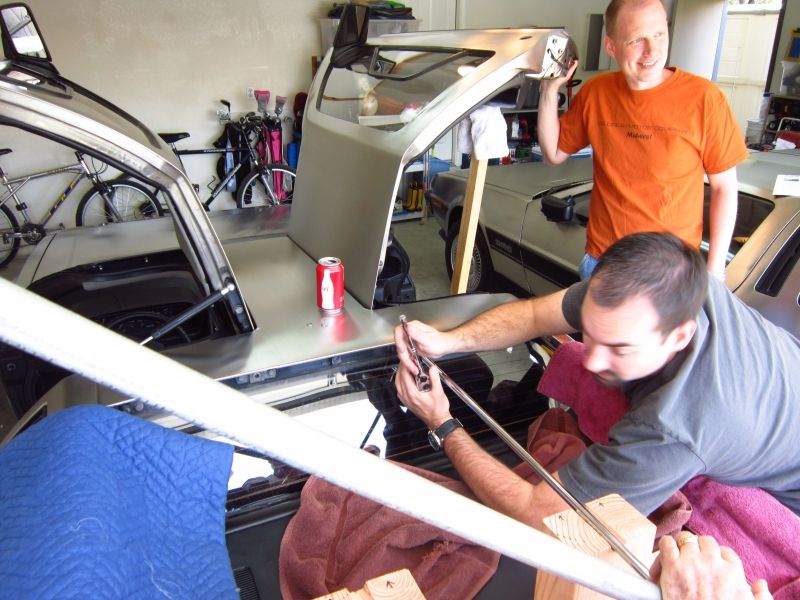
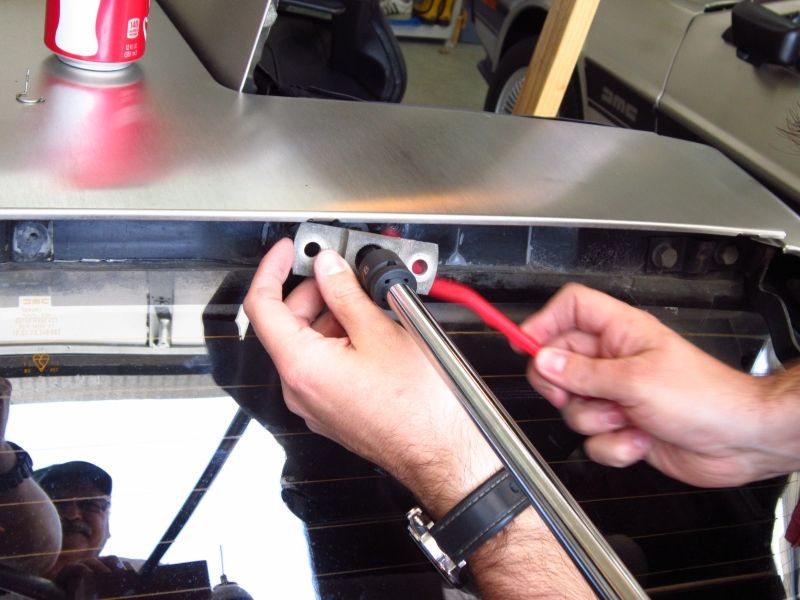
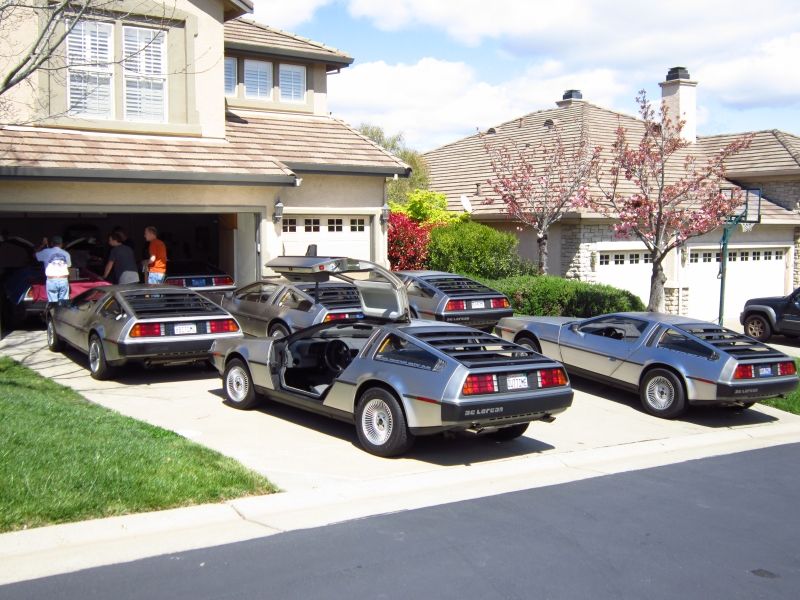
Went to the Norcal Delorean Club tech day, we had quite a good turn out with 7 cars This was held at a members house in El Dorado Hills. We chatted, had some burgers and did some door Torsion bar adjustments. First was on my friend Jon's car, his doors needed alot of work and they never would stay up on their own.
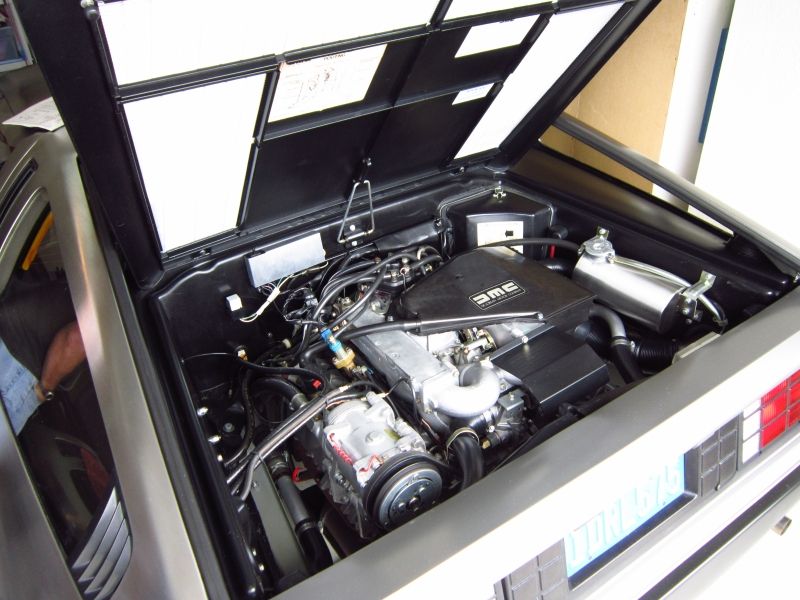
check out Stephen's car with just 19k miles, im SOOOOO envious of that super clean engine.
Here we are using the wooden jig and large breaker bar to hold one of the torsion bars on Jon's car
Hex head socket
Jon's car gave a pretty good fight, some of the bolts were partially stripped, not what you want when they secure the $1500 bars that are always twisting at a few hundred lbs of force.
Next up was mine which appeared to have never been adjusted since new, We tightened both bars up one spline. Finally my doors go up all the way and stay even in cool weather. Such a great thing!
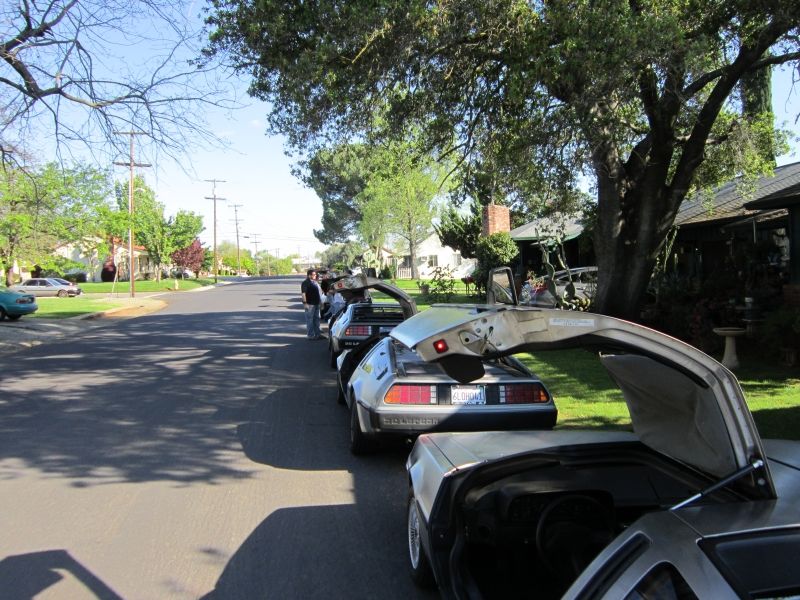
After lunch we all headed out for a cruise through Folsom,ca.
Great day!
Last edited by vwdmc16; 08-18-2012 at 08:24 PM.

Location: Maple Grove, MN (Minneapolis)
Posts: 1,423
My VIN: 05457
That was such a great day!
David Proehl


 Reply With Quote