Getting better by the pageI wonder if the PPR O-ring could have anything to do with the stalling issue you're seeing now?


Location: Sacramento-ish
Posts: 4,408
My VIN: 02100
Club(s): (NCDMC) (DCUK)
Getting better by the page
Jon
1981 DMC-12 #02100. July 1981. 5-speed, black, grooved w/flap.
restoration log, March 2011 to present
full and detailed photo restoration log

Location: sacramento
Posts: 1,415
My VIN: 1768
Club(s): (NCDMC) (DCUK)
No I doubt that because it will usually idle properly, a leak would create a constant high idle
March 11 2010
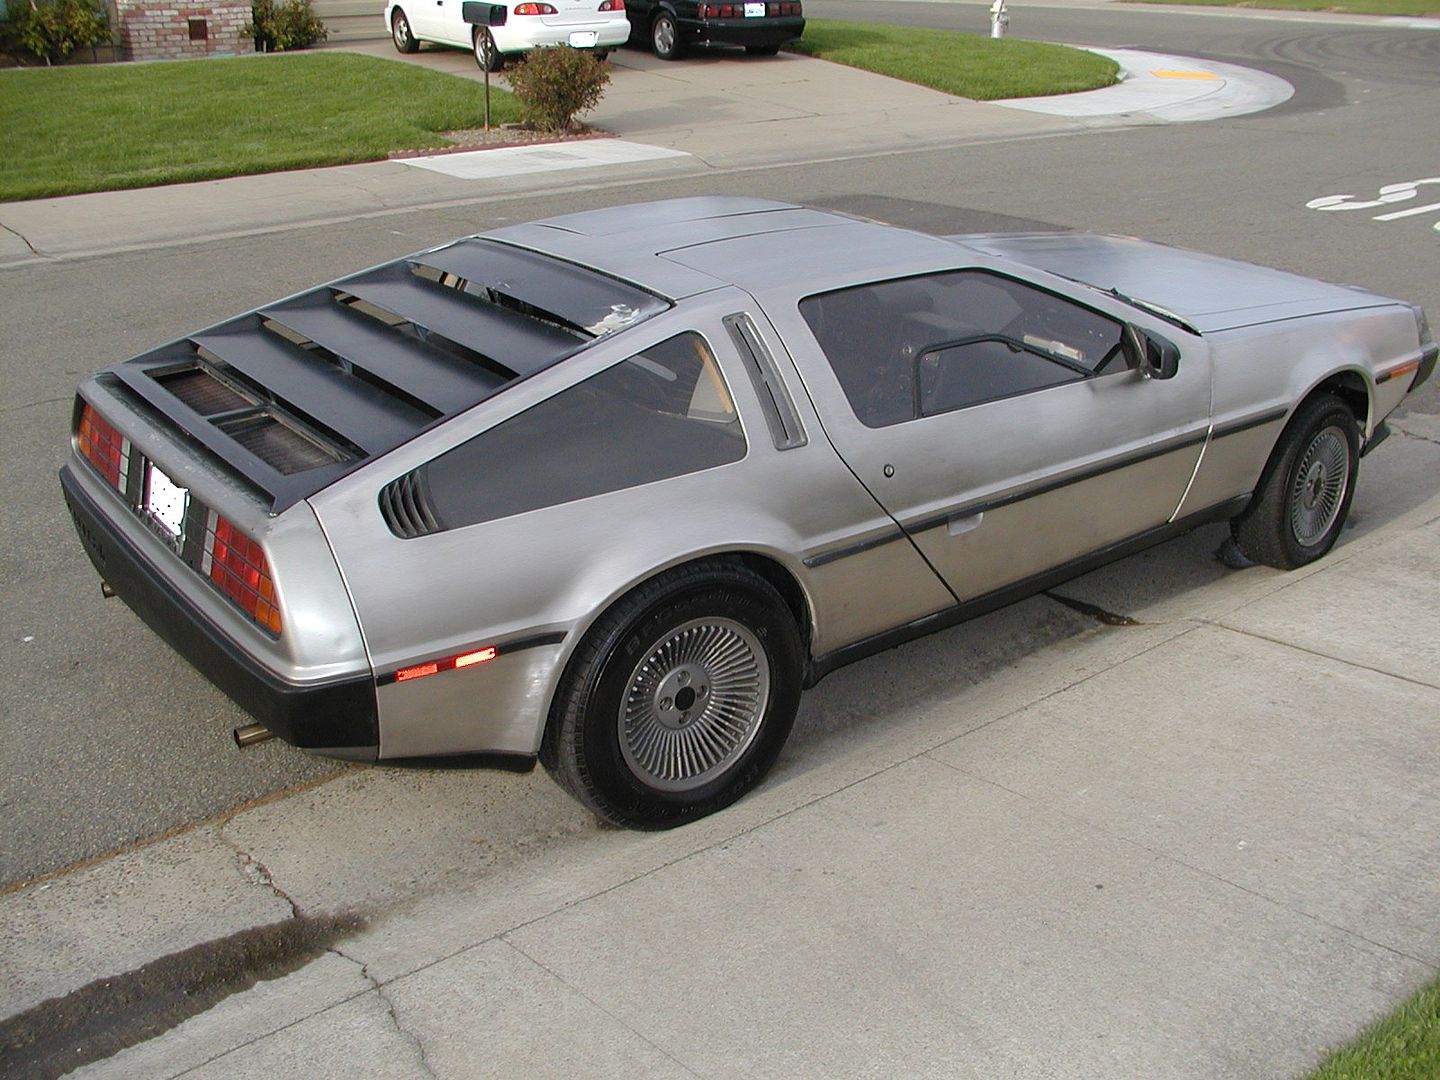
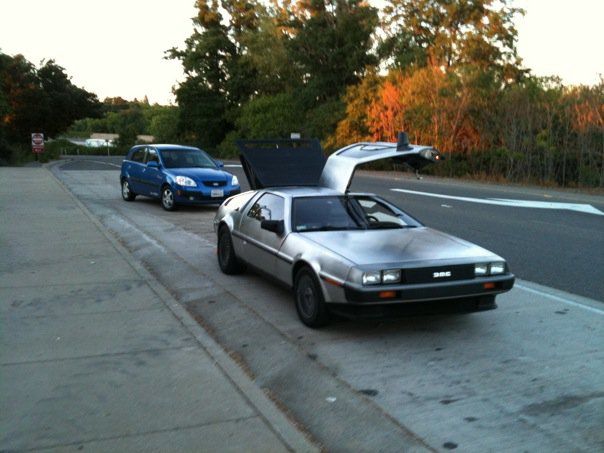
More Racetrack Nonsense and Some Pretty Pictures
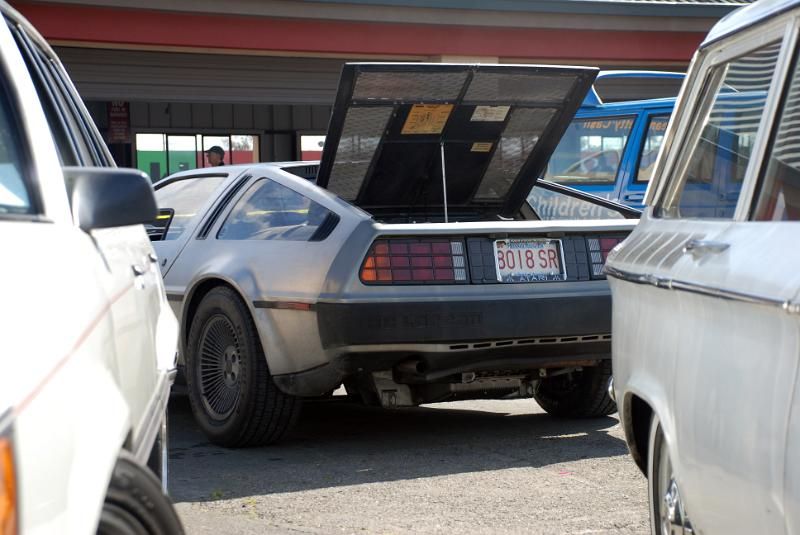
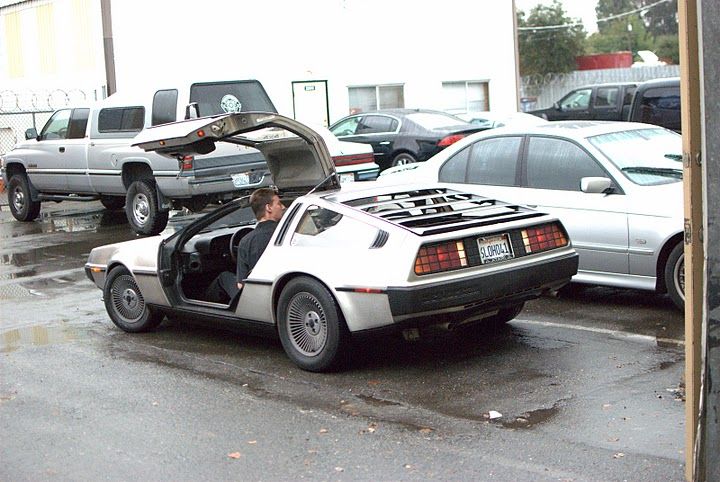
The previous weekend I took 1768 out to the race track again, not to race but just as my car to get to the track for another one of my race weekends. This was my first short road trip with the car, driving about 120 miles non stop it was the longest the car had been driven in 9 years as well. I found out why the car would not start hot, the bad PPR o ring in the fuel distrutor, well when I say bad i mean there was only a small sliver of it left. Im amazed the car ran as well as it did with this vital seal missing however, I only got about 19MPG on my trip.
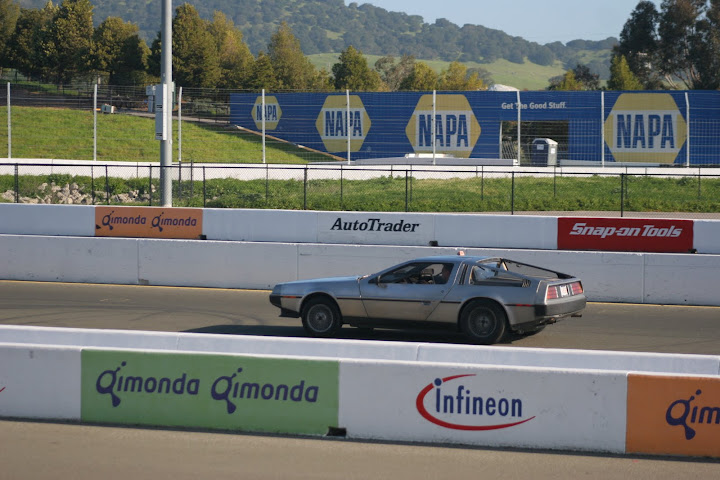
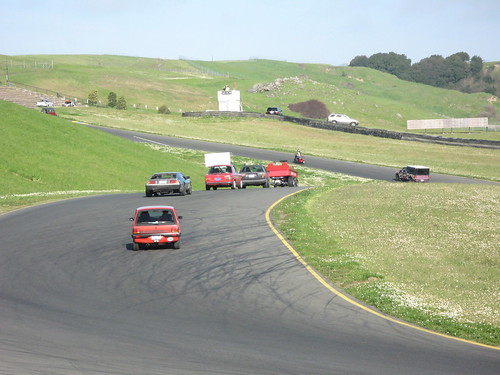
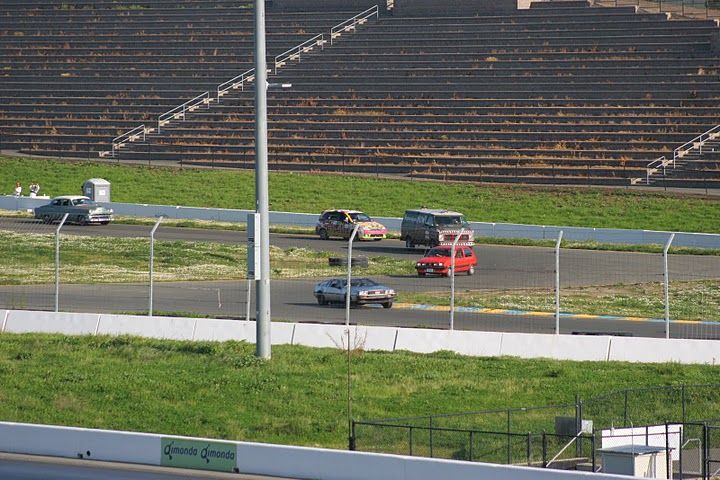
Once again I got to go on track with the pace cars at this race which was held at Infineion Raceway in Sonoma, Ca. fun!
( The day after I received my new O ring and This solved the hot start issue)
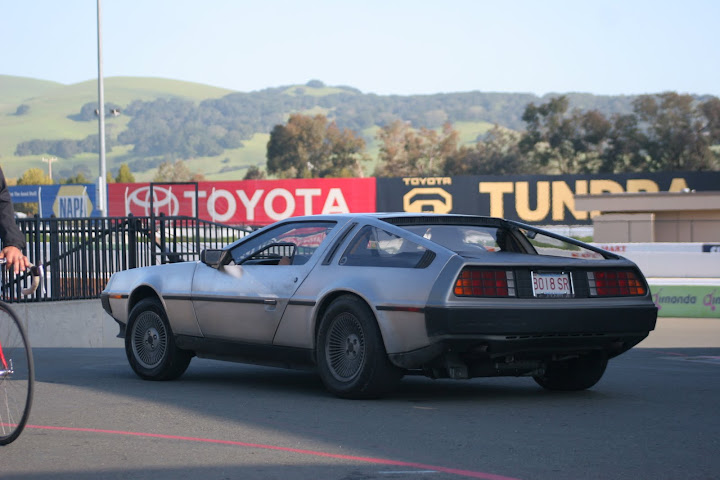
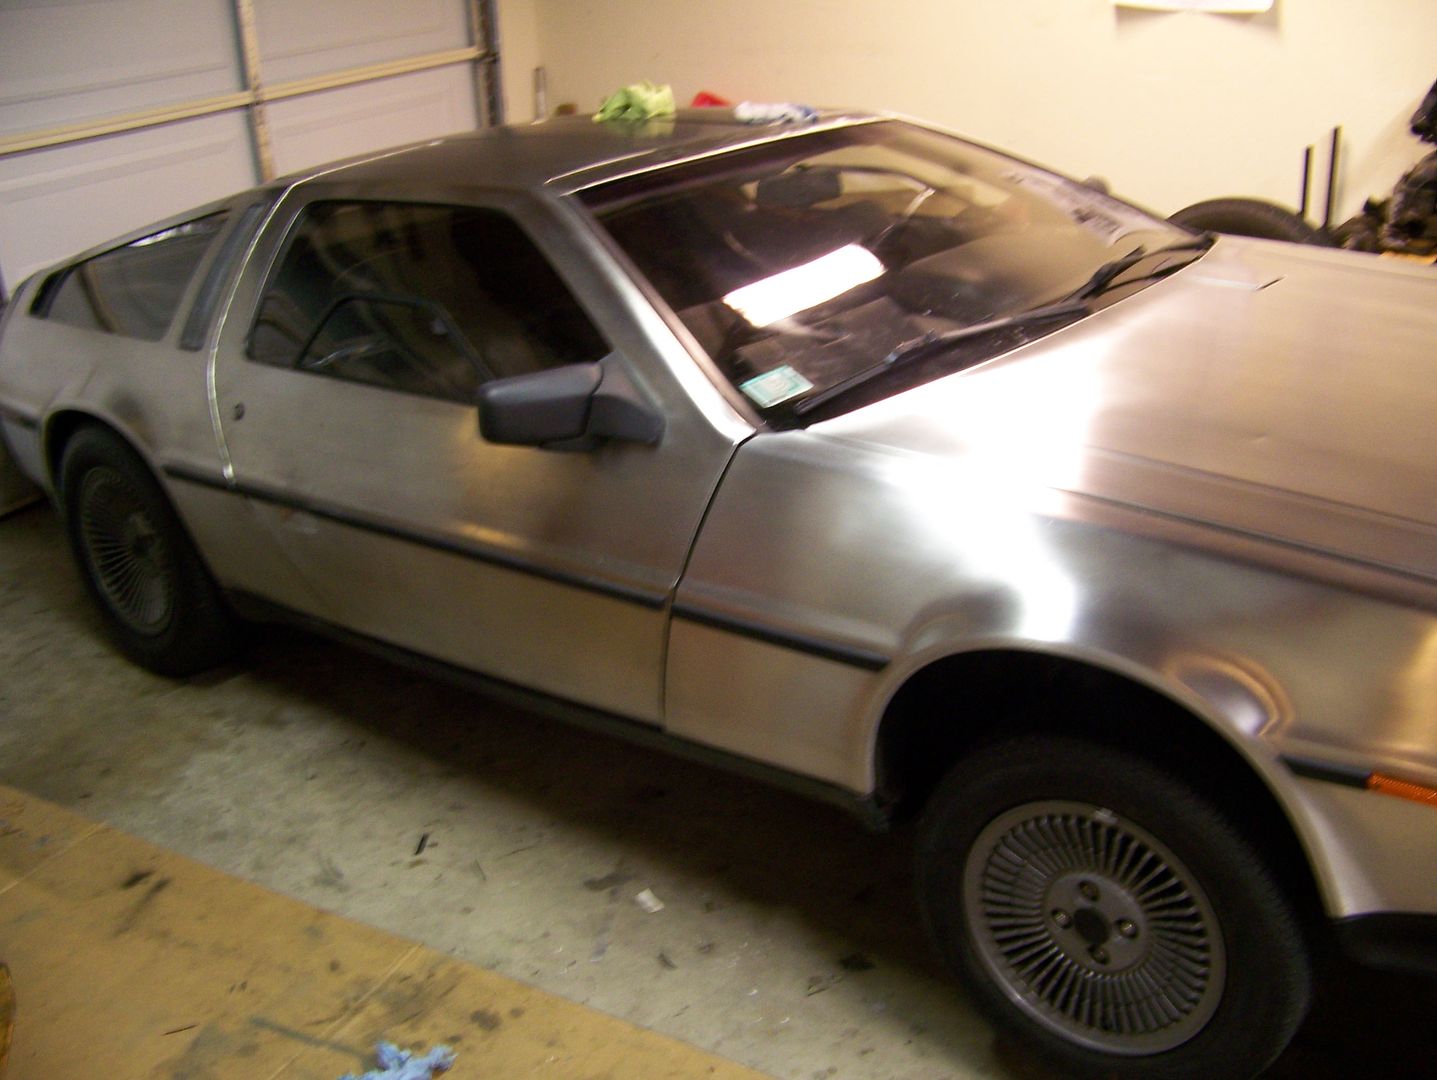
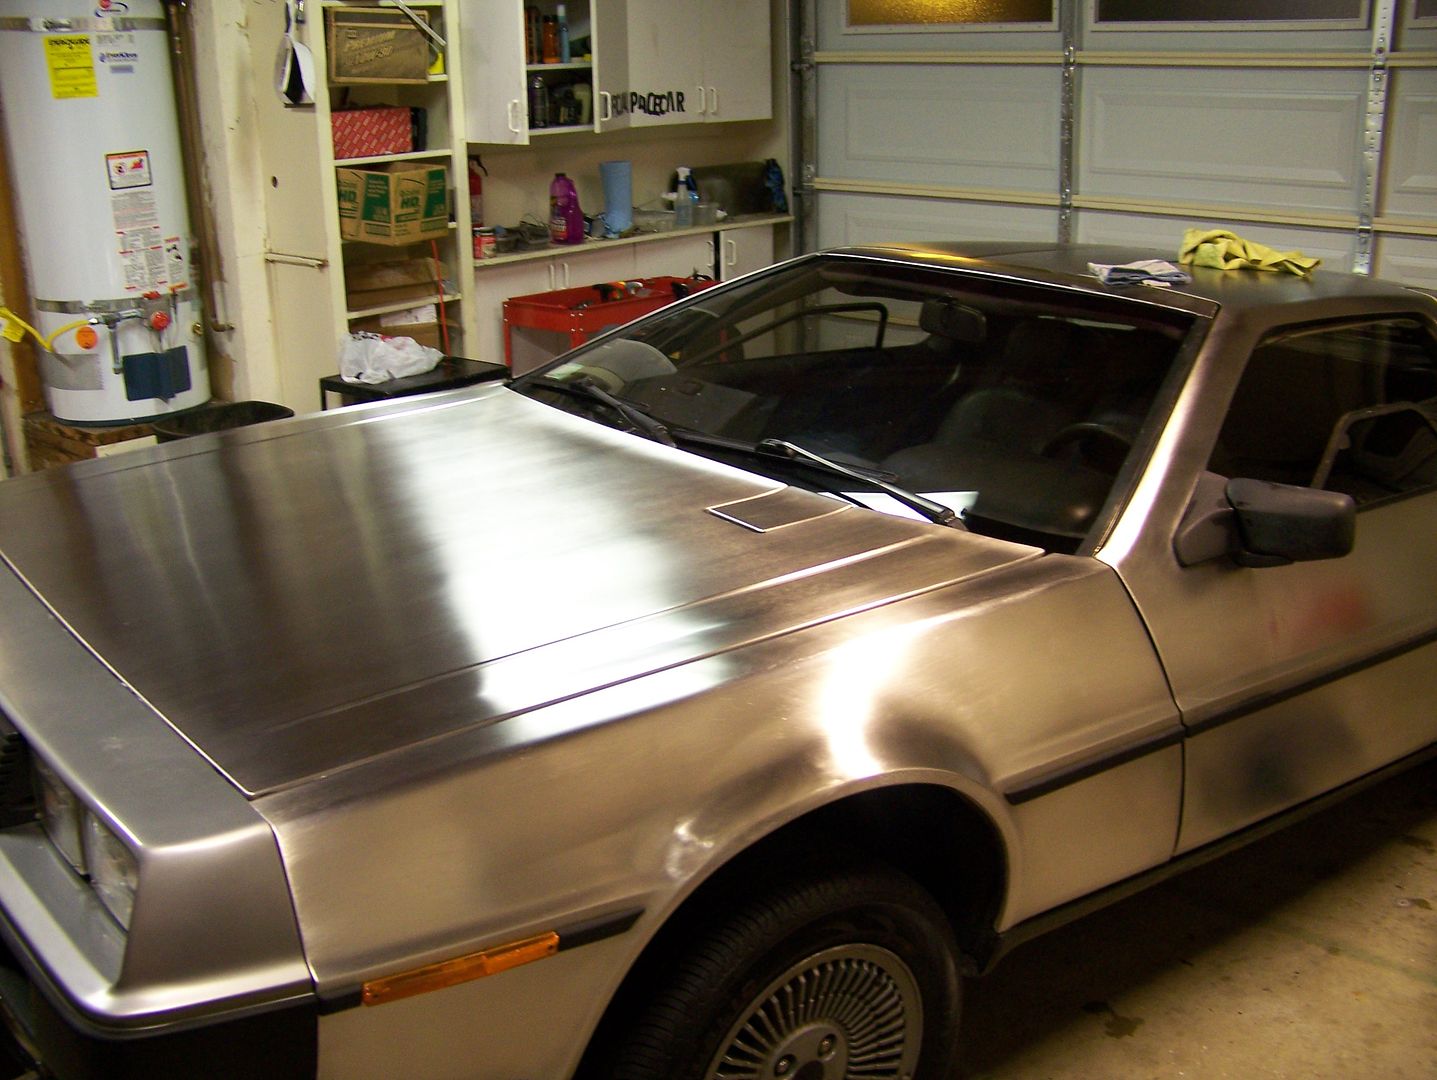
The beauty shots!! Note how high the front still is!
March 24 2010
For the most part things were going well
I Passed SMOG easily which was a huge concern now relieved.
I had about 600 miles on the car under my belt. 400 of them with the angle drive in, however my NEW angle drive had FAILED. It could turn about 1/4 turn by hand or 360'with pliers, so it has stripped the dust cap and will not register speed, This was a huge disappointment! only 400 miles on the damn thing! back to Houston with it.
Also had my first roadside failure which was my own fault. The driver side coolant pipe near the nose of the tranny has been hanging down quite low for a while now and it finally bottomed out on a rail road crossing and burst the rubber hose. I had to Macgyver it with the electrical and duct tape I had in the car and refilled it with water out of a public water fountain a 1/8th mile off using 2 cups I found in the trash, F*ck what a horrid day, but better than paying for a expensive tow truck. Well that has been properly sorted with only permanent damage to my pride.
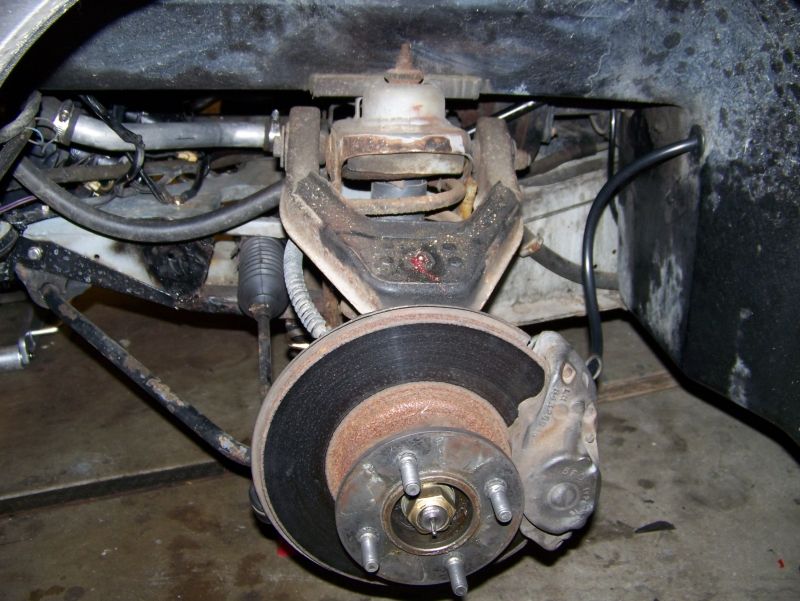
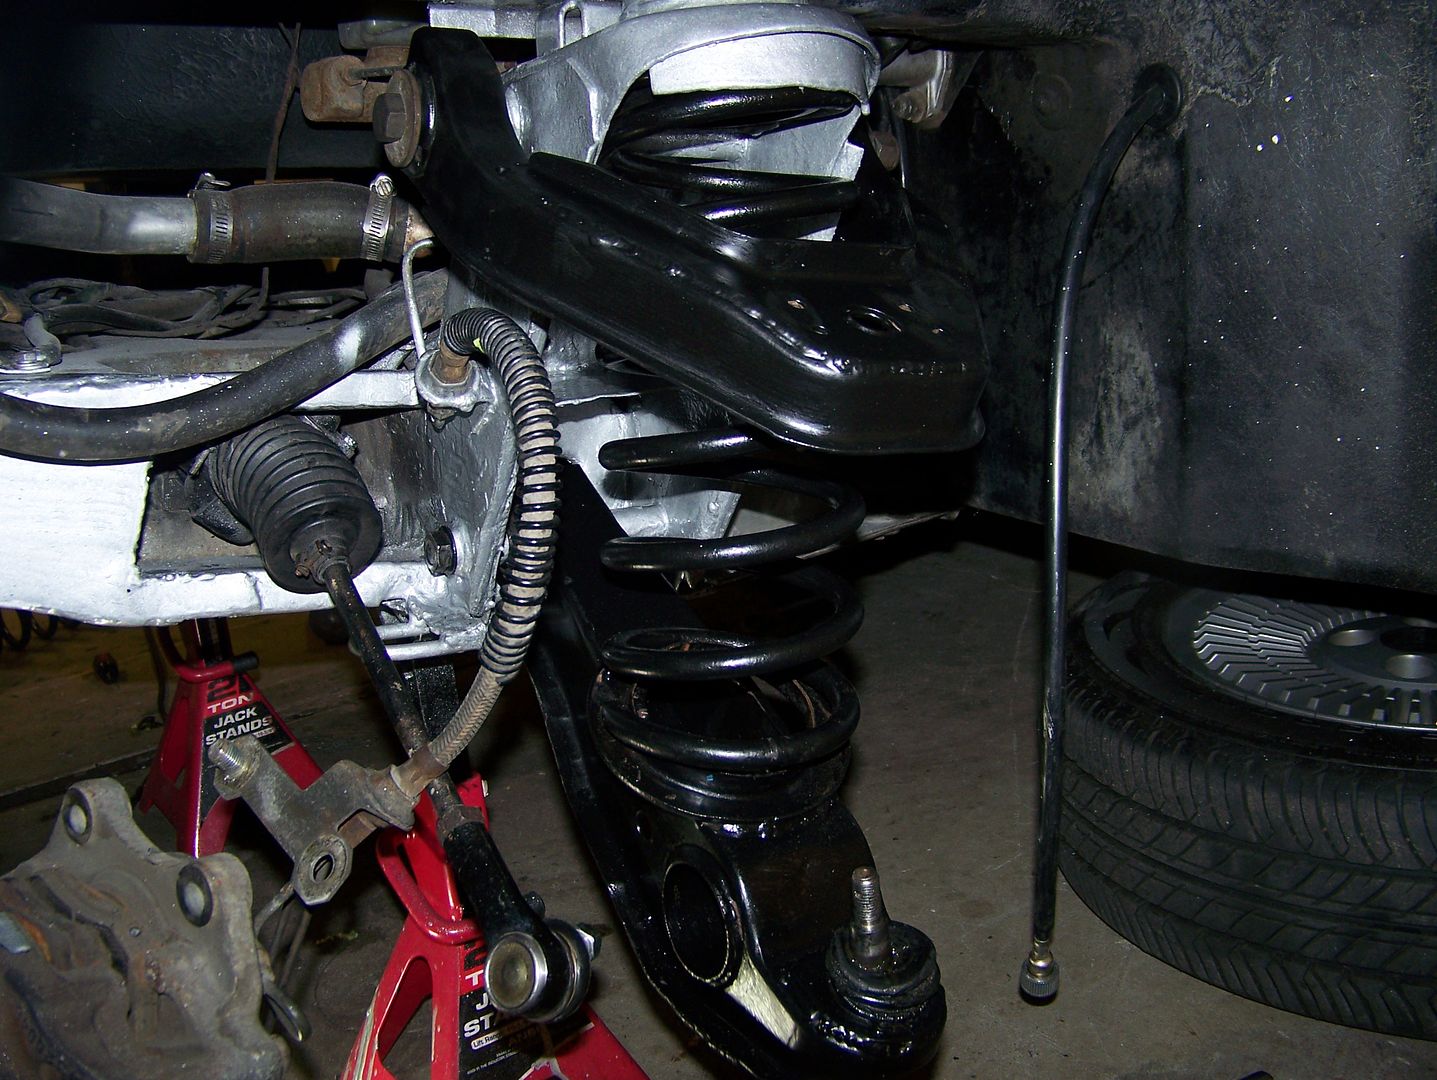
lately ive just been doing smaller jobs to feel proud about, like cleaning my rear suspension which had gotten quite dirty.
I found why my louvers never open evenly, the mounts on the quarter panels are not welded on the same location side to side, the driver side is about 1 1/4" farther rear than the right. im going to have to drill the spot welds and TIG it in the correct place. Its amazing this passed quality inspection.
I repaired some minor rattles in the doors and one in the passenger seat that I swear sounded like a relay clicking.
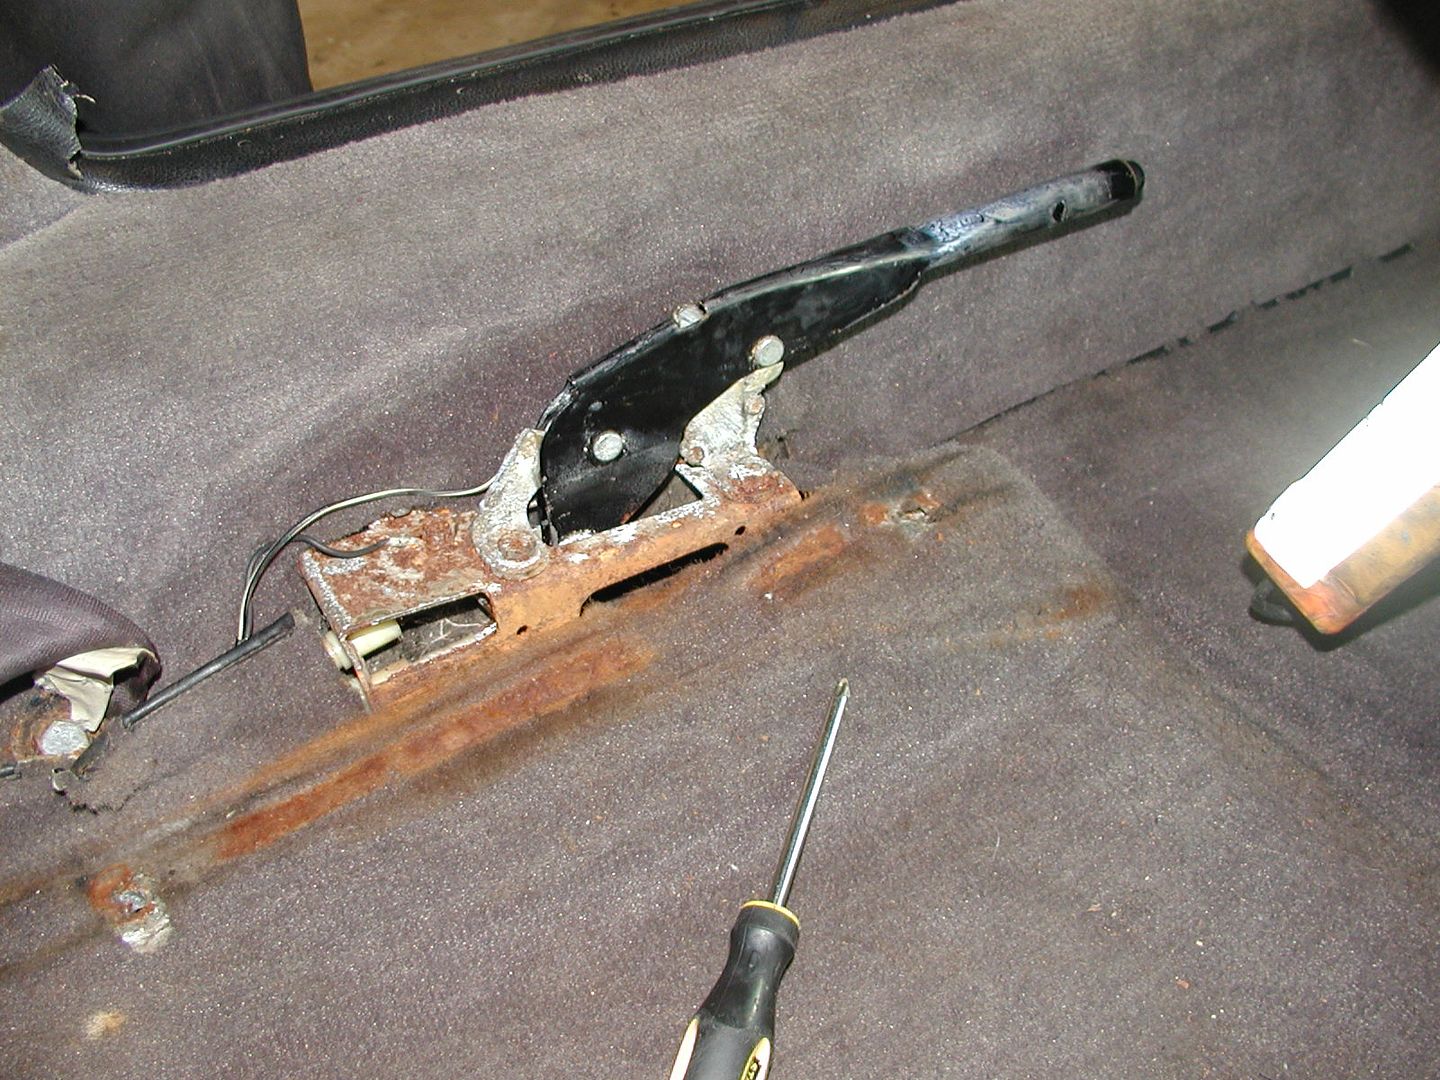
Then trunk cable broke too. great... atleast she still looks beautiful

Location: sacramento
Posts: 1,415
My VIN: 1768
Club(s): (NCDMC) (DCUK)
March 27 2010
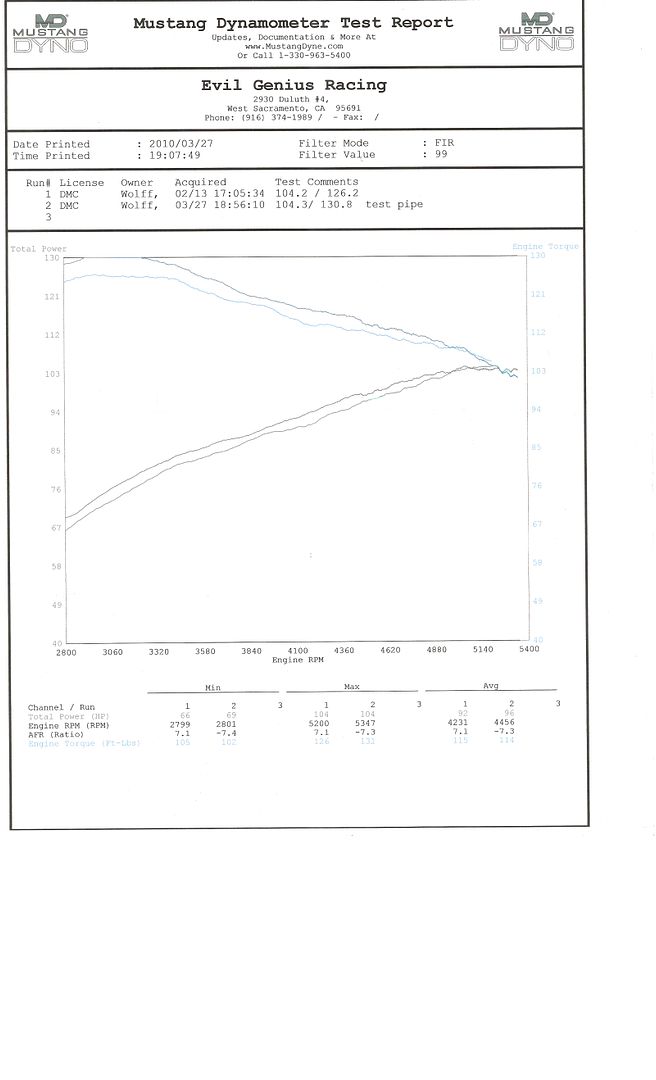
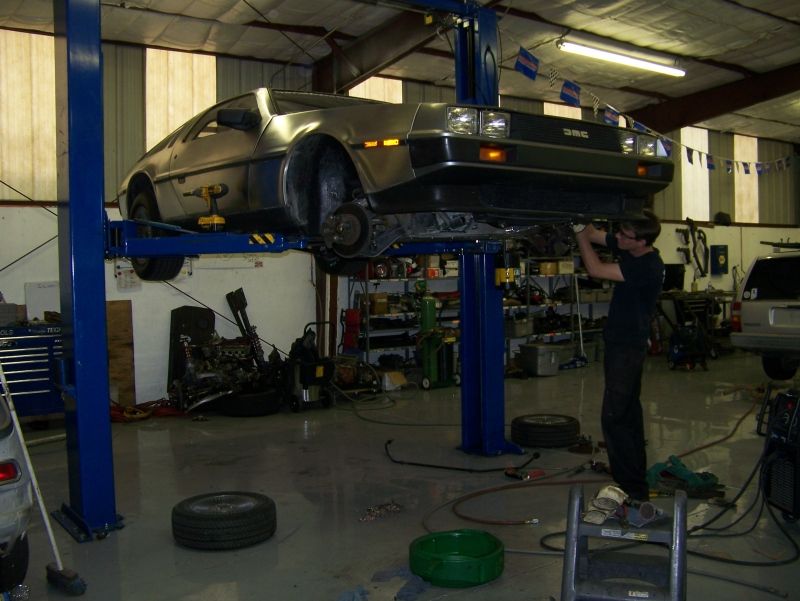
Making Power on the Dyno
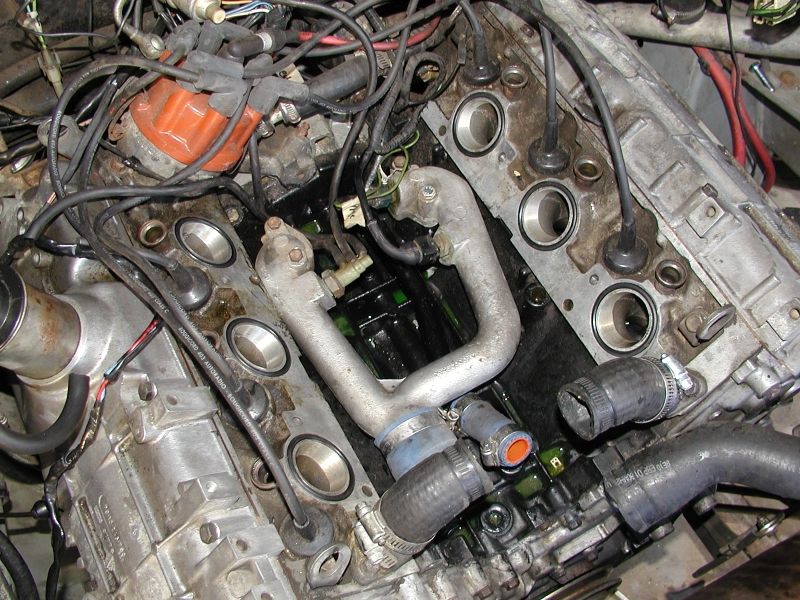
So today returned to the shop and dyno and I re installed the original factory catalytic converter ( which the internal metals had crumbled apart), minus the guts.
I cut it open at the seam and installed a straight 2.5" tube inside basically making it a "test pipe". It was quite a horrible ordeal to change out the cat but I have some reward for doing it, not much but its more power!
I was also hoping to get a better exhaust note but I cant tell any difference in the sound. However the torque, its off the chart even!
So my data disputes the myth that removing the cat on a delorean will gain 30hp. I gained 0.1hp and 4.6 ftlbs tq.
April 5 2010
The car had been getting quite dirty so I gave it an over due bath, I installed new door weather seals so finally no more leaks through the doors hooray! note the repair section on the louvers.
Removed the handbrake cover off for a cleaning, mostly for the switch as it turns on the dash warning light randomly while driving and never lights up steady when it should, need to remove the whole bracket for a good blasting and painting.
fixed some door rattles by tying some vacuum tube to the lock rods that were rubbing the door frame.
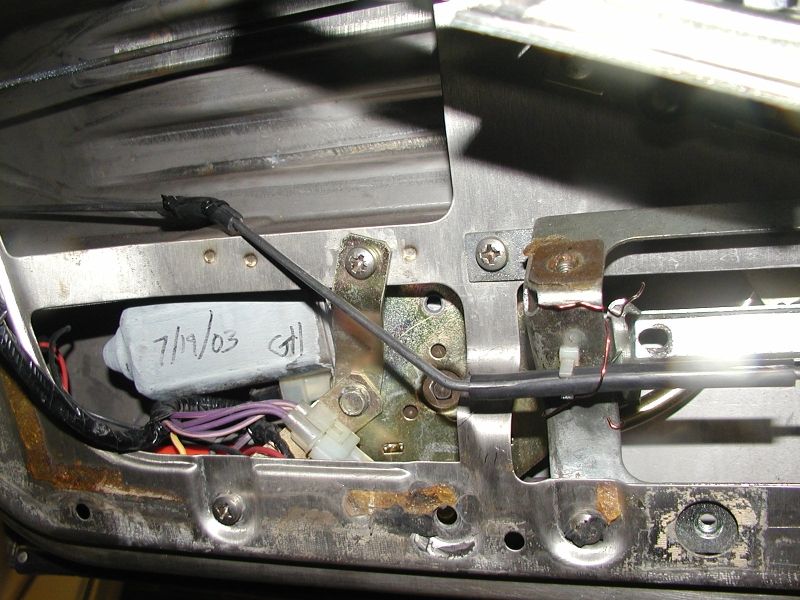
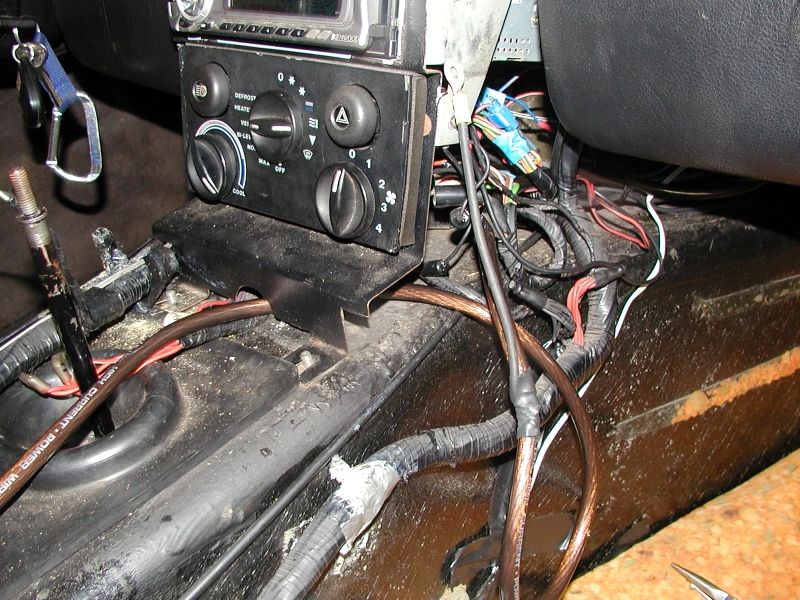
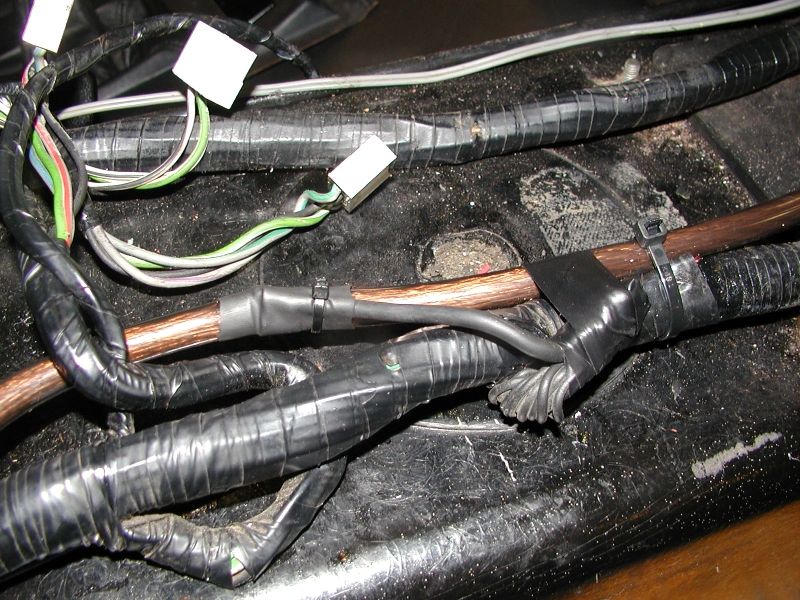
Took some time to organize the fuse box area, fixed a few more bad connections too.
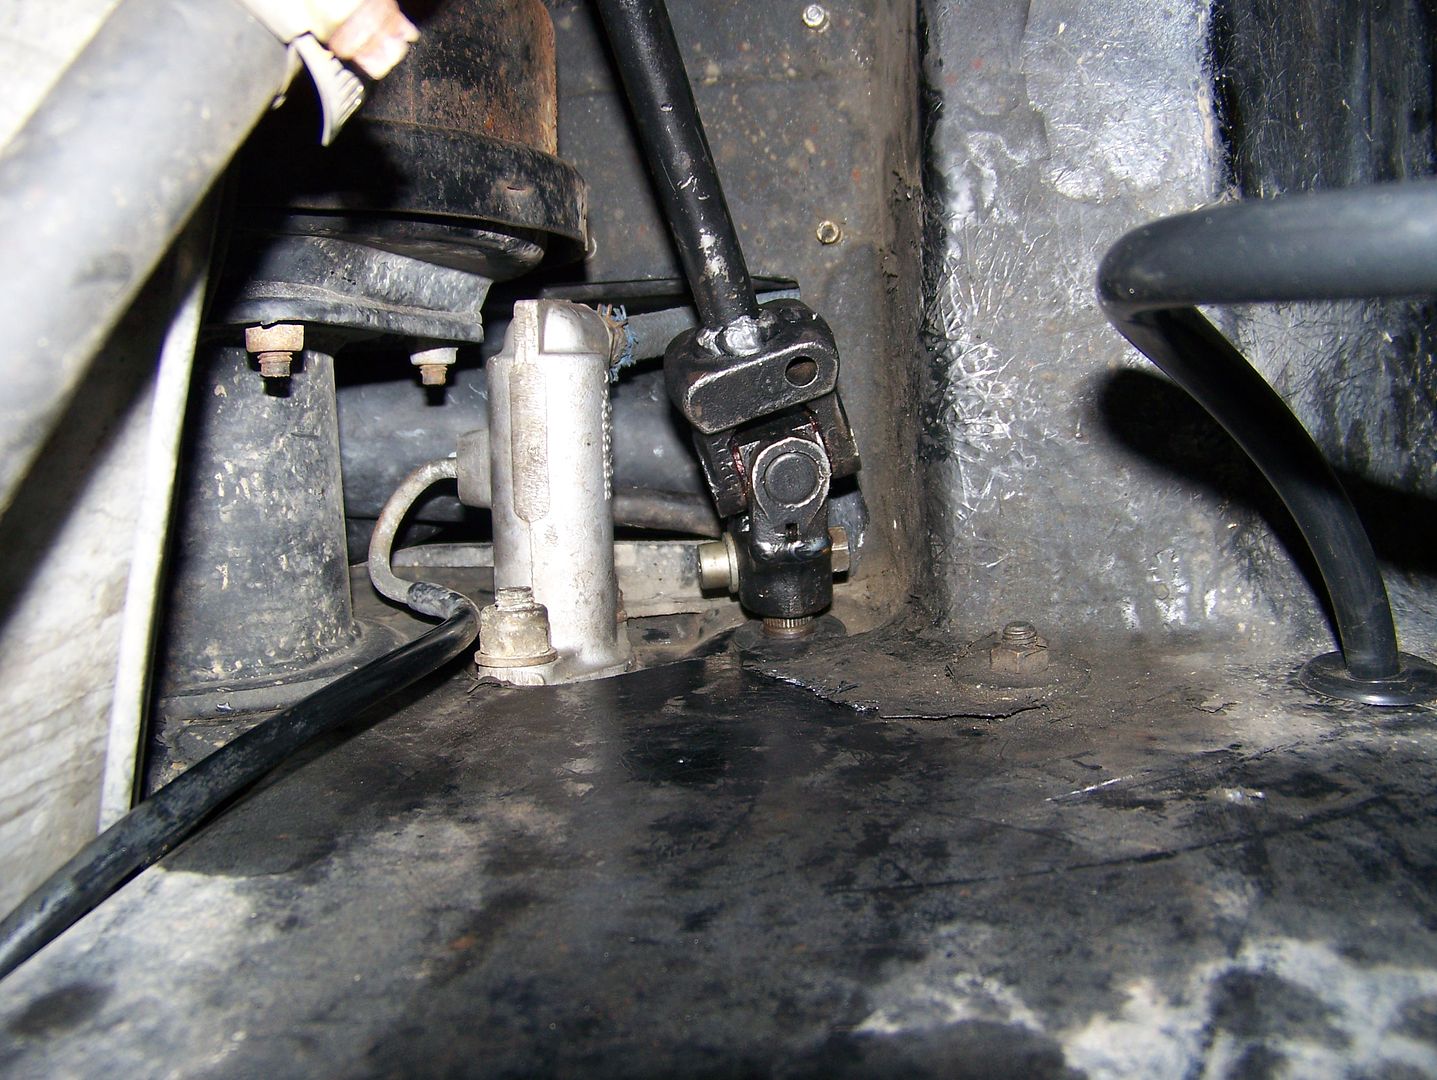
Ground Bus
The biggest and most rewarding job lately is installing a 4 ga. ground bus, this is still one of the best improvements I have installed in the car. I copied this idea from another DMC owner, Since the car's body is fiberglass its cant get a good ground anywhere, so it has lots of small grounds branching out to connect them. so I installed a large 4 ga. wire that every ground juction attaches too. Ive soldered every connection and used gold plated ring terminals with heat shrink.
Here the cable starts in the front frame with the radiator fan grounds.
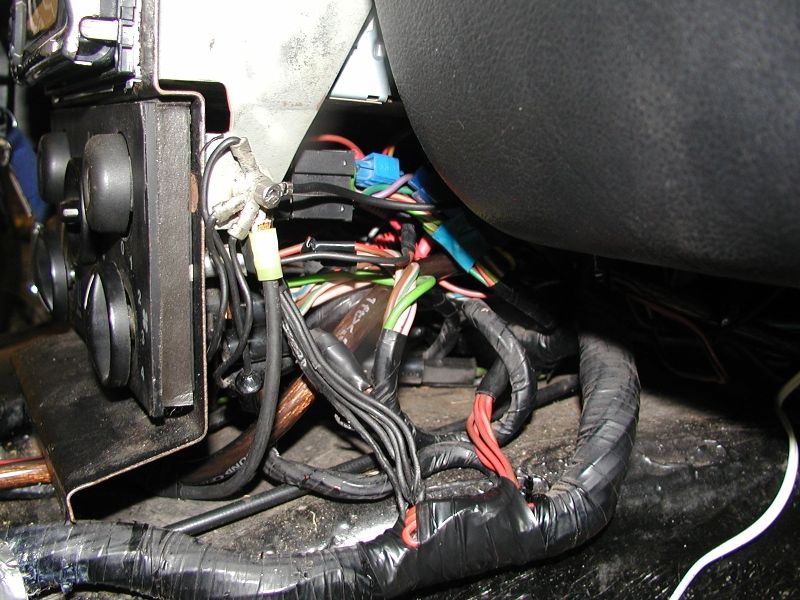
The most important connection at the radio bracket, I found a few wire that were completely melted away exposing the copper, no wonder my tach would read high with the load in the car's system. Also since ive owned the car the tach has never gone to zero with the key on engine off.
It would stay at 1k rpm, now it readys proper! This proper wiring has made all the gauges worked so much better.
There are about 11 wires to one bolt at the radio for all the dash lights.
I tied the new ground cable in at every factory ground juction. I still need to finish the rear half, tie into the engine, ECU brackets, and fire wall. Here is a tie in on the center console.
Location: sacramento
Posts: 1,415
My VIN: 1768
Club(s): (NCDMC) (DCUK)
Apr 16 2010
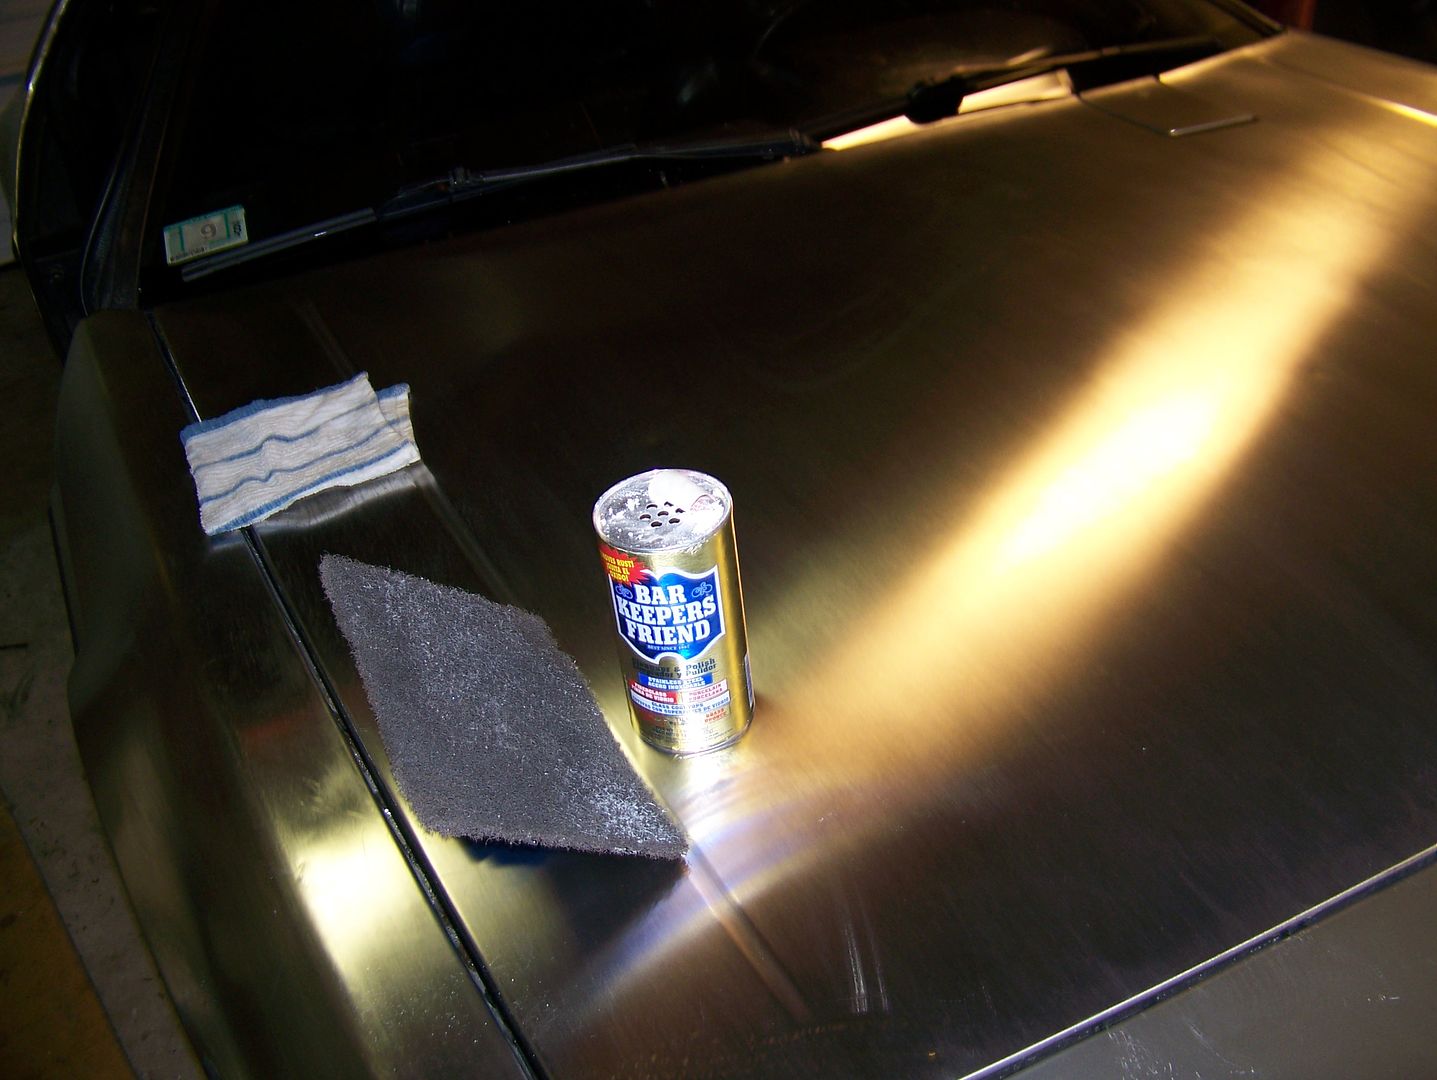
Been fiddling with things here and there, recentering the steering wheel, working on my interior lamps. Tried out the stainless cleaner Bar keepers Friend, its like Ajax powder, shit is amazing, getting the car ready for its parade debut the next day in davis for the annual Davis Picnic day, also marked the 1 yr anniversary of picking the car up.
Uncleaned:
Cleaned:
This bolt attaches the steering column to the steering shaft, its such a PITA to remove for recentering the steering wheel I wasn't able to remove the steering wheel, all pullers have failed, next to it is the clutch master.
April 17 2010
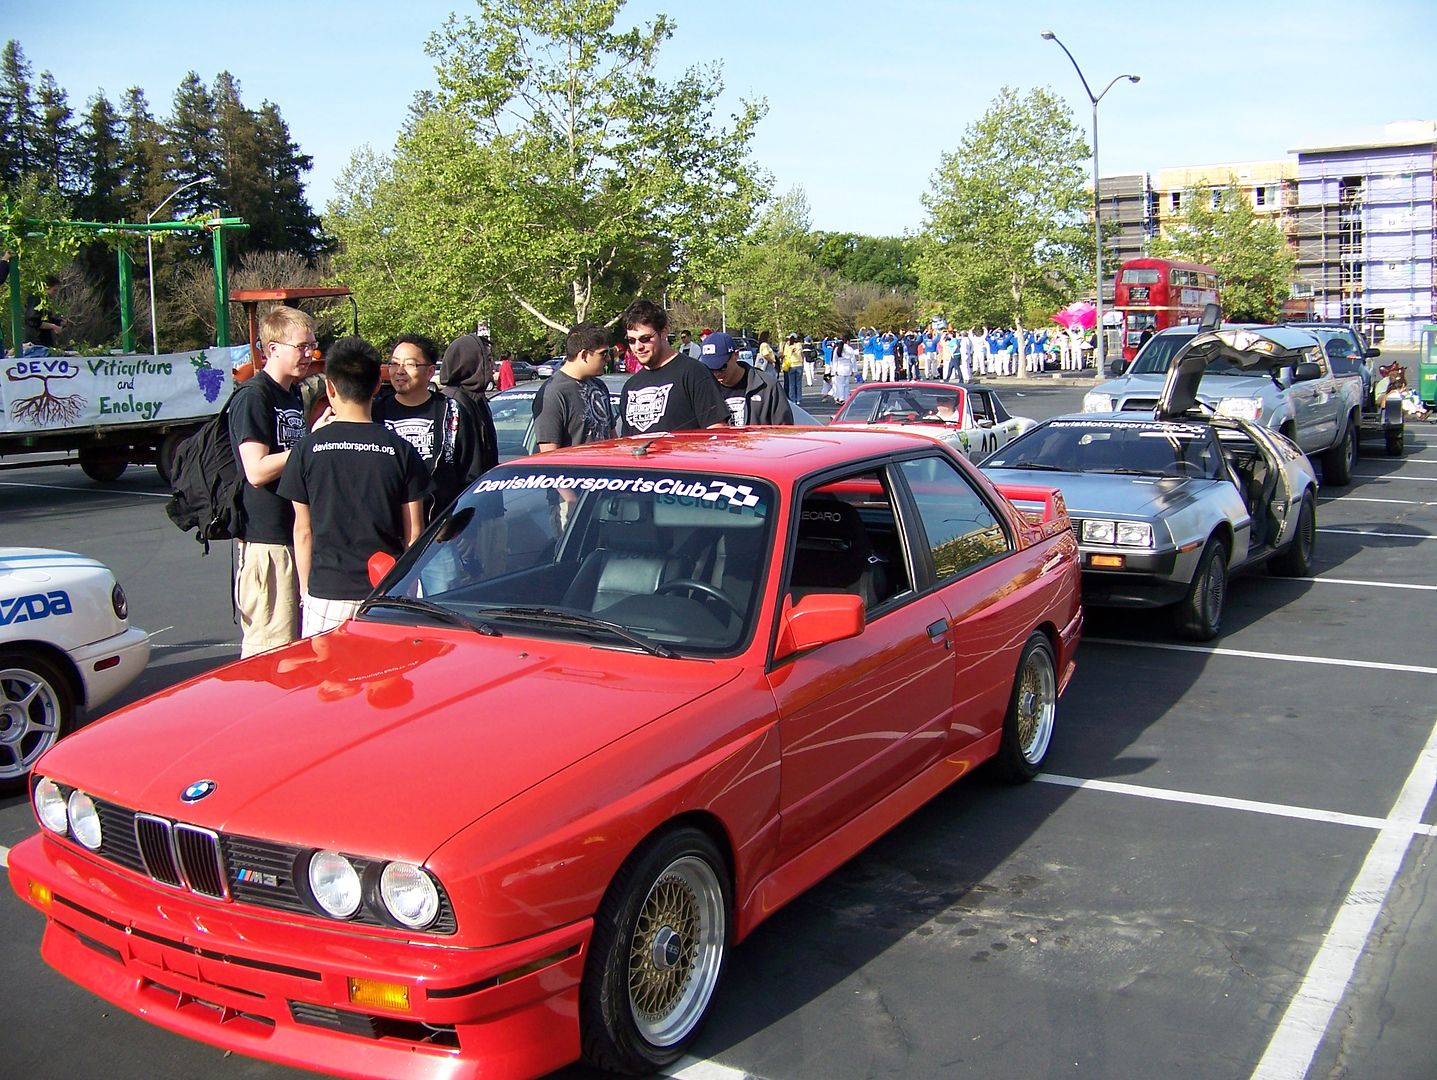
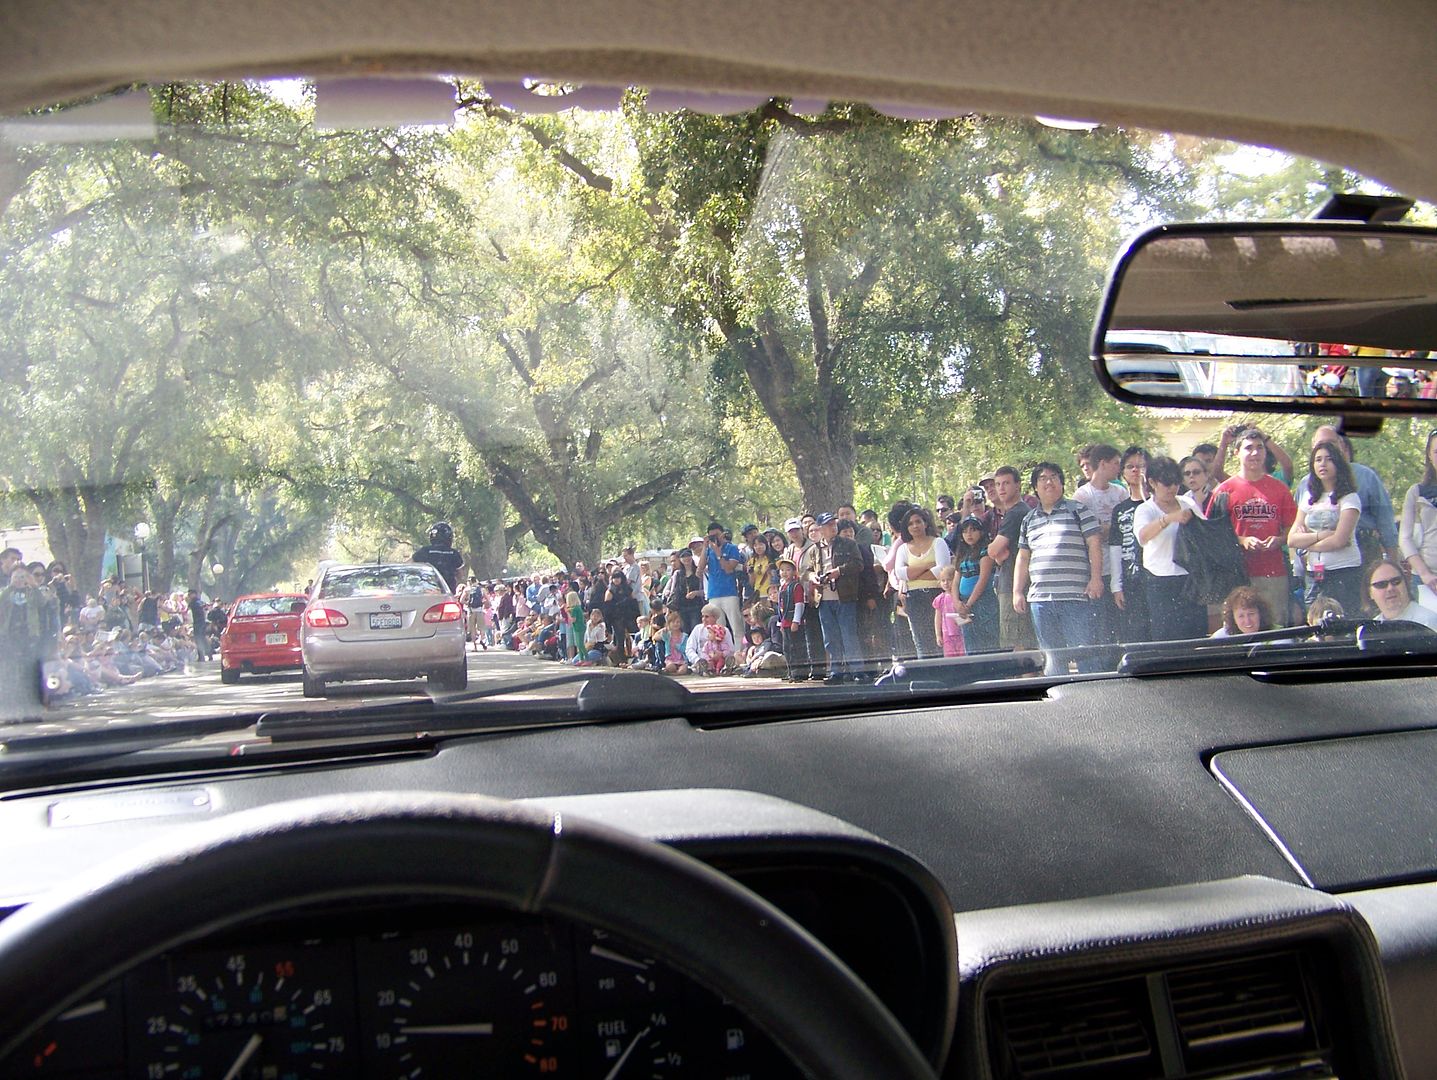
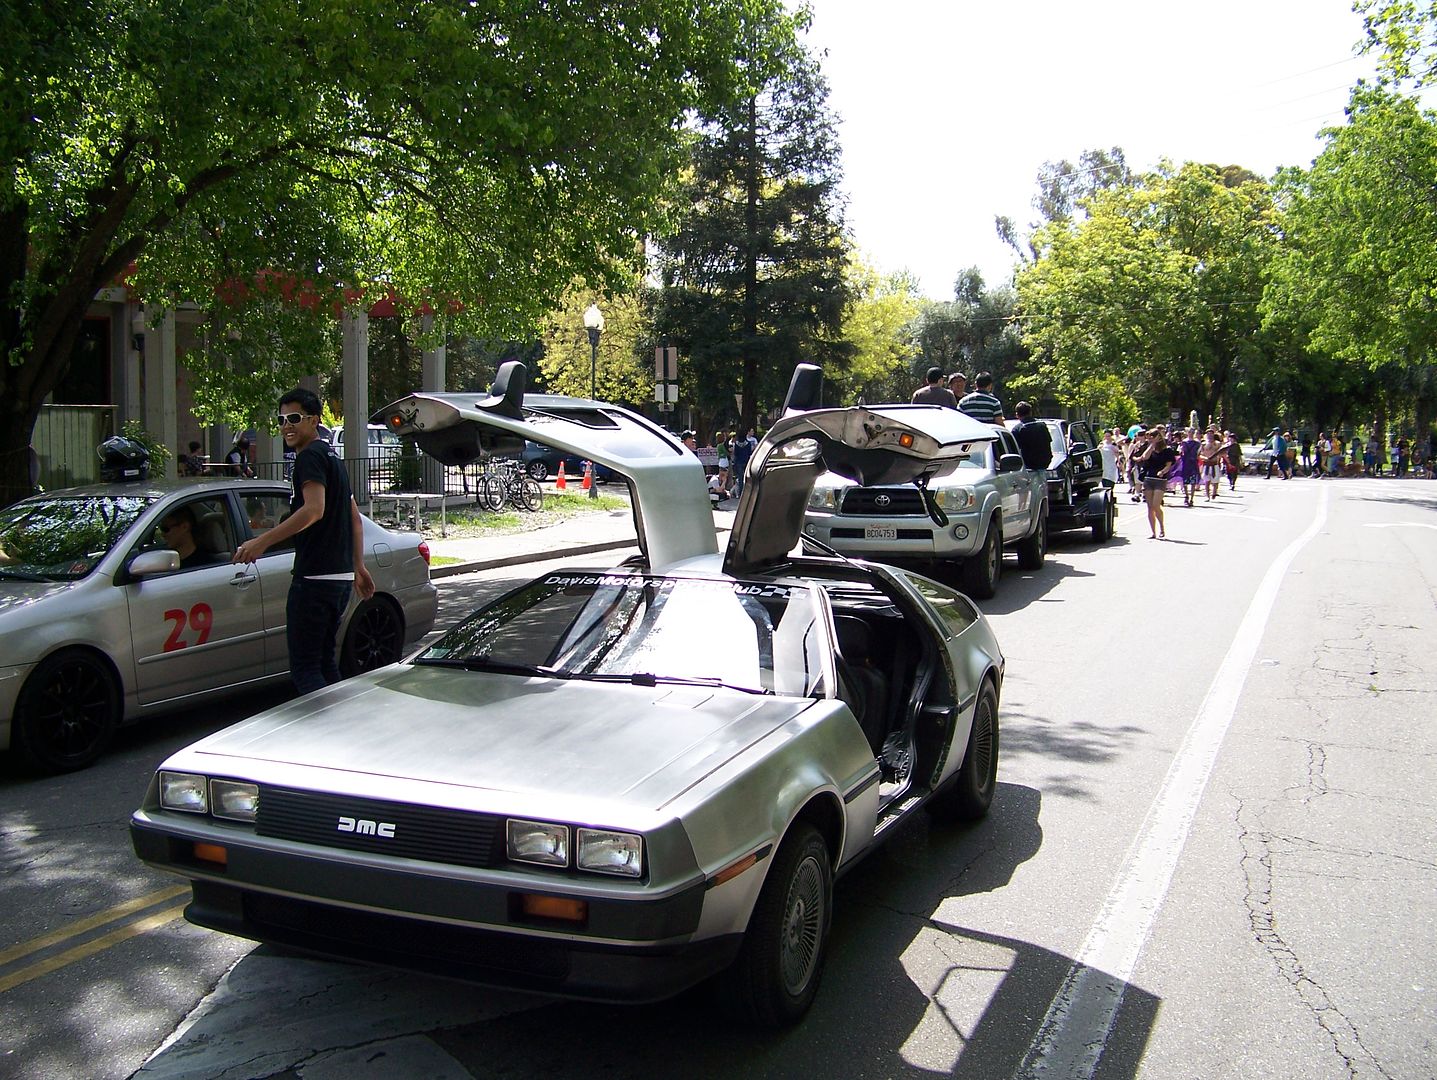
Its been a Year, Lets Have a Parade
Picnic day pics:

Location: sacramento
Posts: 1,415
My VIN: 1768
Club(s): (NCDMC) (DCUK)
April 24 2010
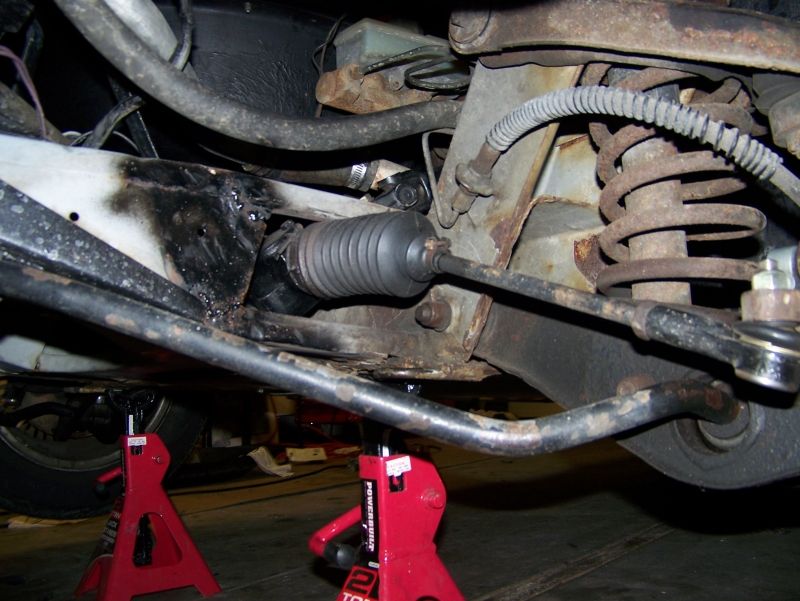
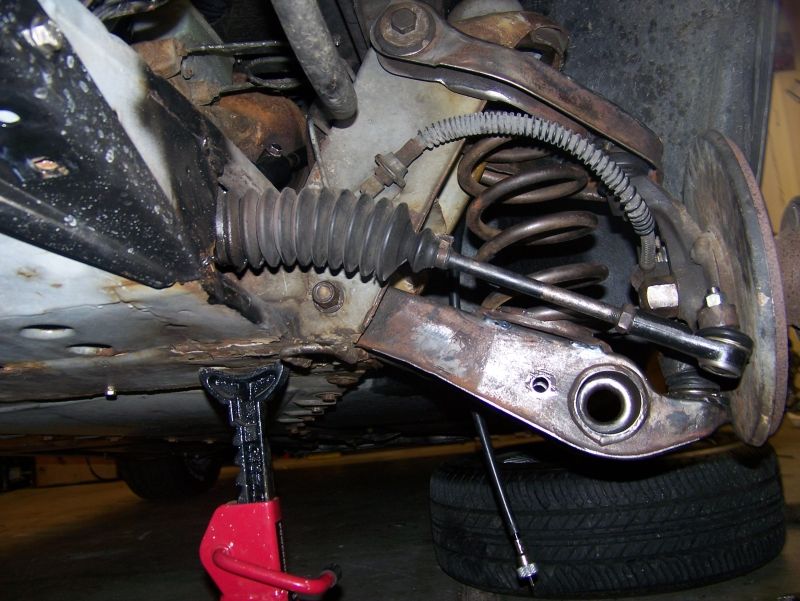
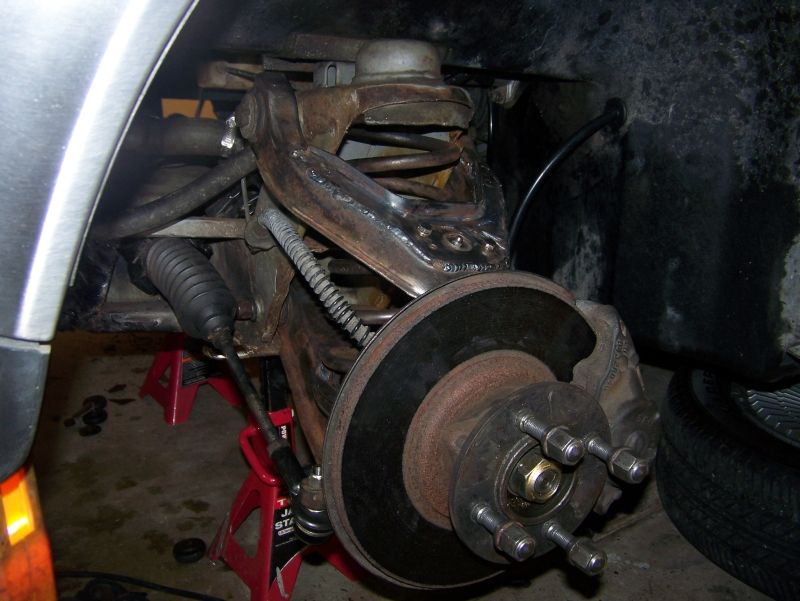
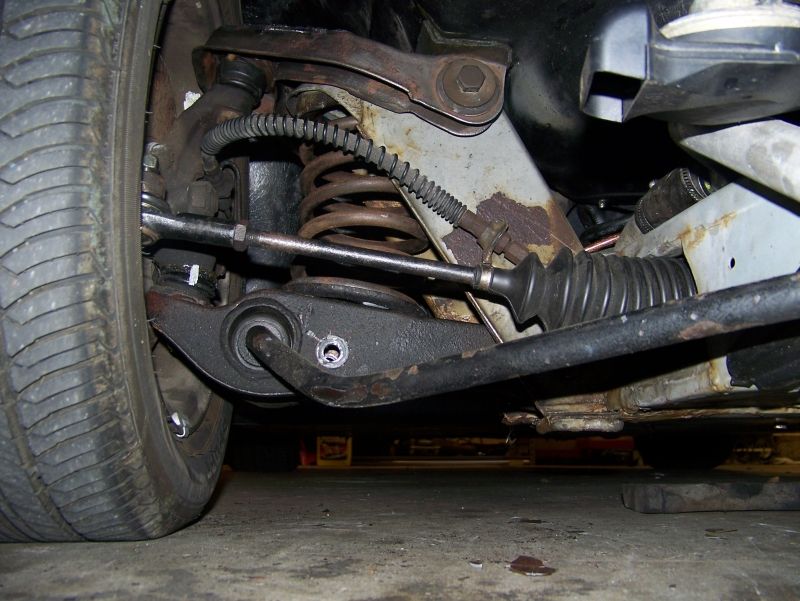
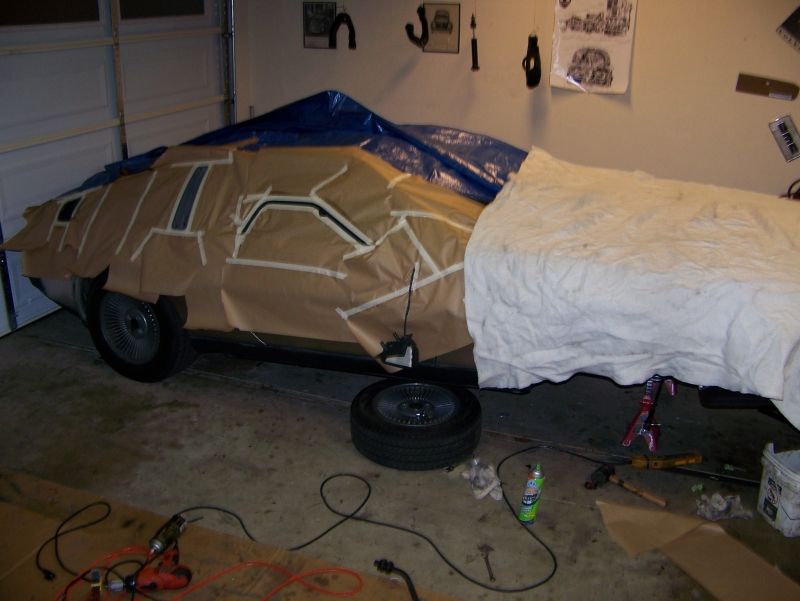
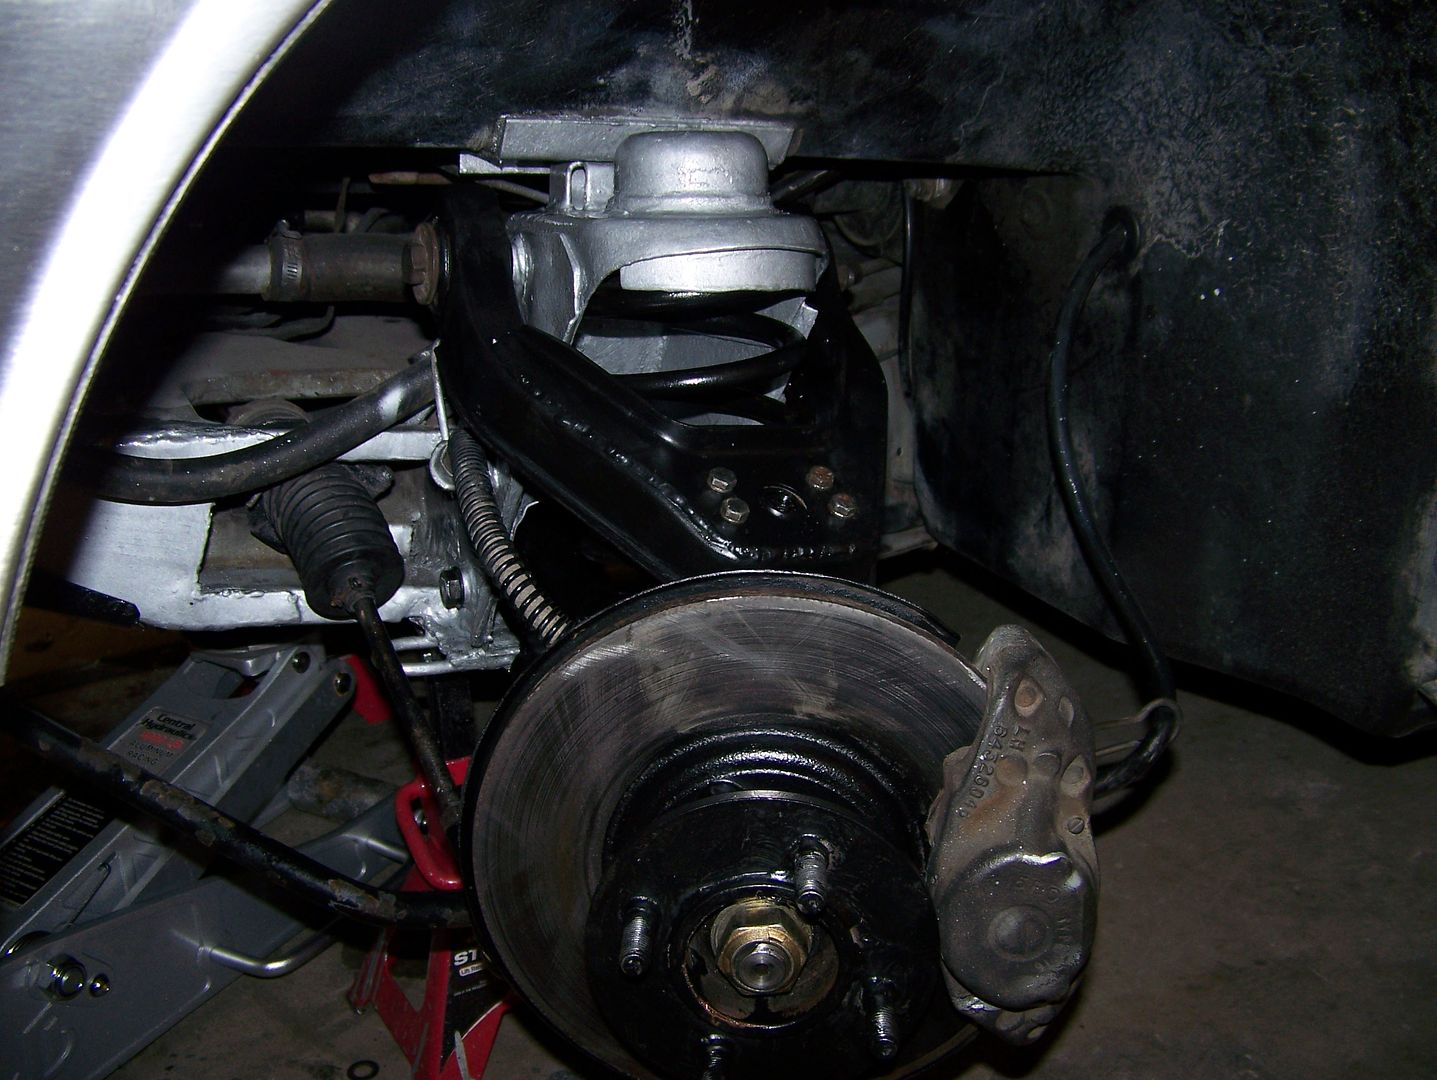
Front Suspension Overhaul and Lowering
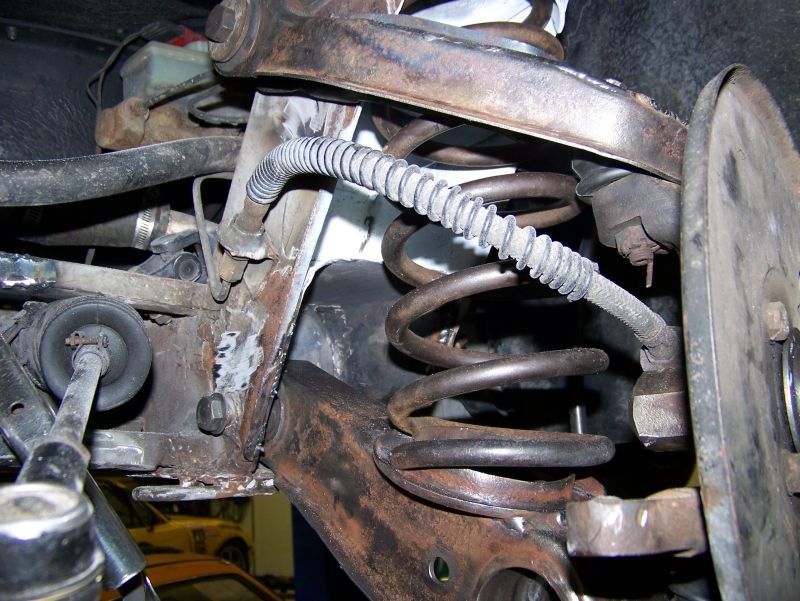
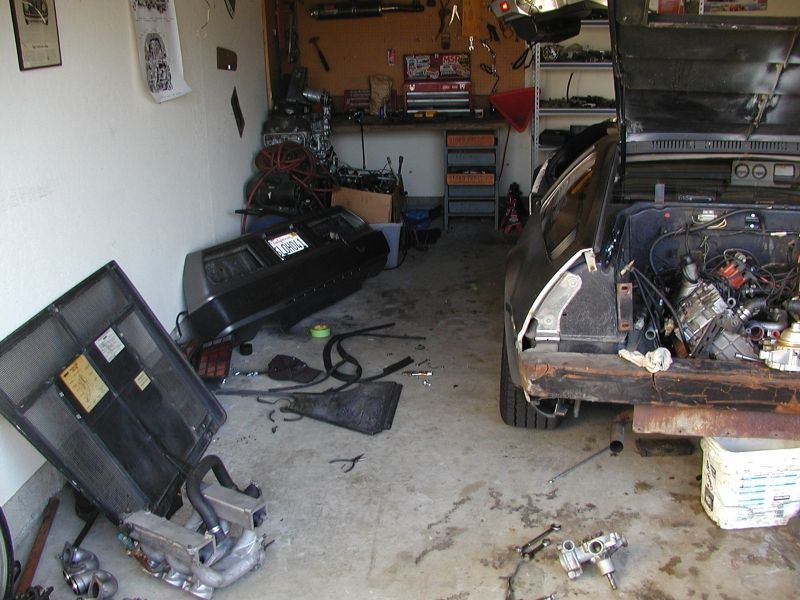
Finally im rebuilding the front end, This was a dirty mess and in much worse shape that I had ever thought.
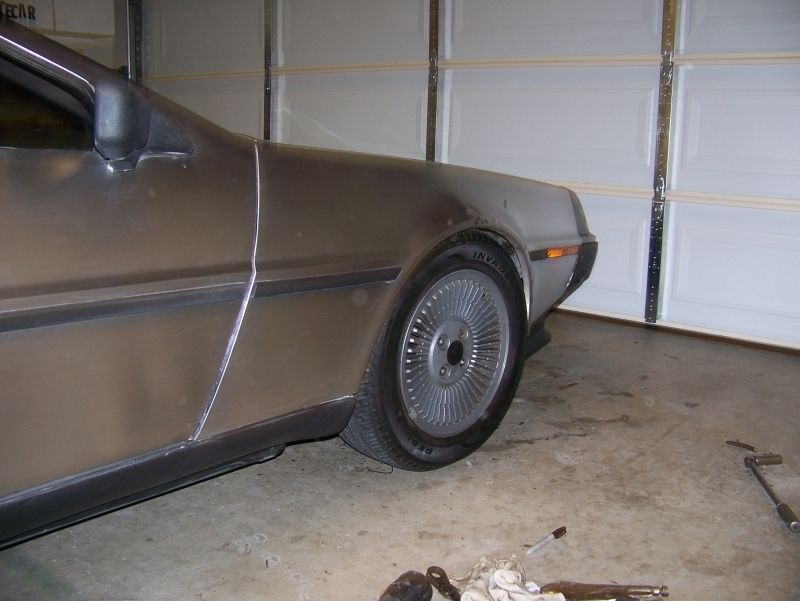
so here's some reference shots, from the floor to the top of the fender arch is is a whooping 26 1/4" the front suspension was definitely higher than stock which was already too high. The culprit that I found was that all of the nitrogen gas pressure in the shocks has migrated to the underside of the piston, this meant all that pressure was pushing the shaft out thus lift the car as well.
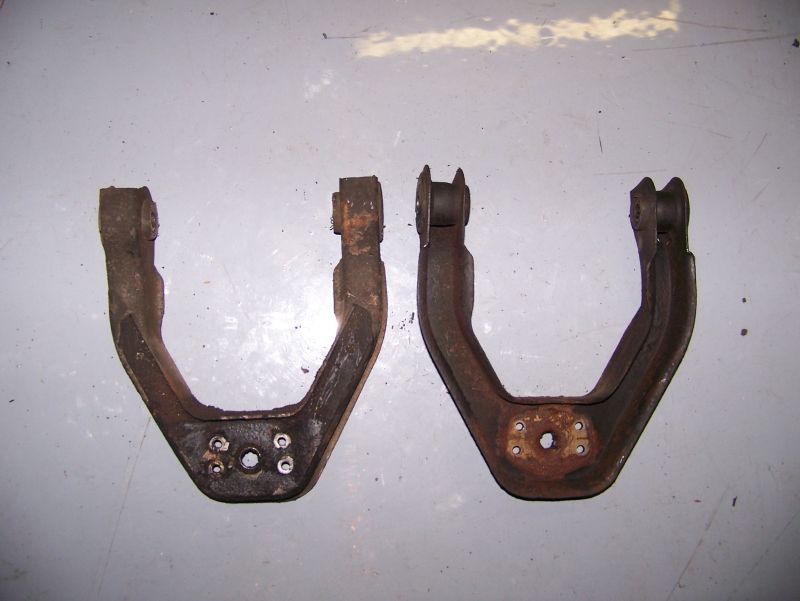
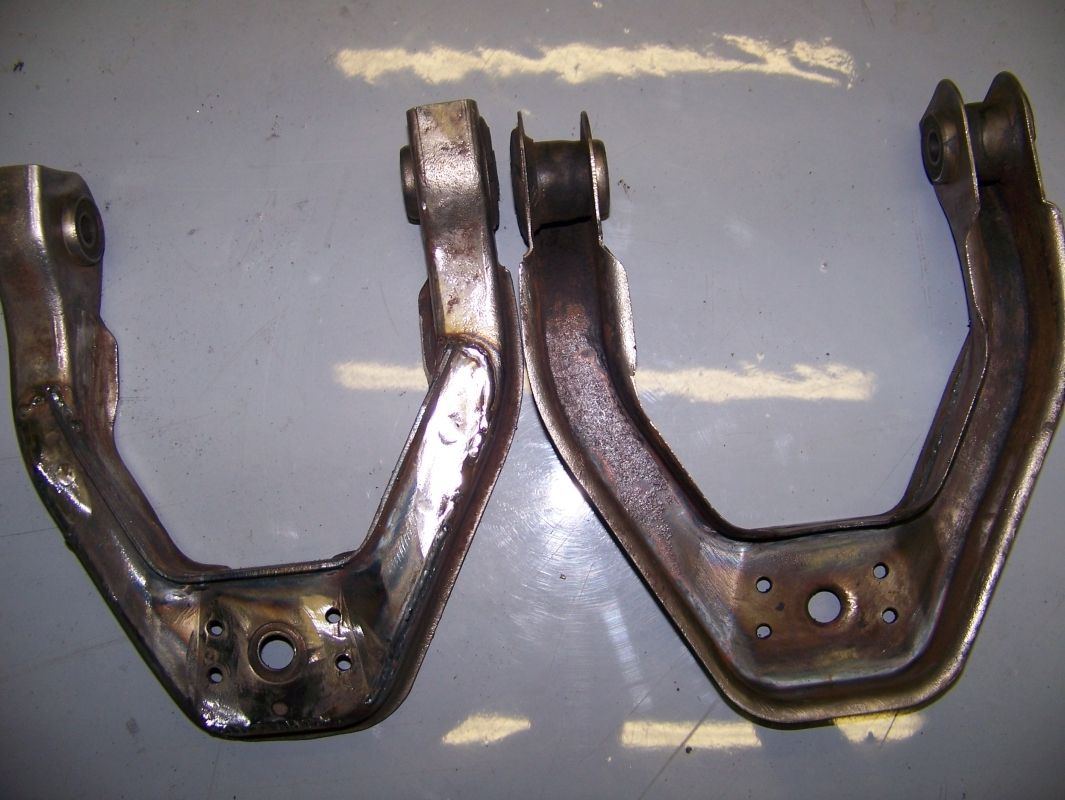
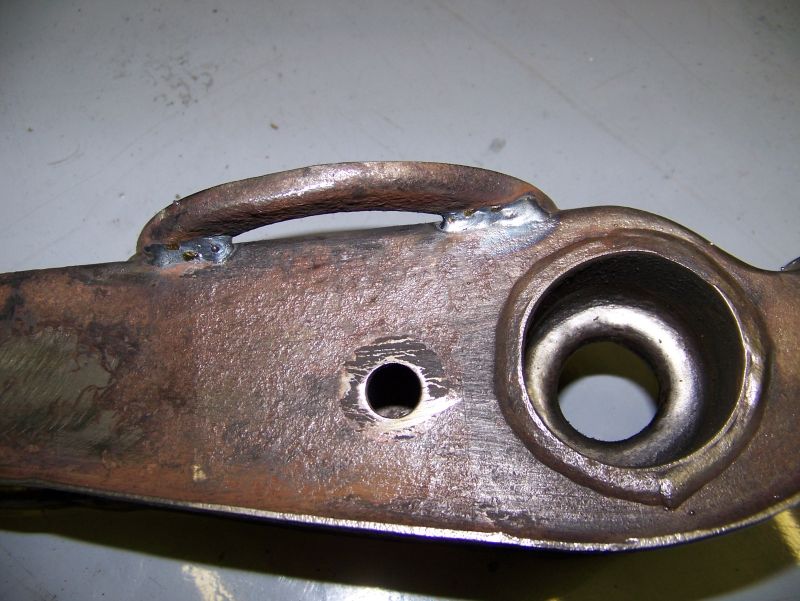
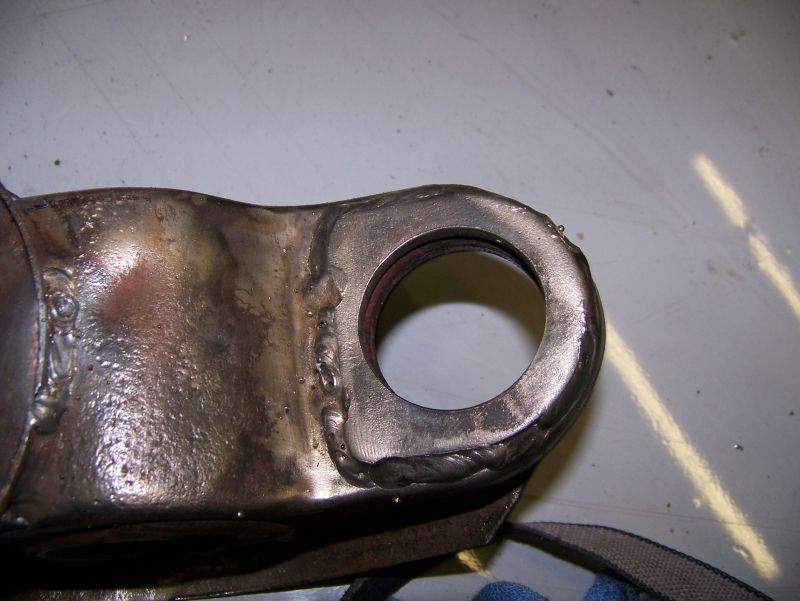
Upper control arms before and after, took about of 1/2hr each of scrubbing and wire wheeling, had to use some heat to remove the real bad crud in the seams.
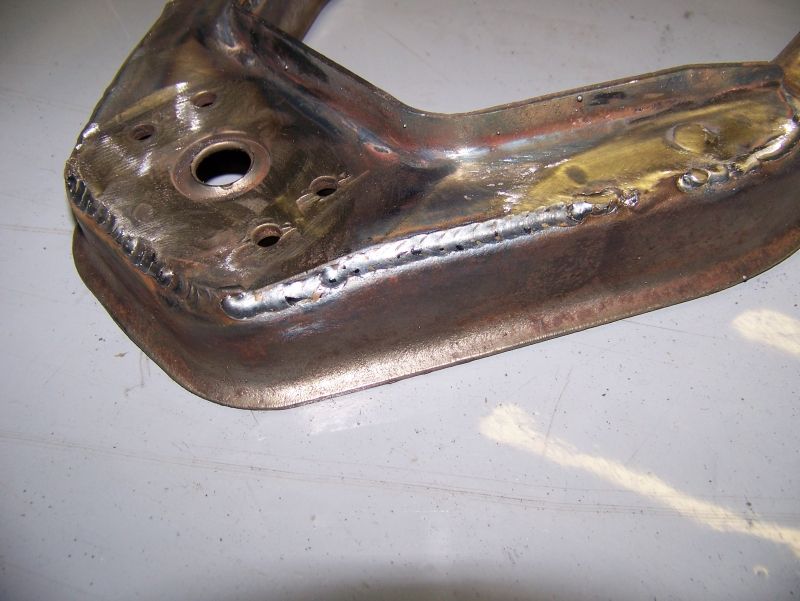
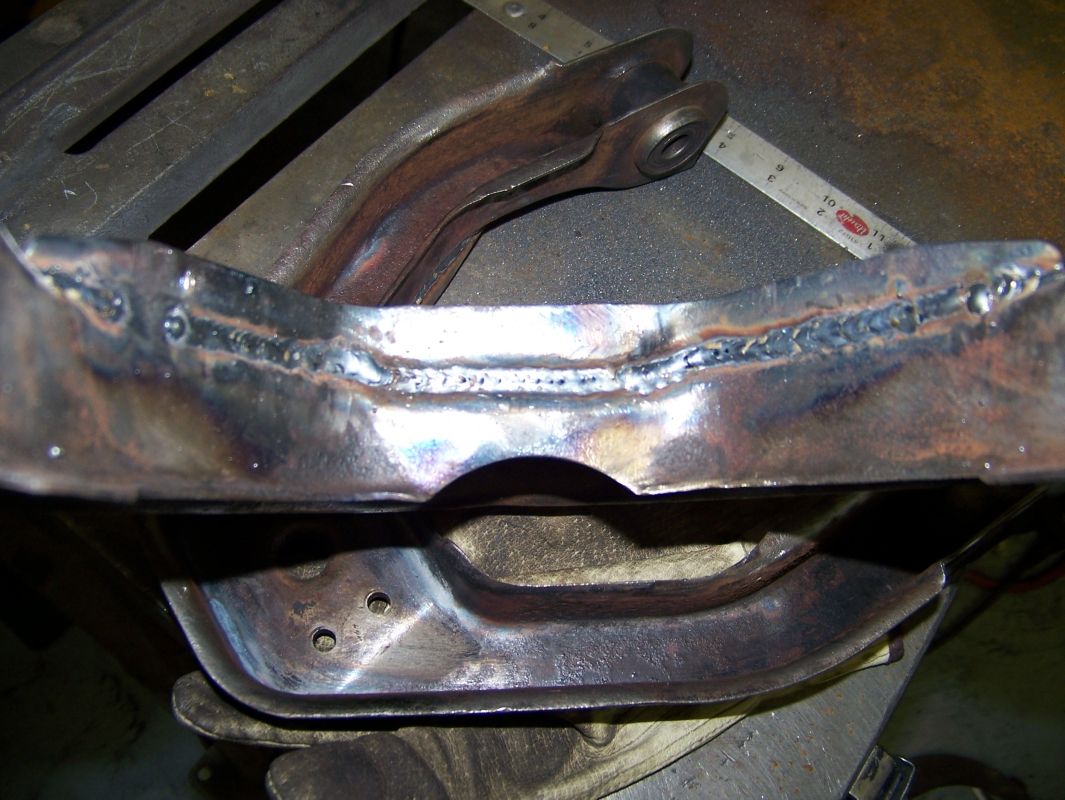
after the arm was clean I TIG welded the joints for a bit more strength, also welded a boxing member to the lower arm and ball joint mount.
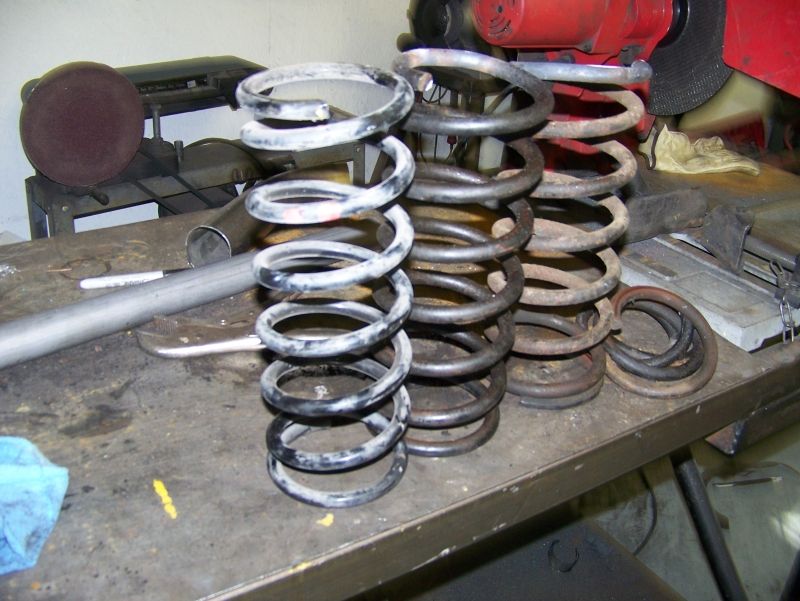
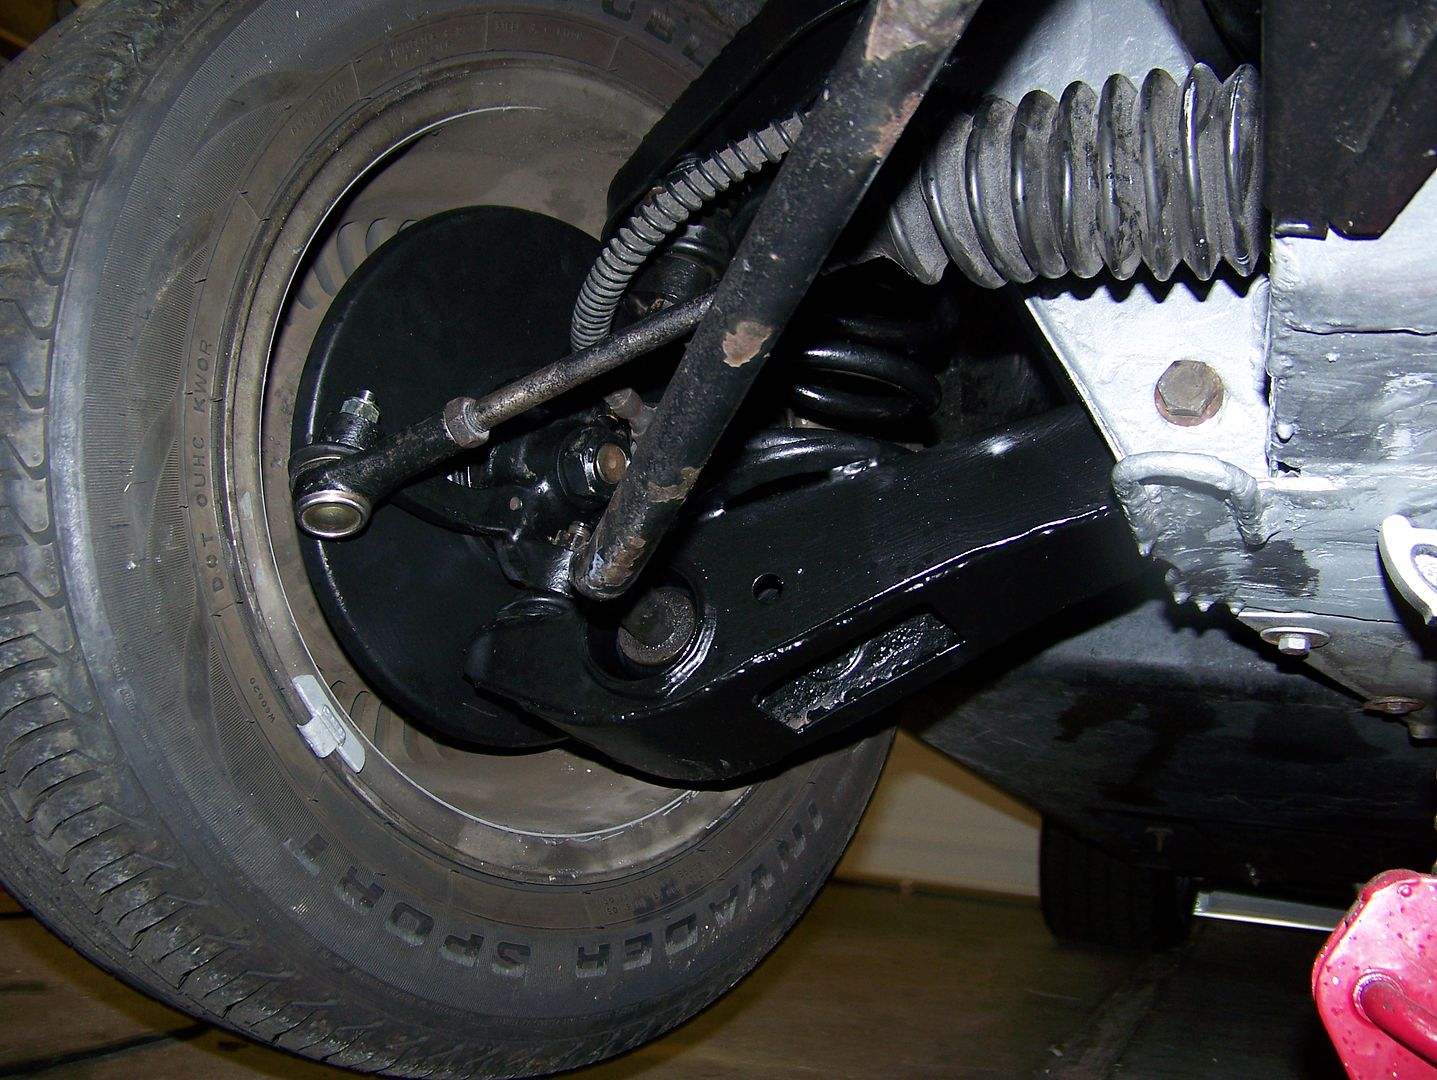
The big thing I needed to do to get the car lowered was cut the springs, I cut a whooping 2 coils, the coil on the left is a stock Mazda Miata front spring, if the cut Dmc coils are too stiff I could try the softer miata spring, they just need to be opend up abit to fit in the bottom spring cup. However the cut stock springs felt satisfactory.
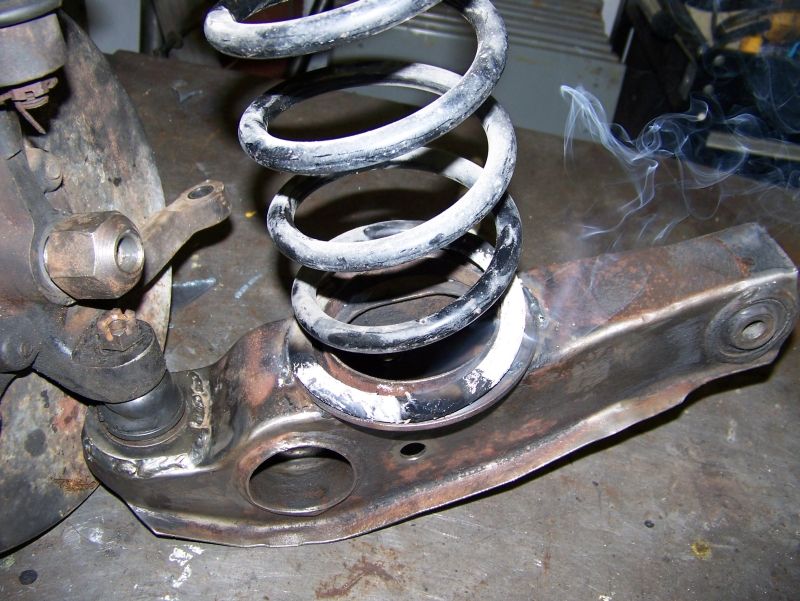
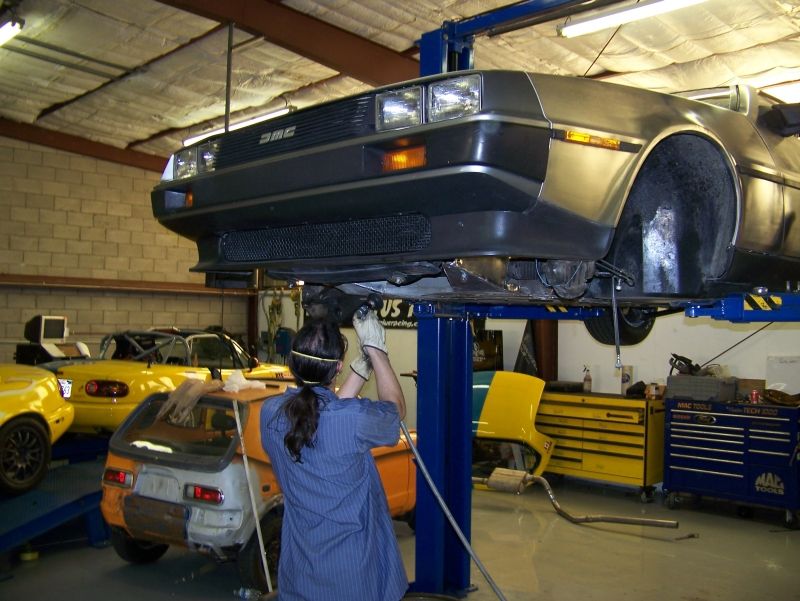
So since the front frame is still in bad shape, and I cant do all the grinding and welding required at home, the car needed to go back to my shop. Therefore I reassembled the front end with the cut coils which required no coil compressor, makes that much easier.
Now she finally has the proper stance. there is no spring rubber isolator so it will be a bit higher when done. she now sits at 22 3/8" from the ground to the fender arch which is about 4" lower!
April 25 2010
Took the car back to EGR
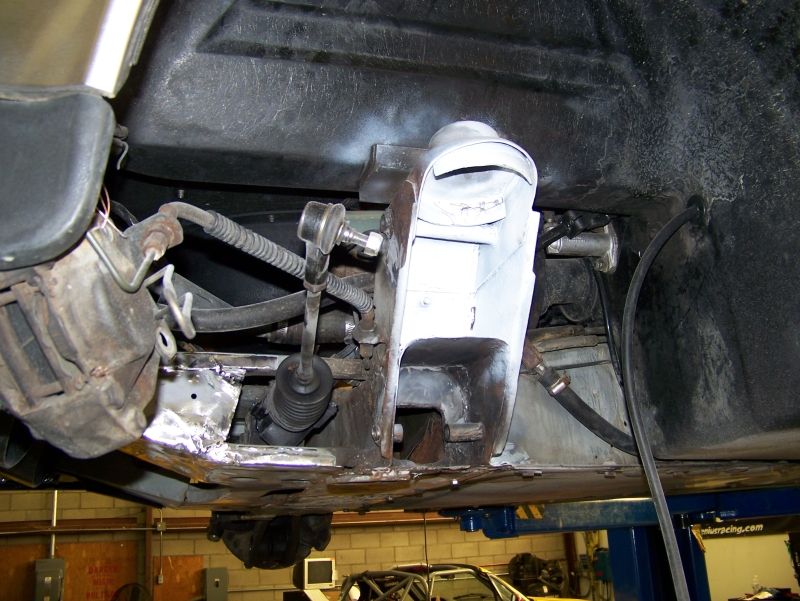
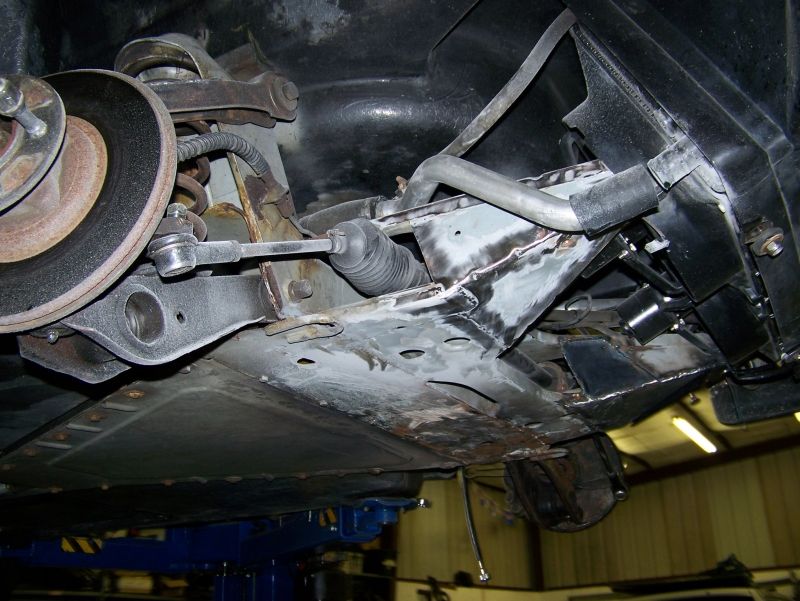
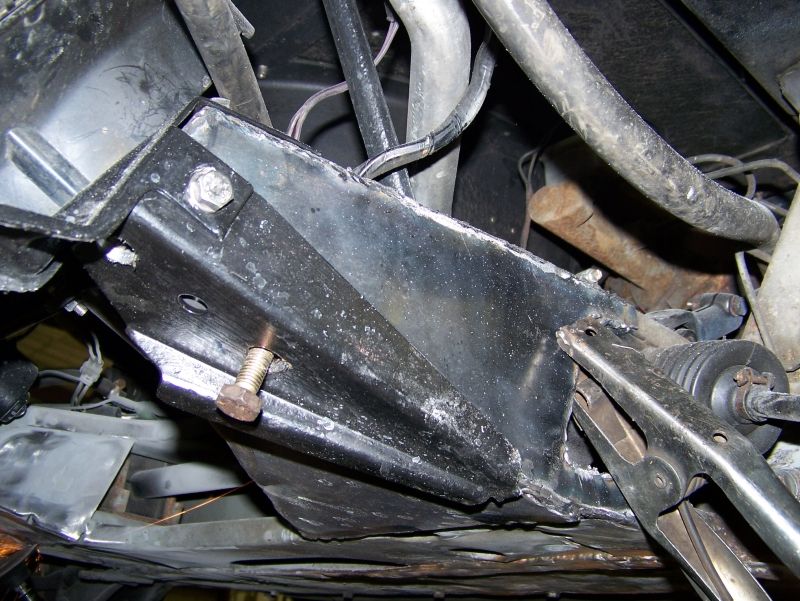
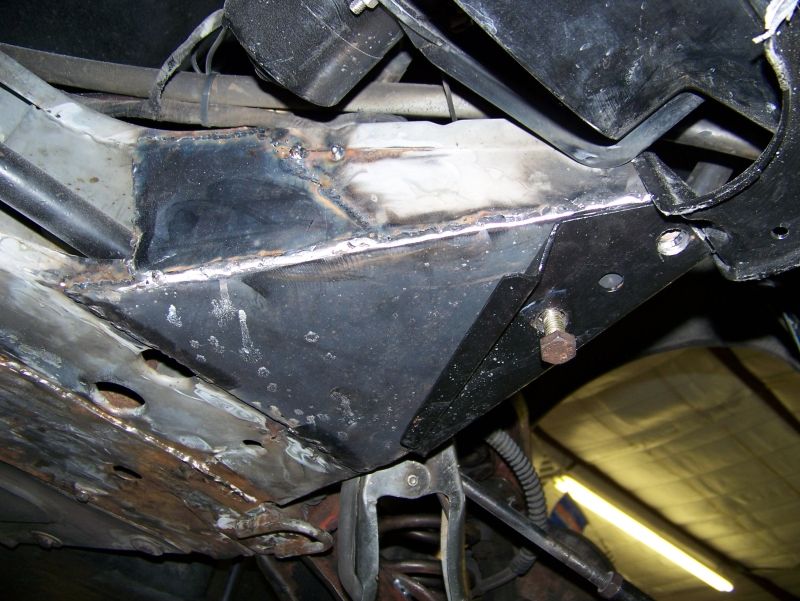
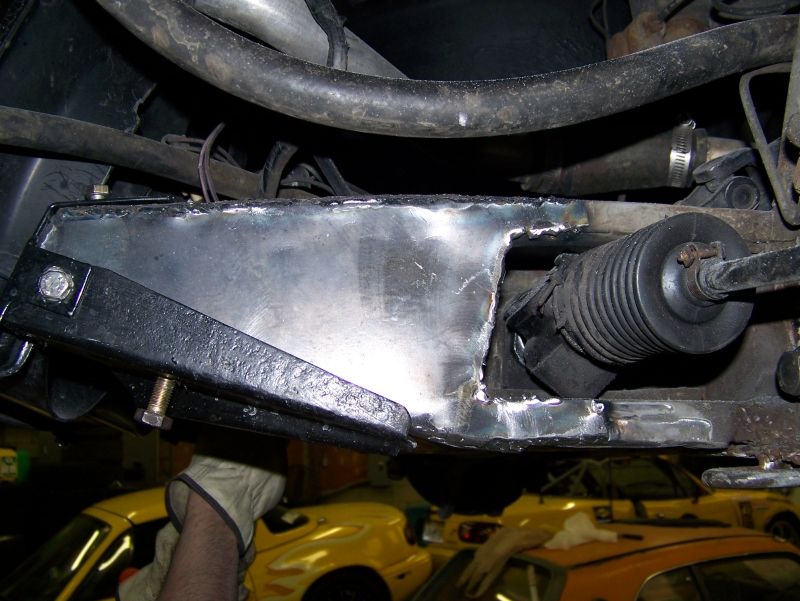
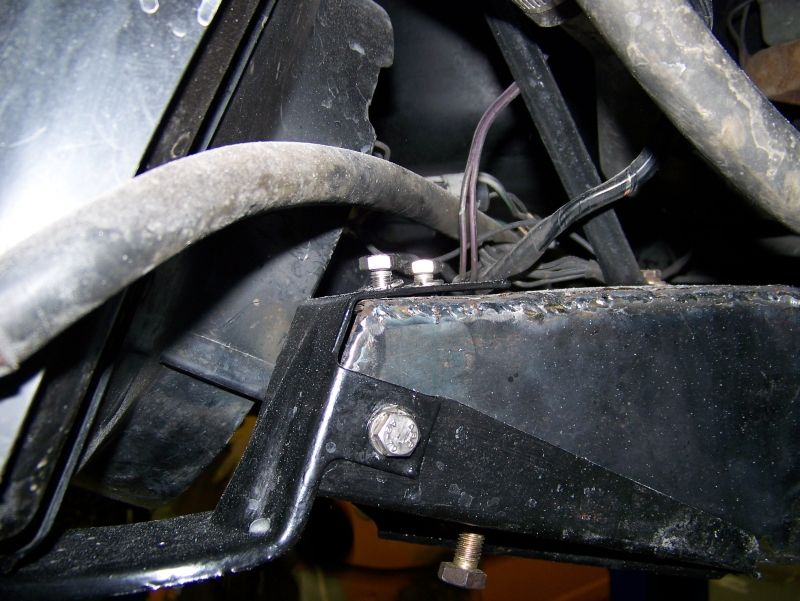
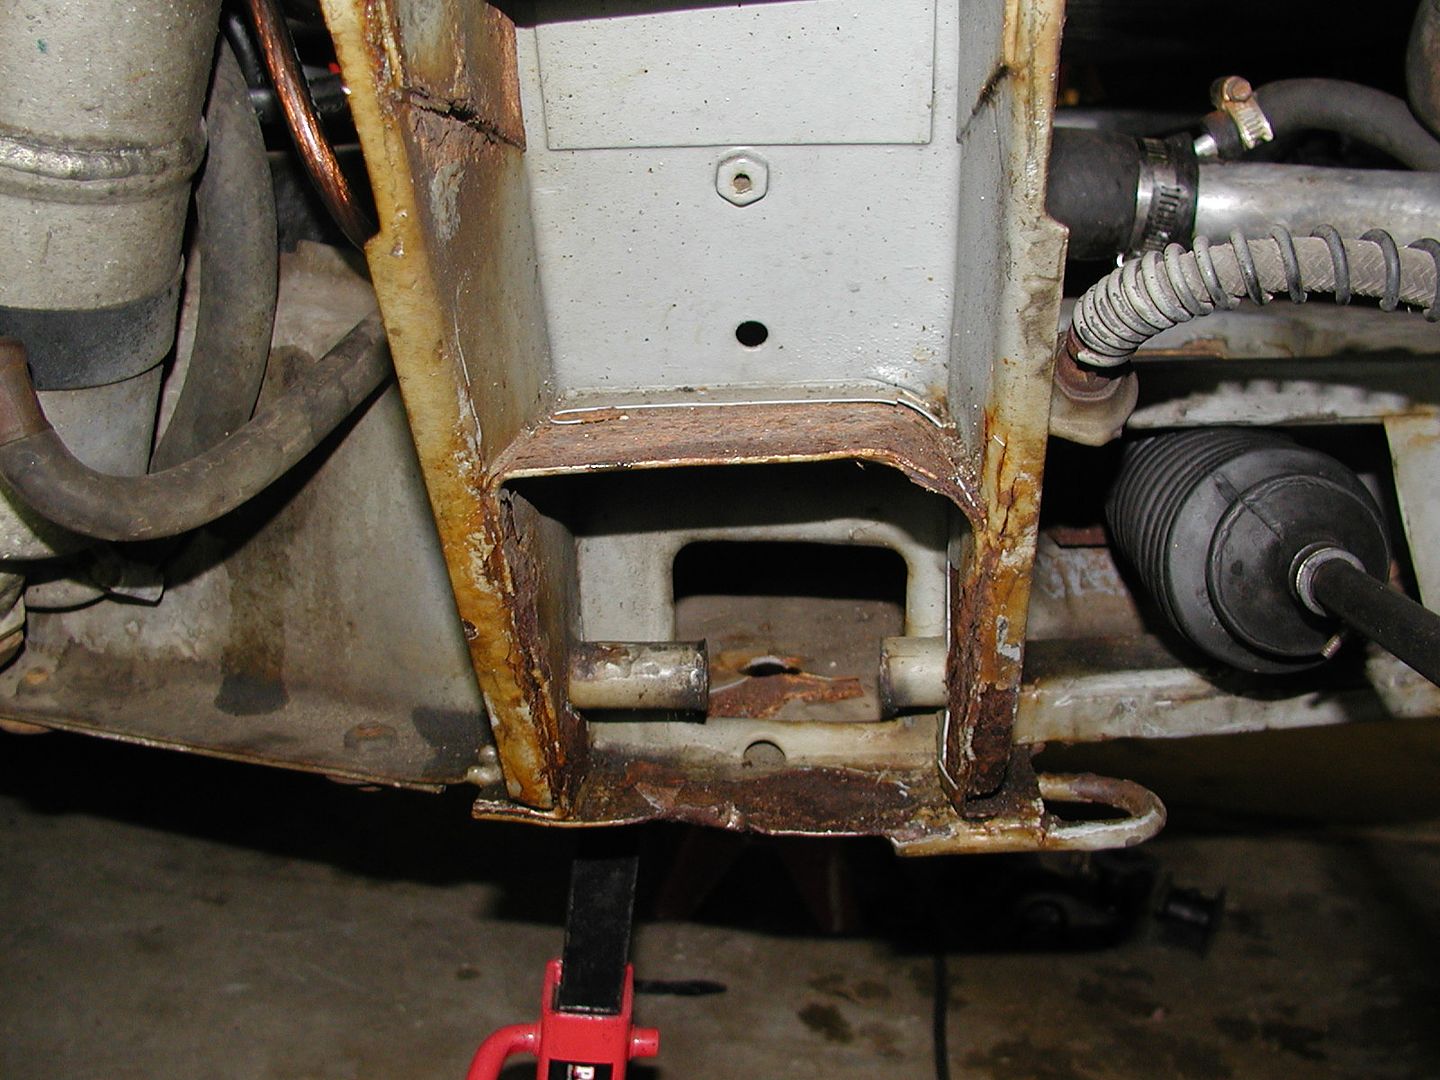
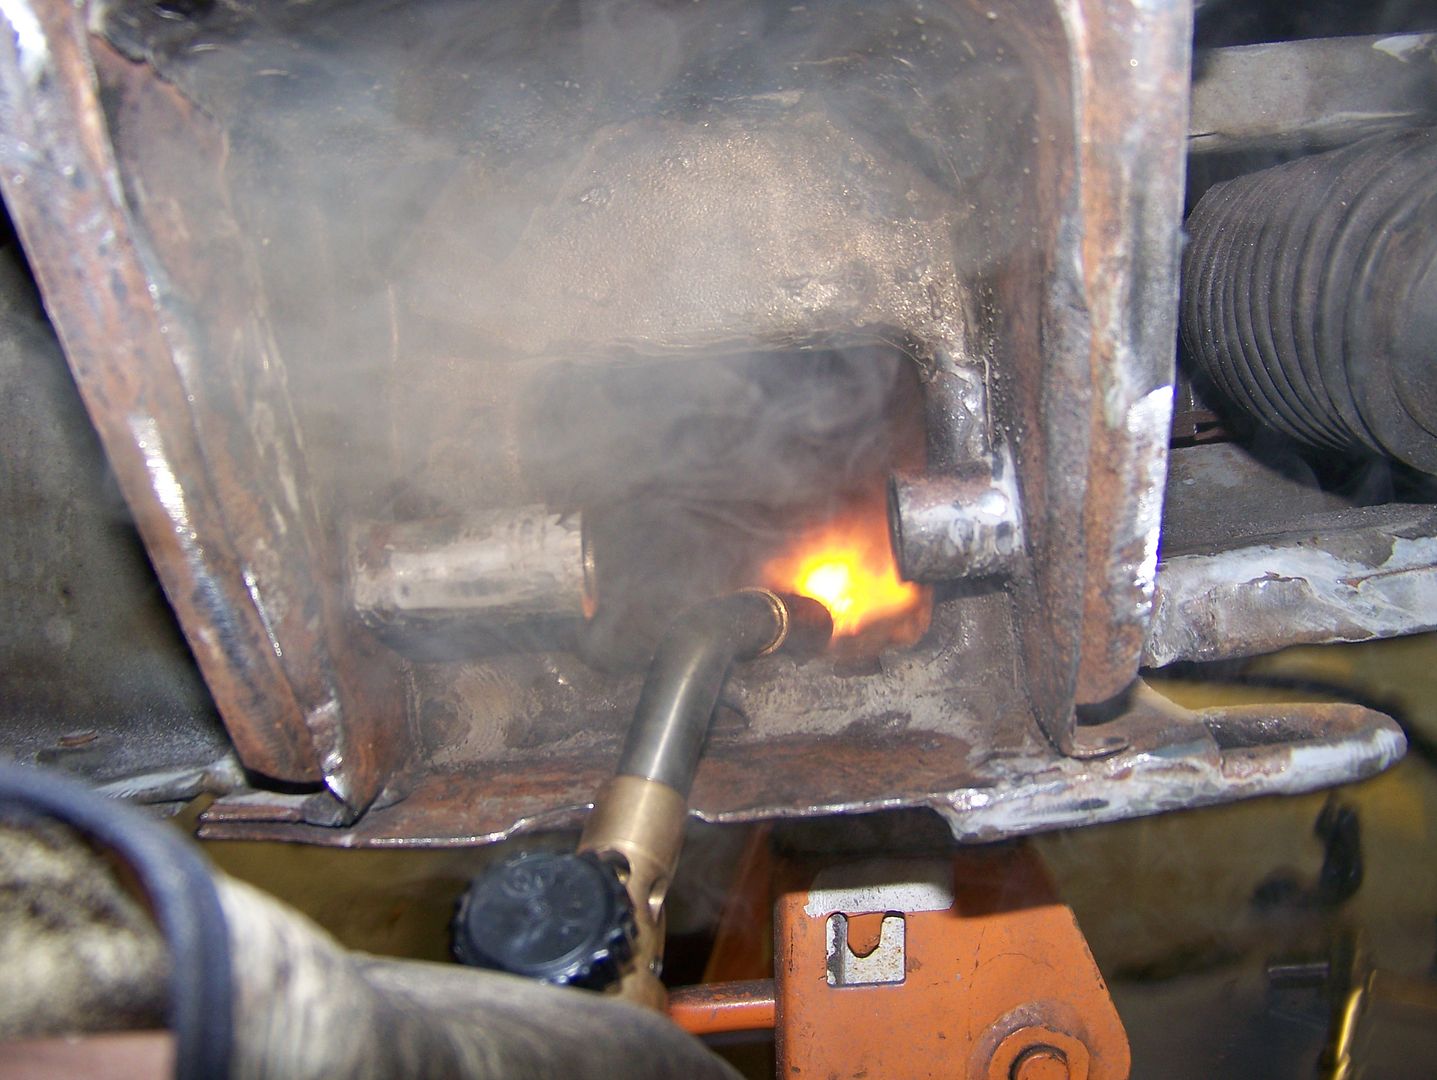
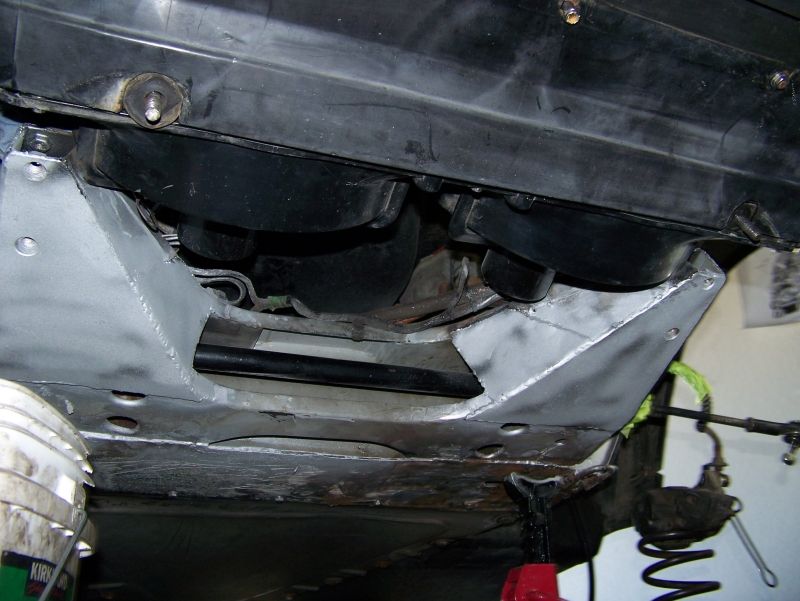
Crumple Tube Reinforcement
Took the left front off and started sandung the off the epoxy and rust. there was alot of flaking gunk jammed in there.
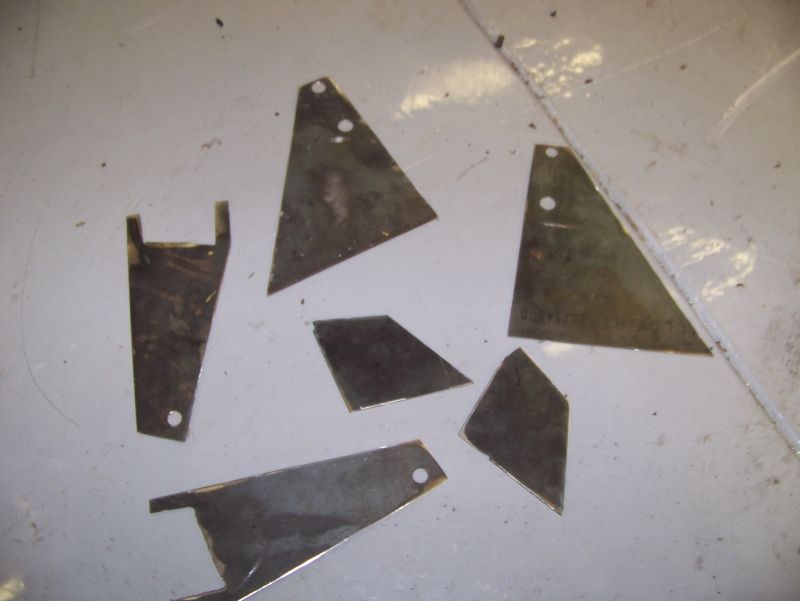
I cut out some 14ga plates to reinforce the cracked and weak crumple tubes. These will be welded over the original crumple tubes.
My friend Loren came over to help, nice to have someone help with the dirty work.
Sanded off extension in preparation for plates.
Location: sacramento
Posts: 1,415
My VIN: 1768
Club(s): (NCDMC) (DCUK)
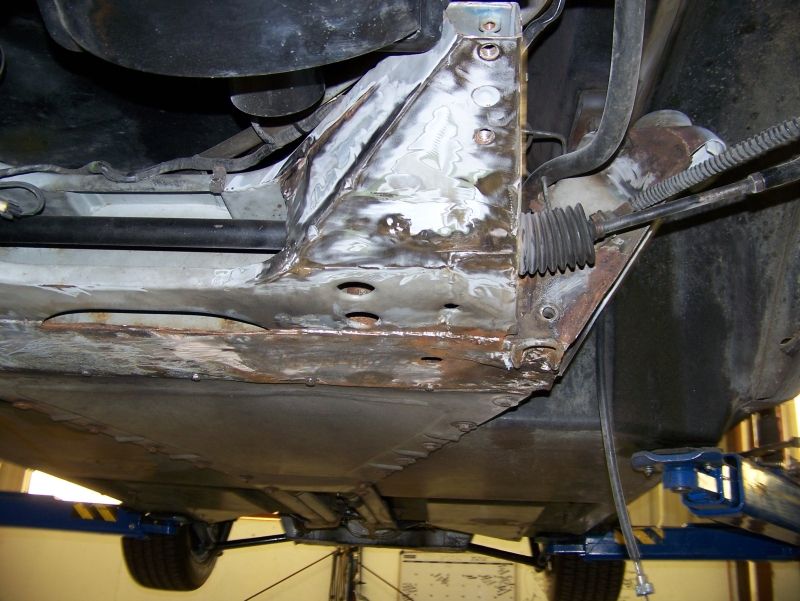
May 4 2010
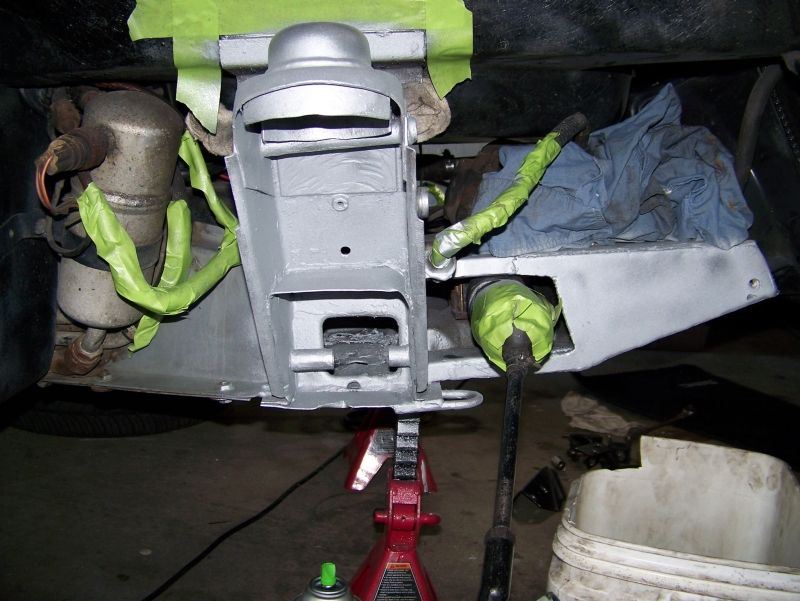
The passenger side is now also done, and the whole front end painted silver POR 15. The rest of the front end parts cleaned/seam welded, LCA boxed.
Done.
Back home painting.
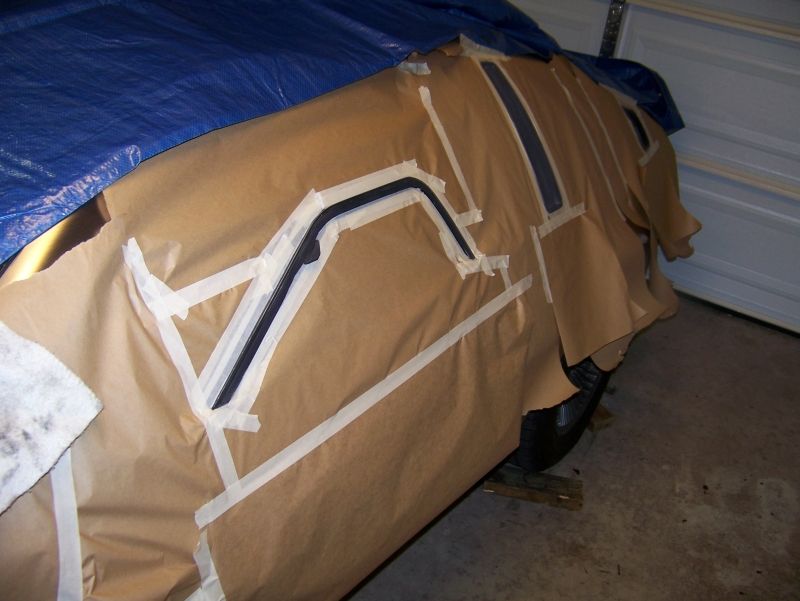
Lots of Paint
While I give the frame about 72hrs to dry i've masked off the black trim on the body for some SEM trim black after a light sanding with 400 grit and wax and grease remover. All the black plastic trim pieces had begun to fade badly over the years, this car has seen alot of damaging sunlight.
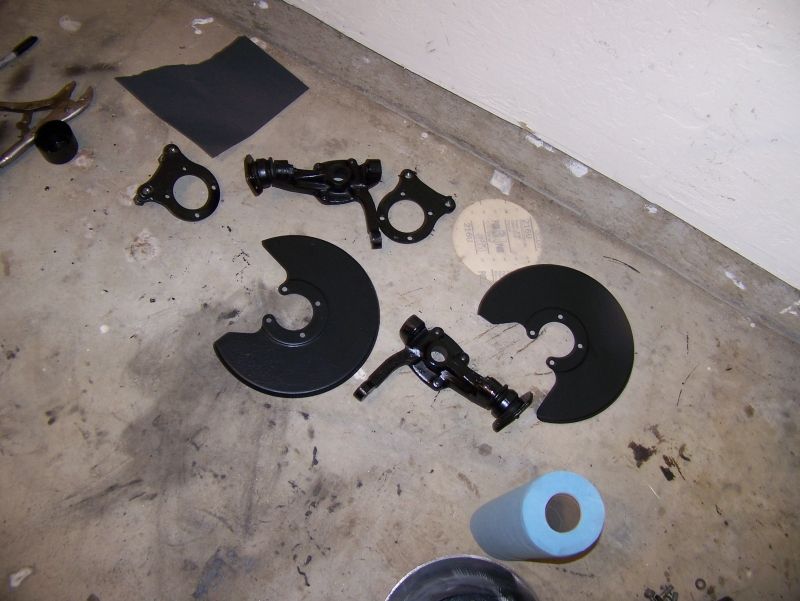
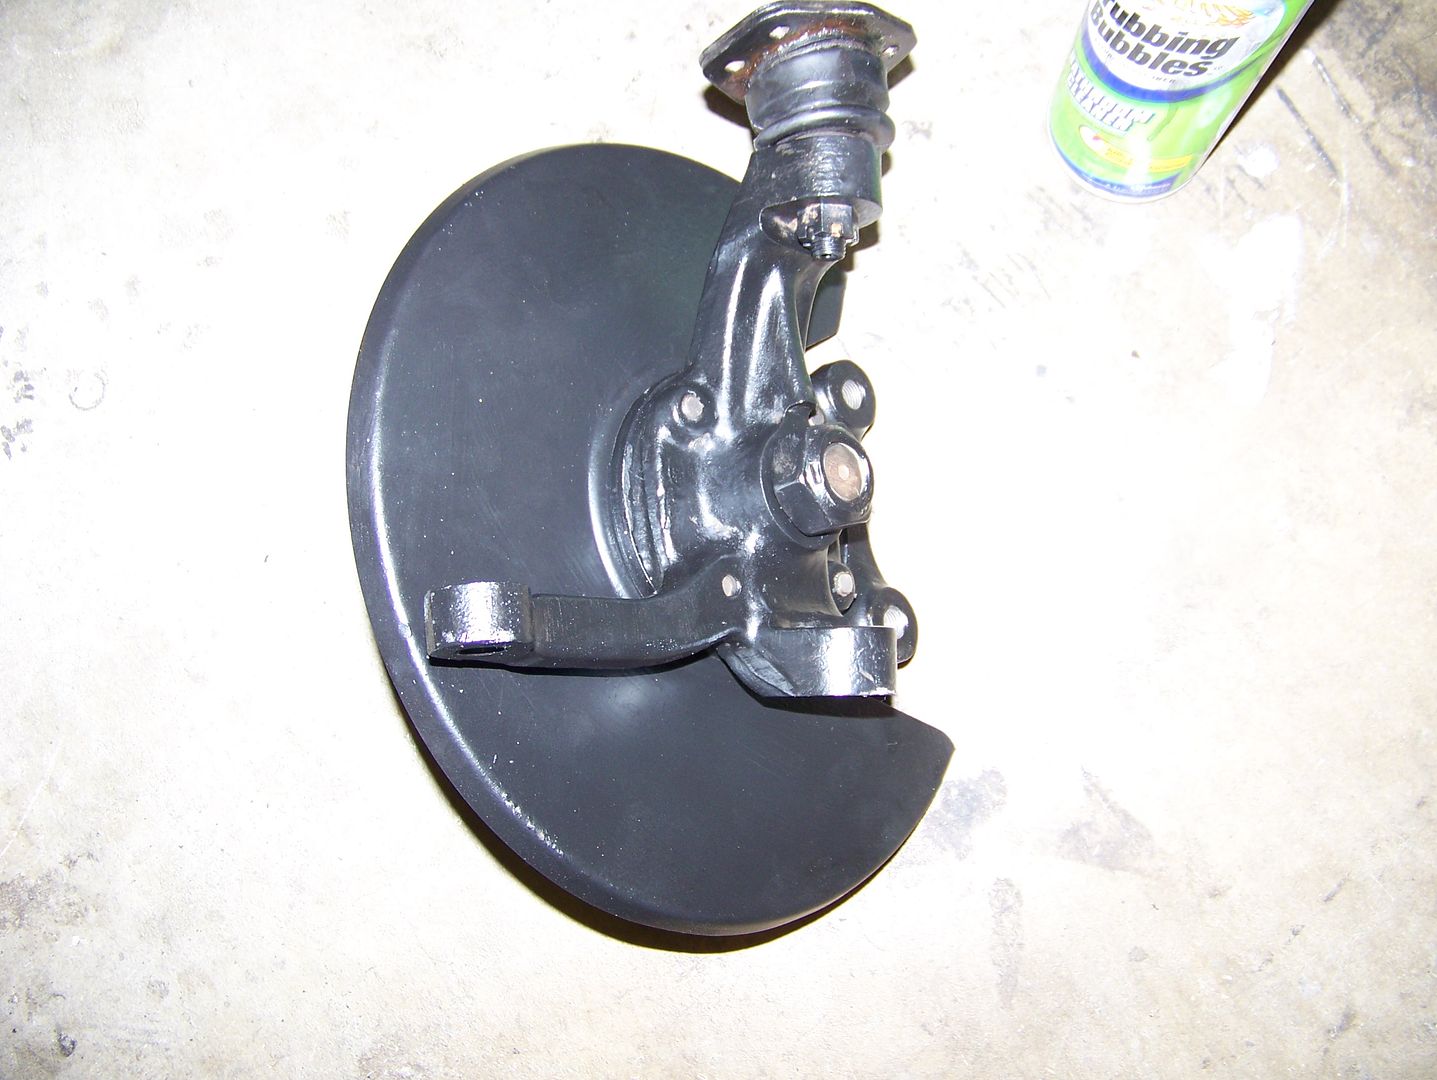
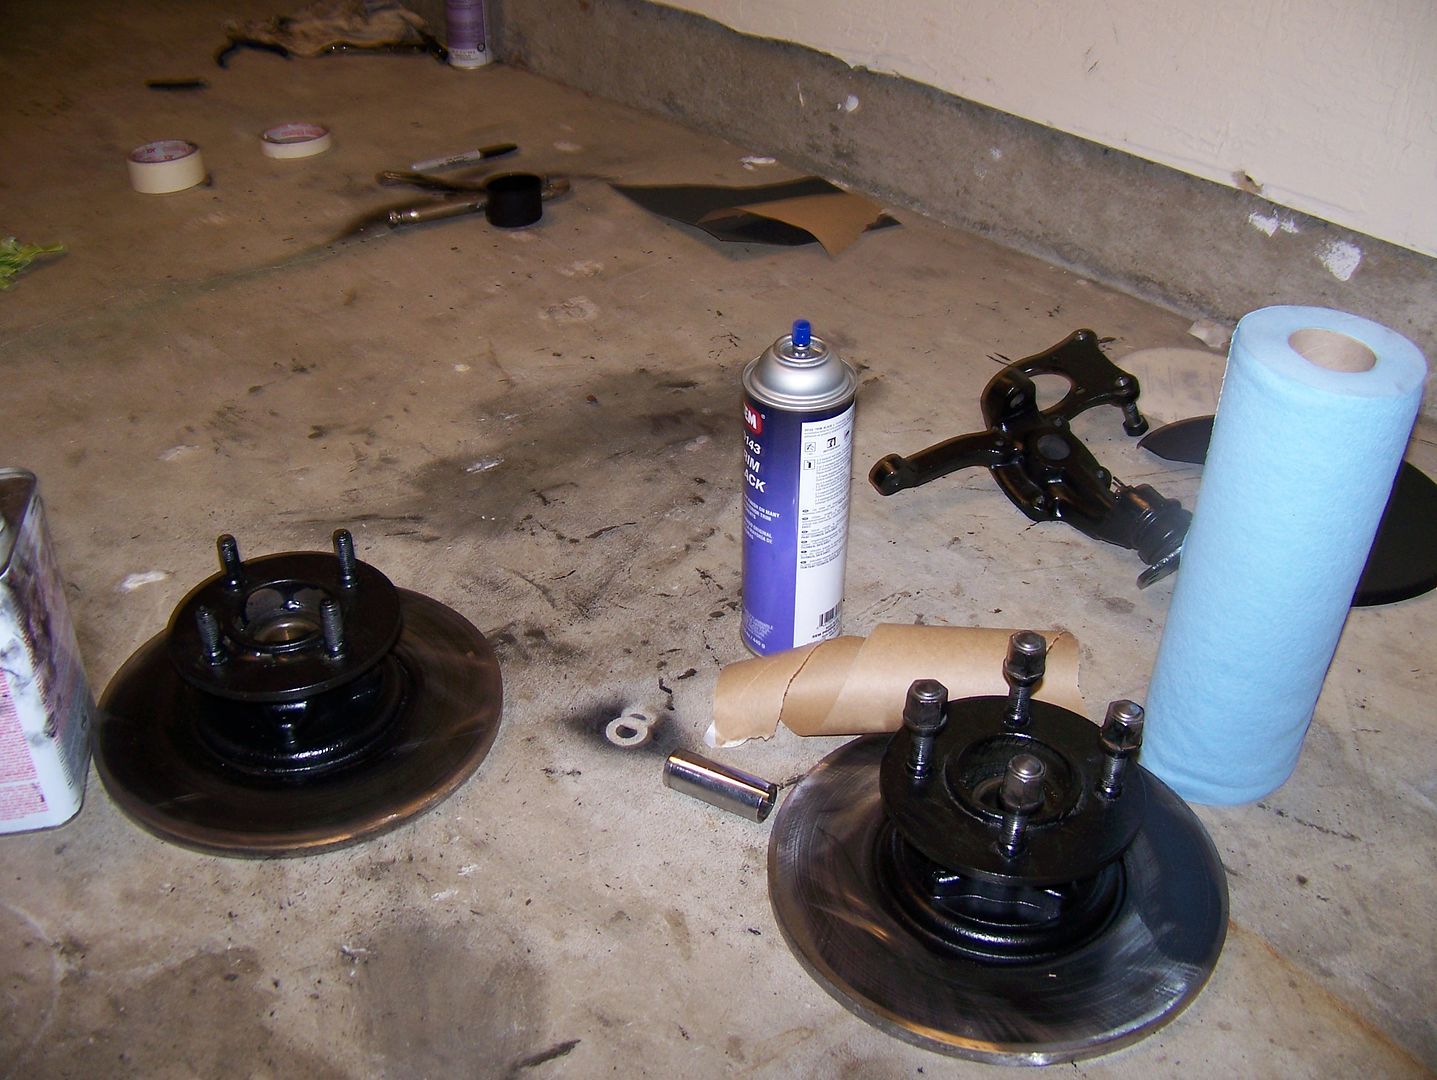
Front spindles painted.
May 9 2010
Reassembled the front end back together, it was much easier now that all the parts were clean, I put a little bit of light oil on the bushing sleeves but otherwise the stock bushings were not in horrible shape. Im still debating on going to full urethane bushings as im not interested in making the car rougher over the bumps.
So besides much better forward visibility, the ride wasnt much different with cut springs, the awful squeaking/ groaning pigeons being stomped on noise up front is much worse, the front shocks are just wiped out and are the cause of the squeaks. Changing them became a big priority.
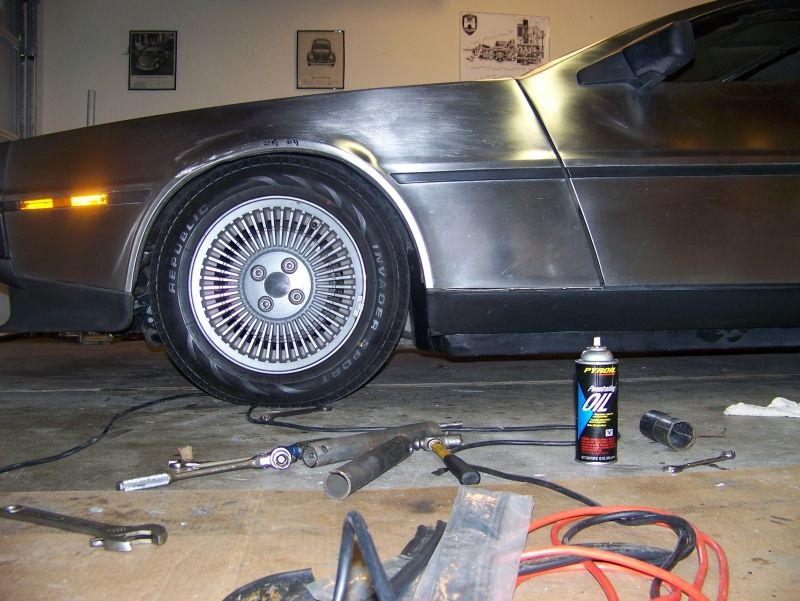
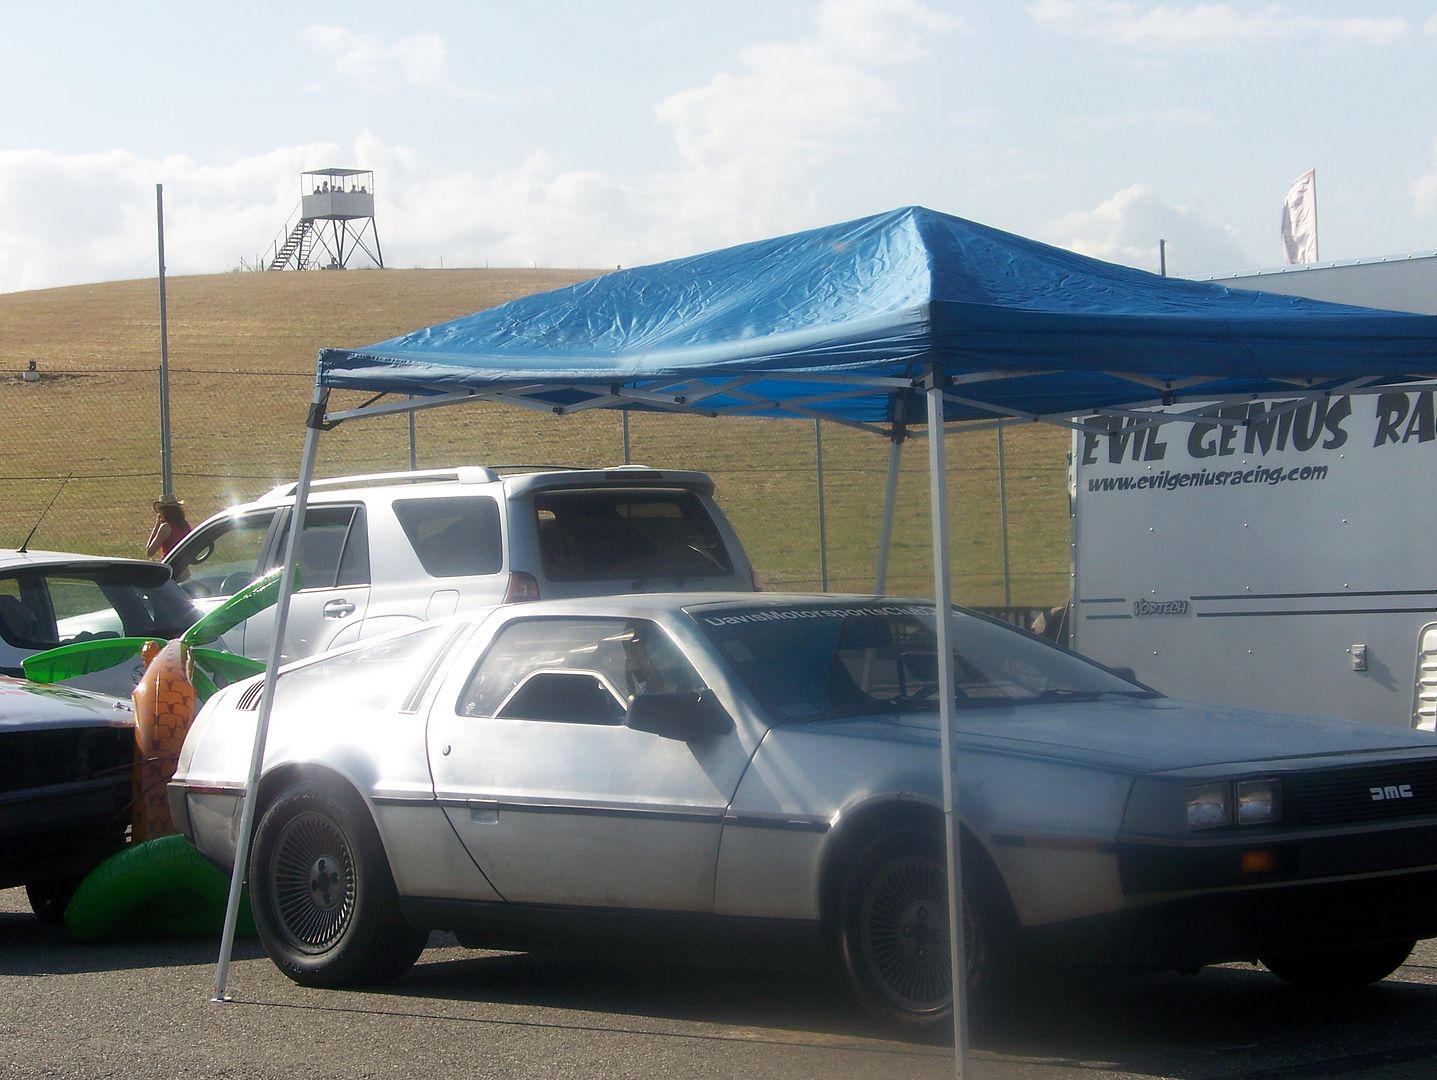
I then did a few more minor jobs including recentering the steering wheel for the 5th time and getting it wrong the 5th time( still cant get teh wheel off inside). I packed the car up and headed off to Thunderhill for another race weekend. She drove fine on the 100mile drive. I realigned the front end at the track and got proper toe in, and finally properly centered the steering wheel, it's a lovely thing.
Saturday night my friend Fish and I are talking and decide to drive back to his house in Concord to pick up his '27 Ford hot hod model T with a '49 Caddy engine. I drive there and back no issues, had to go much slower on the way back so the Rod could keep up, 85mph down, 60mph up, the car loves to do 80+mph. 132 miles each way. THe '27 became the pace car for the Sunday race start. So at the end it was a nice 530miles of driving which is nearly doubling the mileage I had put on the car since Ive owned it.
Location: Sacramento-ish
Posts: 4,408
My VIN: 02100
Club(s): (NCDMC) (DCUK)
That's a lot of masking paper to paint the black trim! I'll have to take a closer look at that stuff next time.
Jon
1981 DMC-12 #02100. July 1981. 5-speed, black, grooved w/flap.
restoration log, March 2011 to present
full and detailed photo restoration log
Location: sacramento
Posts: 1,415
My VIN: 1768
Club(s): (NCDMC) (DCUK)
May 15 2010
Time for a Joy Ride
With proper suspension alignment the car handled impressively and I was keen on more hard driving so I went on a fun 50 mile long backroad drive along the Sacramento River with some friends. I had no problems at all.
Location: sacramento
Posts: 1,415
My VIN: 1768
Club(s): (NCDMC) (DCUK)
May 22 2010
Roadtrip Preperation
I had a huge road trip coming up and I had a long checklist of repairs that had to happen first, I jumped right in with some big items:
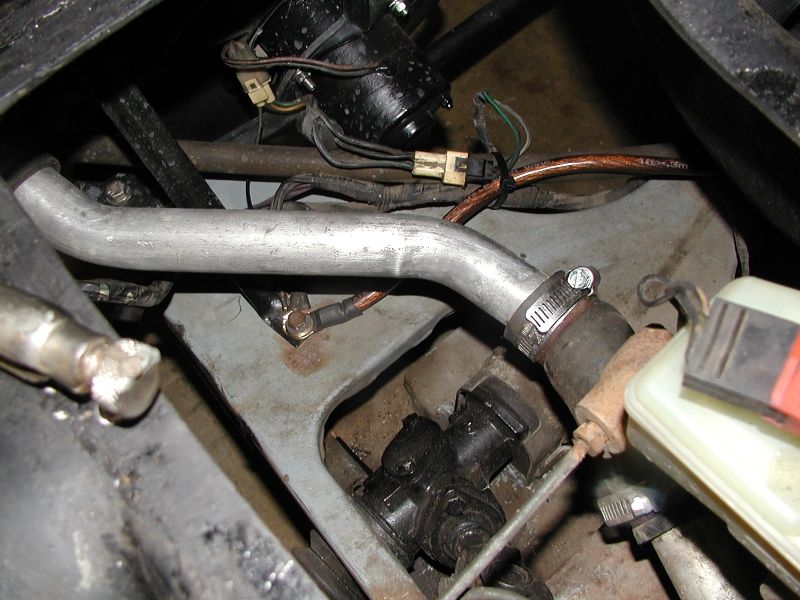
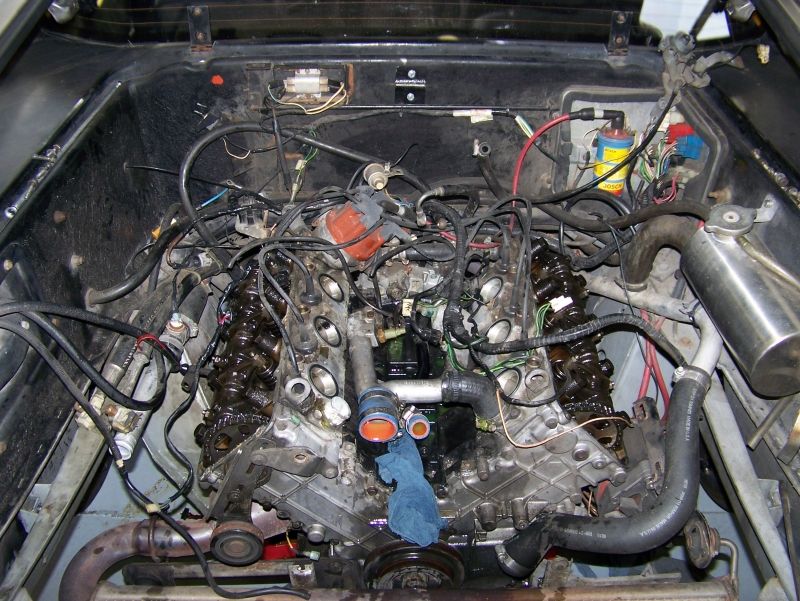
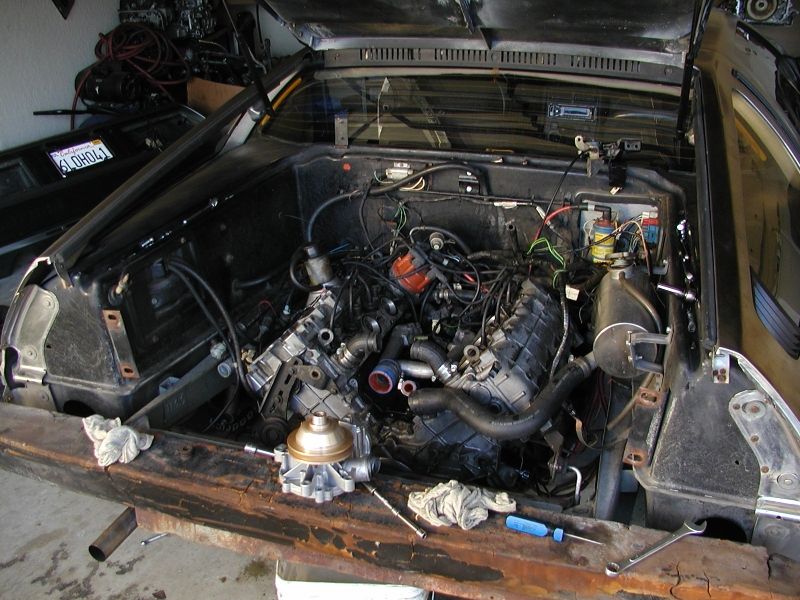
The water pump in the car is not original and is at least 10 or so years old with under 5k miles but was making noise so I changed it. I discovered the alternator was also making a bad grinding noise, bearings are shot however it still charged fine So another one would be needed .The water pump job took about 6 hrs and wasn't that horrible. I found whoever did the pump last time has replaced the stock rubber hoses with silicone.
May 28 2010
Replaced all the car's stereo speakers and installed Ipod integration!!
Driving home down I5, 4 miles from home a battery light comes on and water temp goes up, I cut off the engine and coast to the next exit. It appeared the new water pump pulley had walked off the shaft, there was no fixing it on the side of the road but I was just a few miles from home so I decided to try and limp home .
I had to let her cool down 10 minutes between each mile run before getting too hot, I made it home ok without overheating the engine. This was my second roadside failure.
ll.
Location: sacramento
Posts: 1,415
My VIN: 1768
Club(s): (NCDMC) (DCUK)
May 30 2010
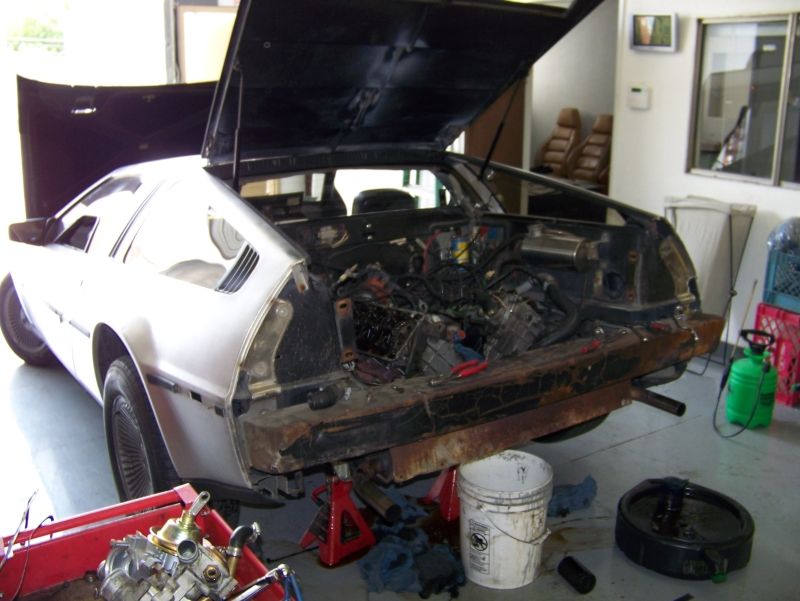
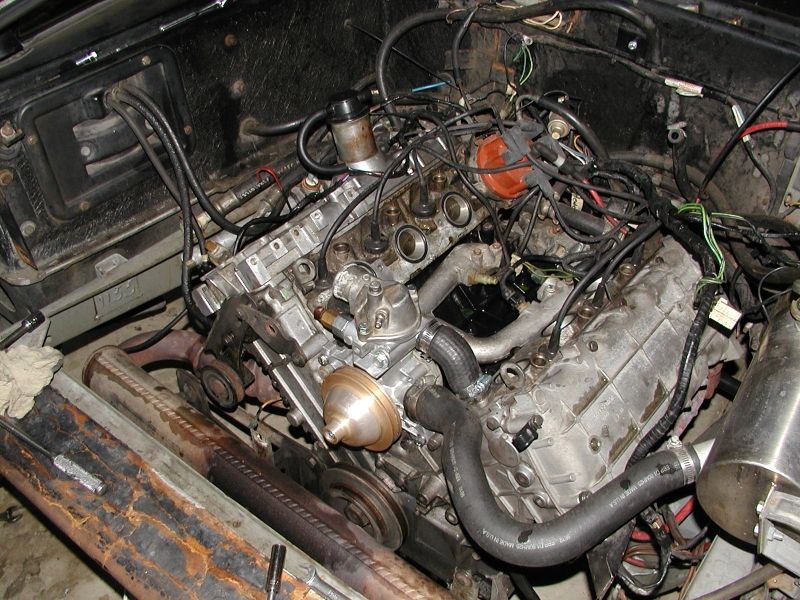
Back to ripping the engine down again, i've gotten quite fast at removing the rear facia, its supposed to be like a 30 minute job, I can do it under ten.
Evertime I pull the pump the valley fills with coolant that I have to dry up, if left in long enough it can eat away at the block, but that black POR15 is there to help stop that.
The water pump failure was the poor press fit of the stock steel pulley on the new pump shaft, they dont like going on more than once so the aluminum pulley is an upgrade which my old pump had. A trip to the shop where I had a hydraulic press and the pulleys were swapped
old pulley now on new pump
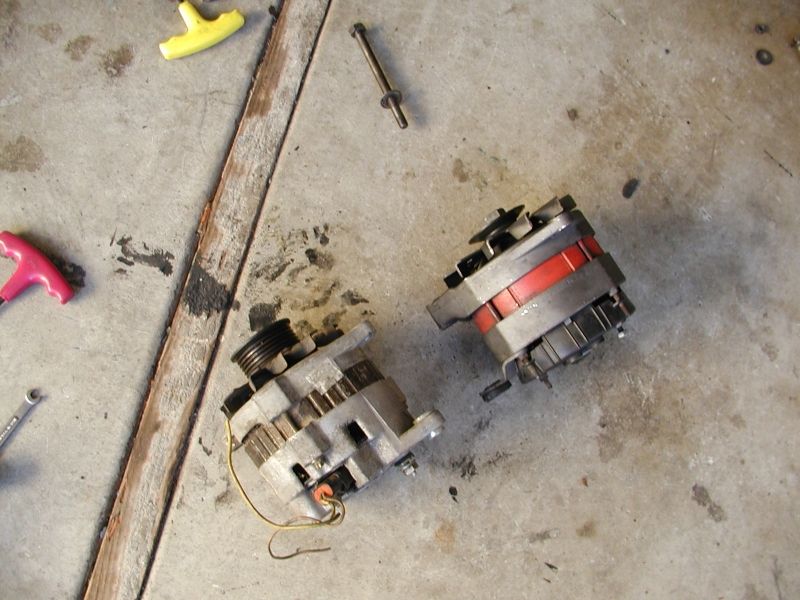
CS130 Alternator Swap
So also my alternator which charges just fine had a horrible sounding bearings so it needs to be changed, I can get a bolt in replacement from Delorean part vendors for about $200, but I also had that alternator from my 3.0 engine, it needs a spacer on the bracket and I had to swap the pulley from serpentine to v belt for it to bolt on the 2.8 delorean engine, unfortunately it didnt last, the diodes decided to blow after just a few minutes.
Another alternative is to use a 110amp alt off a '91-94 Saturn, it needs the same spacer and pulley treament but is only $80 new, has a warranty and is avalible at most auto store around the country.
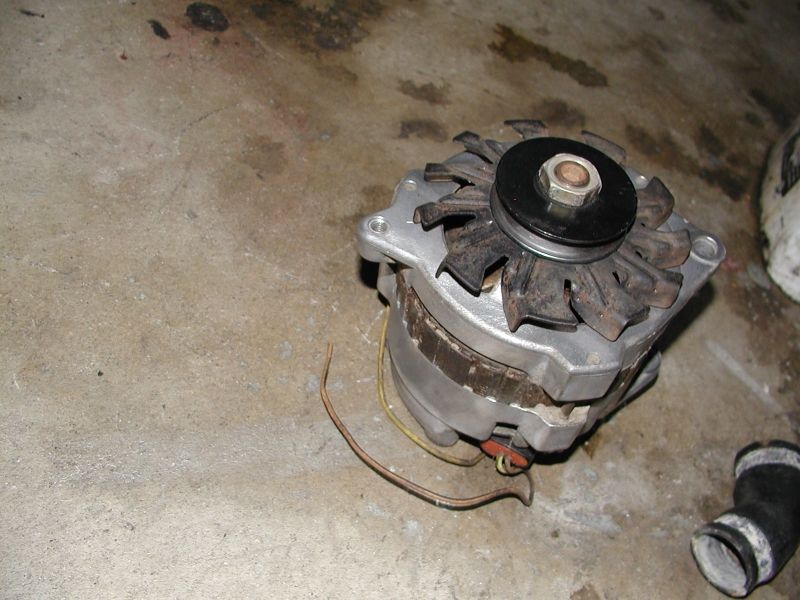
Original set up, 3.0 on left Dmc on right with the v belt pulley I need to re use
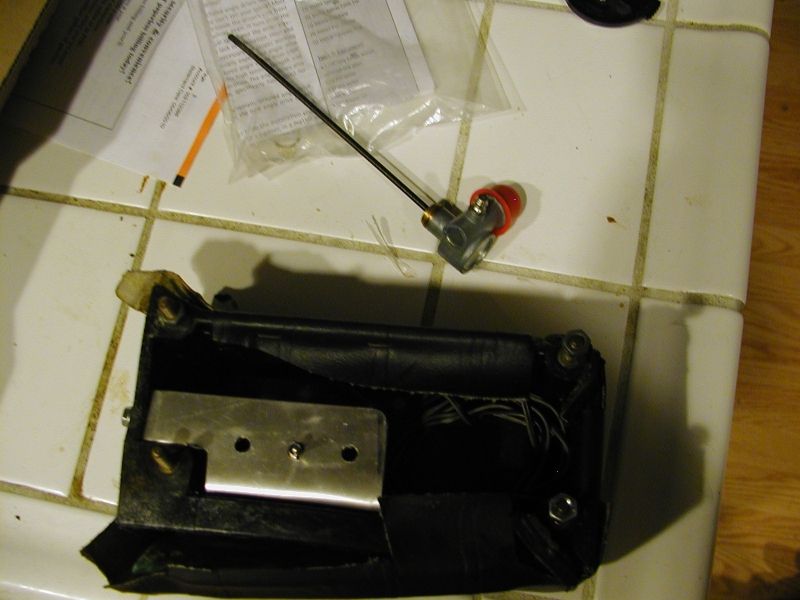
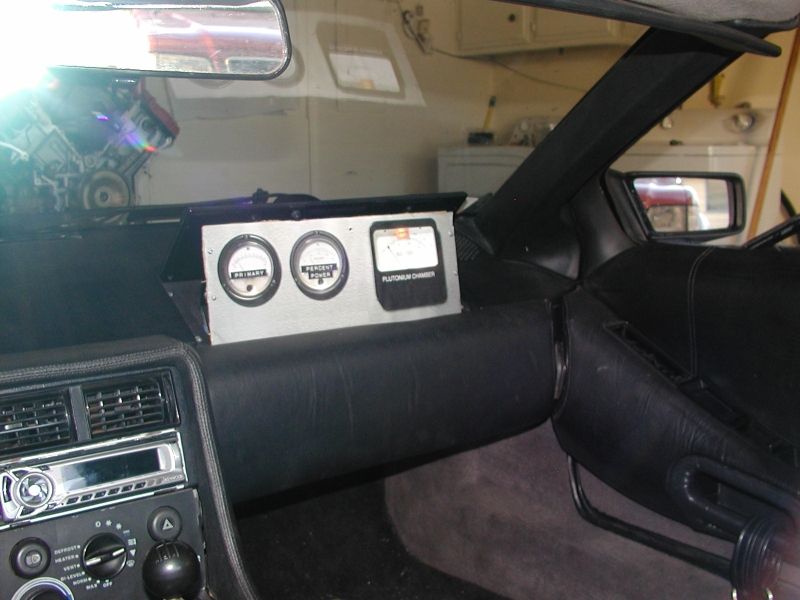
I made an aluminum bracket that goes inside the right side knee pad below the dash board, this will house the Ipod integration on/off switch and I can add more switches that are hidden and dont detract from the otherwise factory interior. Also received a replacement angle drive from DMC Houston. (this one has been working for many thousands of miles now)
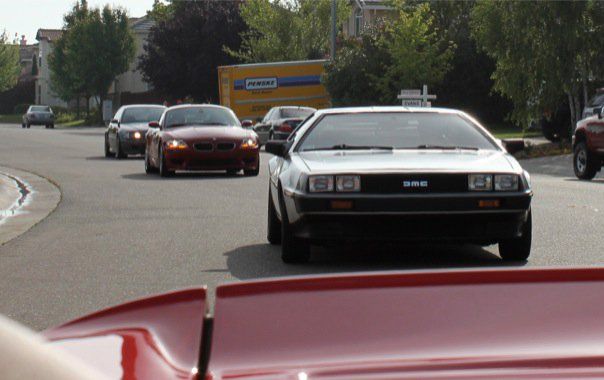
Started making some quick props for the car in the road trip I was going to partake called the Rental Car Rally, basically its a cheap copy of the gumball 3000 rally however you have to dress up and have a theme with your car. A friend and I decided on the obvious theme: BTTF
I made the time control panel, key pad out of carboard and screen shots printed on paper.


 Reply With Quote