FRAMING JOHN DELOREAN - ON VOD www.framingjohndeloreanfilm.com
Results 1 to 10 of 17

Thread: Swapping the stereo and airvents the other way around (maintaining stock operation)

Hybrid View

Previous Post Previous Post   Next Post Next Post
  1. #1
    Member Chris_Von_Bron's Avatar
    Join Date:  May 2011

    Posts:    77

    My VIN:    05255

    Swapping the stereo and airvents the other way around (maintaining stock operation)

    http://dmctalk.org/showthread.php?29...+vents+swapped

    http://dmctalk.org/archive/index.php/t-2979.html?

    http://ohiodeloreans.com/gallery-07-PAFallTech.htm

    http://i173.photobucket.com/albums/w...ttin21/D11.jpg

    Has been done before as per above but no one to date has shown how to tackle the operation of each ventilation mode to work like stock. The below is how I went about it.

    Six years ago I fitted a flip up stereo so the stock setup results in ambient airflow once the screen is open.


    When the orifice tube broke up inside my evaporator core this became the catalyst for the conversion.

    Side on when measured you can see how tight swapping them around will be (around 5mm of tolerance if I recall)


    You don’t have to remove the entire airbox from the car just the part below:-


    The green flap has two functions. In the down position it stops the air from coming through the centre vents and allows airflow up to the windscreen

    And in the other position


    I remodelled the airbox


    I did not want any loss of functionality so the solution was to create a ‘slave’ ventilation door which would be located where the original door was have it driven by an arm to the actuator as before


    The pivot arm can be seen in action below:-


    >>> movie clip showing the pivot arm in action - click image below <<<

    >>> movie clip showing the pivot arm in action - click image above <<<


    Swapping the stereo and the vents around requires a new piece of aluminium (old piece from an old PC was ideal)


    Sourced vinyl from my local trimmer which is an exact match (I have spare if anyone needs some)


    End result


    Really pleased with the end result as it is a subtle mod that most people won't even notice but makes all the difference on a hot day

  2. #2
    Senior Member ccurzio's Avatar
    Join Date:  Nov 2011

    Location:  Atlanta-ish

    Posts:    2,218

    My VIN:    5311

    Club(s):   (SEDOC) (DCUK)

    Exceedingly nice work. Well done.

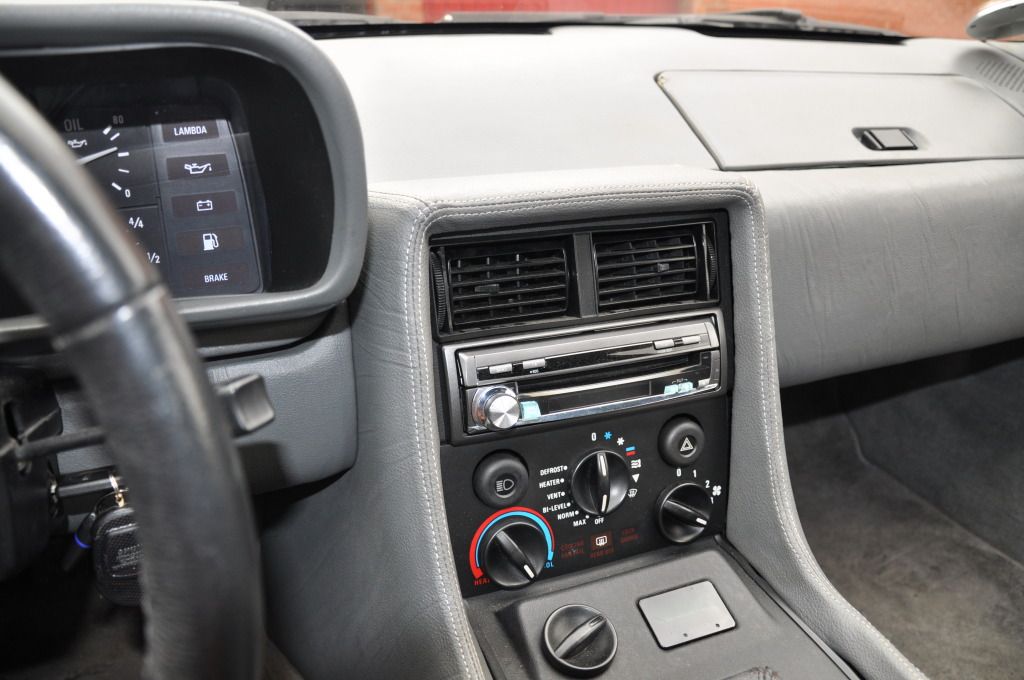
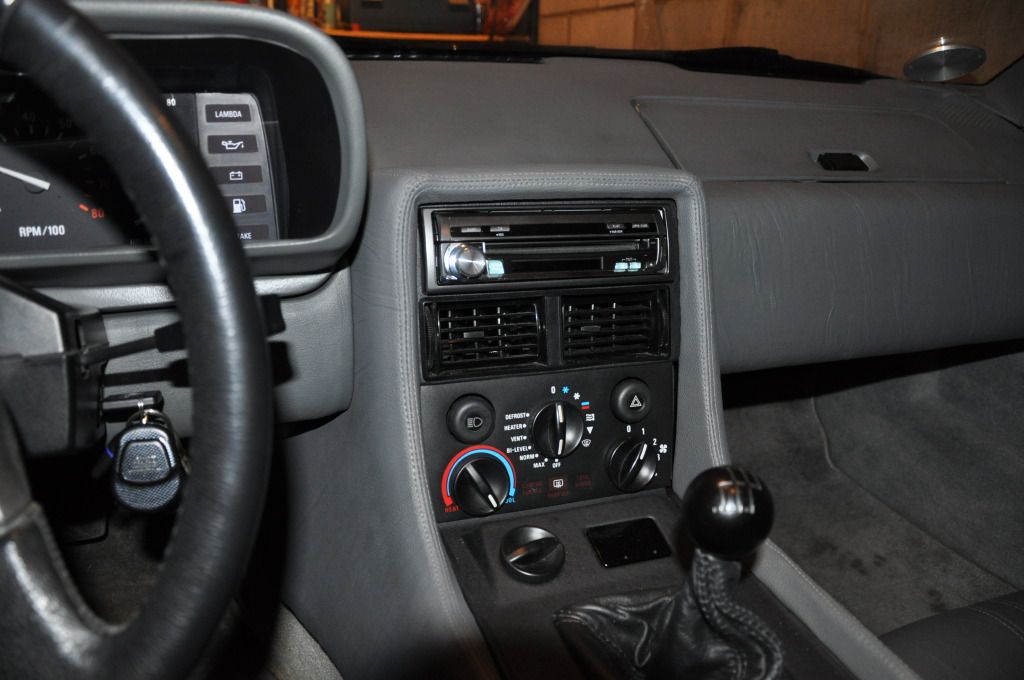
    And holy crap you have a really nice interior.
    - Chris


    what

  3. #3
    Senior Member vwdmc16's Avatar
    Join Date:  May 2011

    Location:  sacramento

    Posts:    1,415

    My VIN:    1768

    Club(s):   (NCDMC) (DCUK)

    X2!

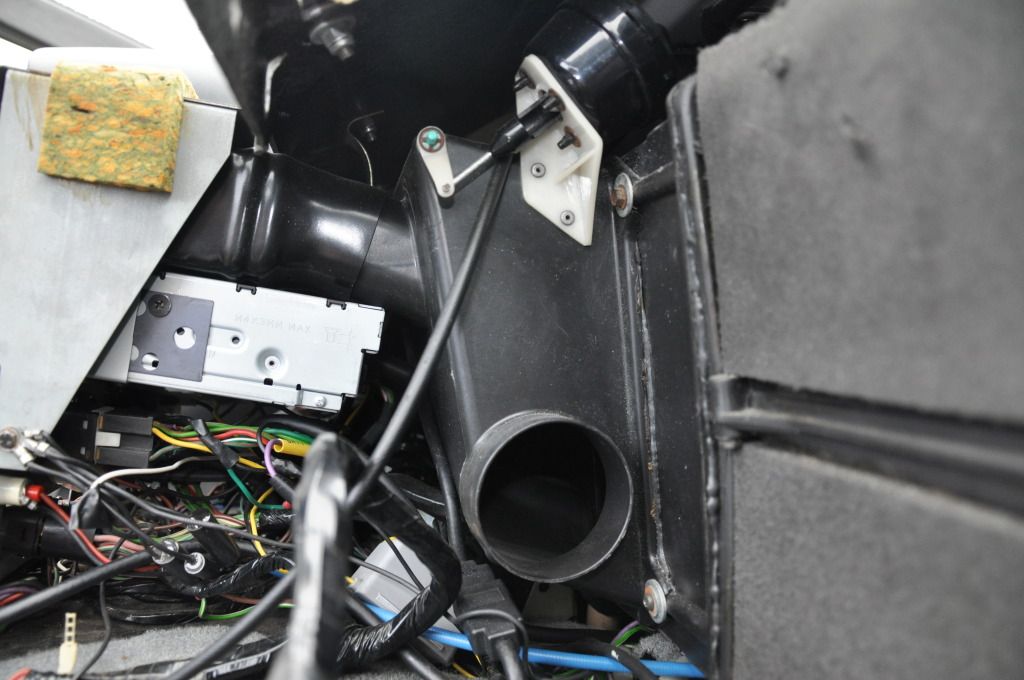
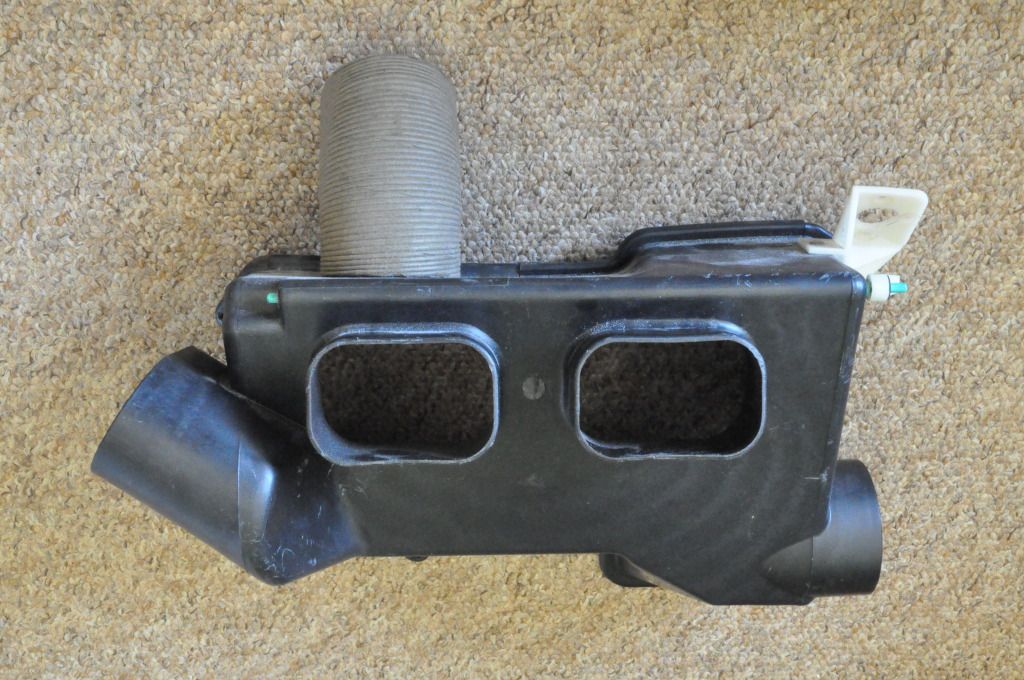
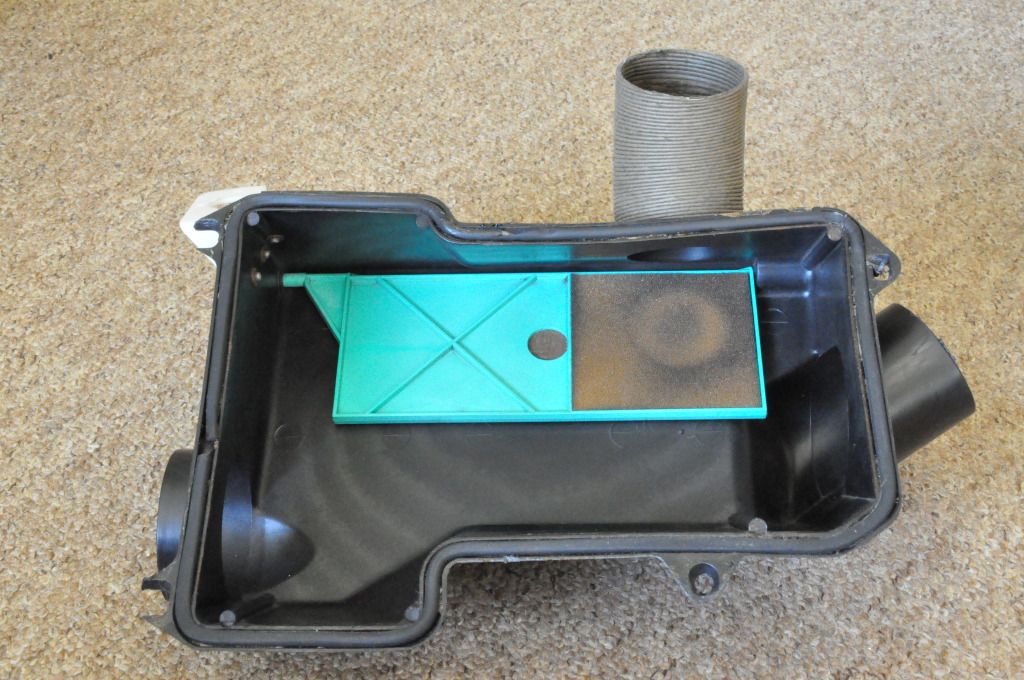
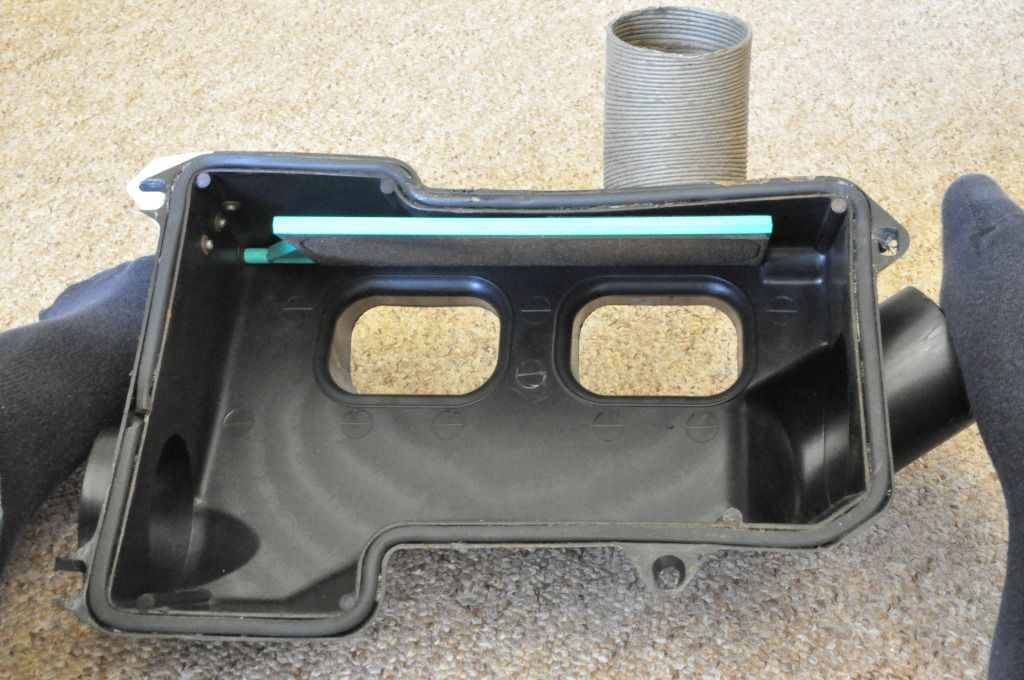
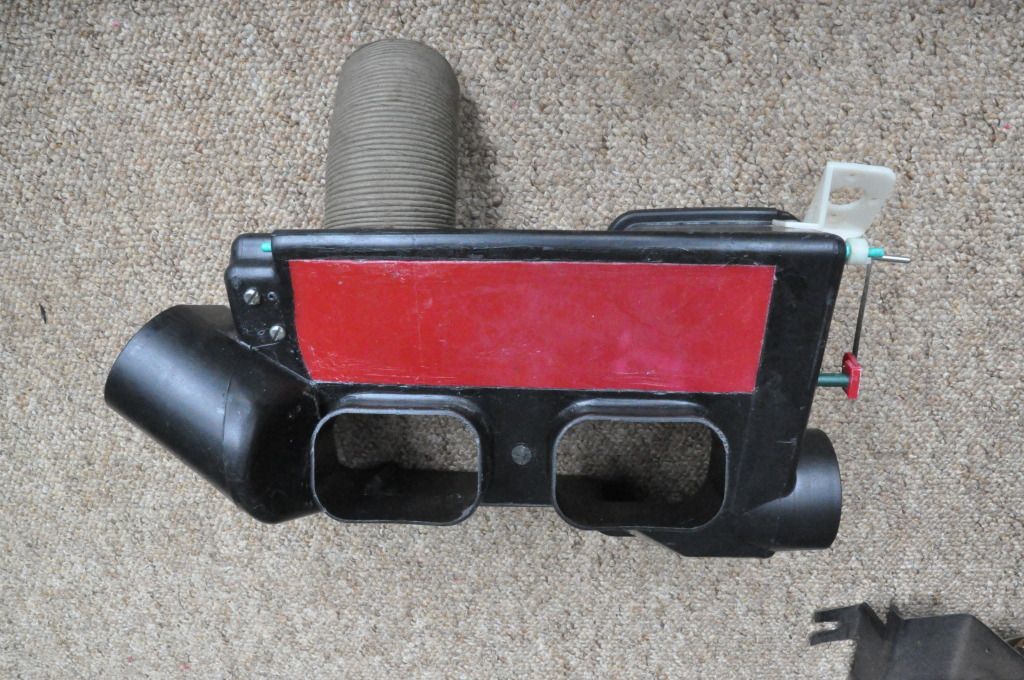
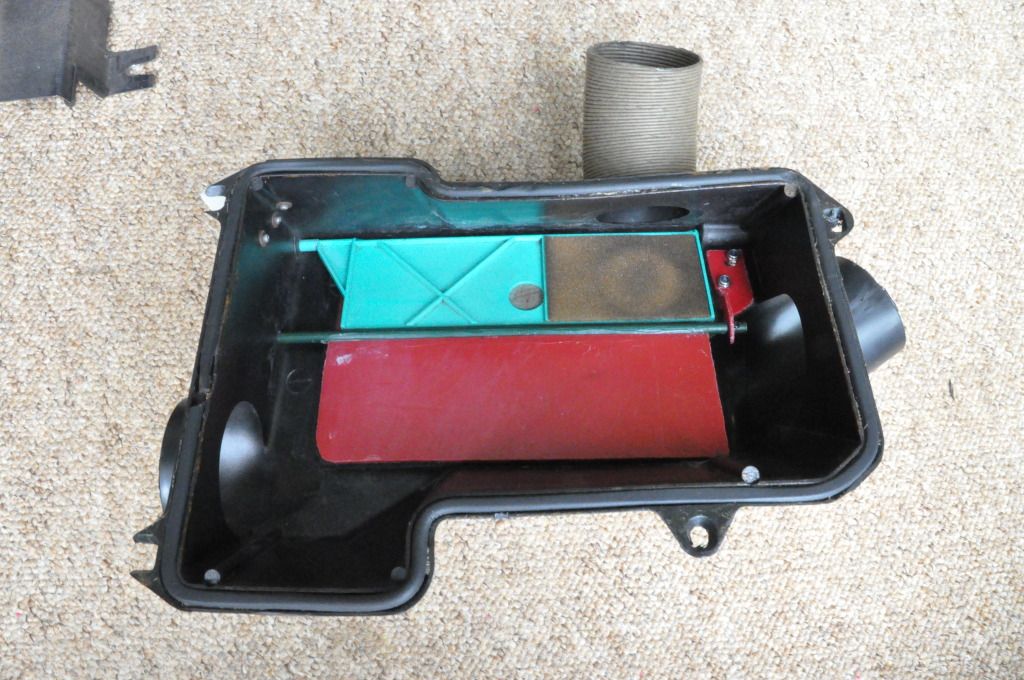
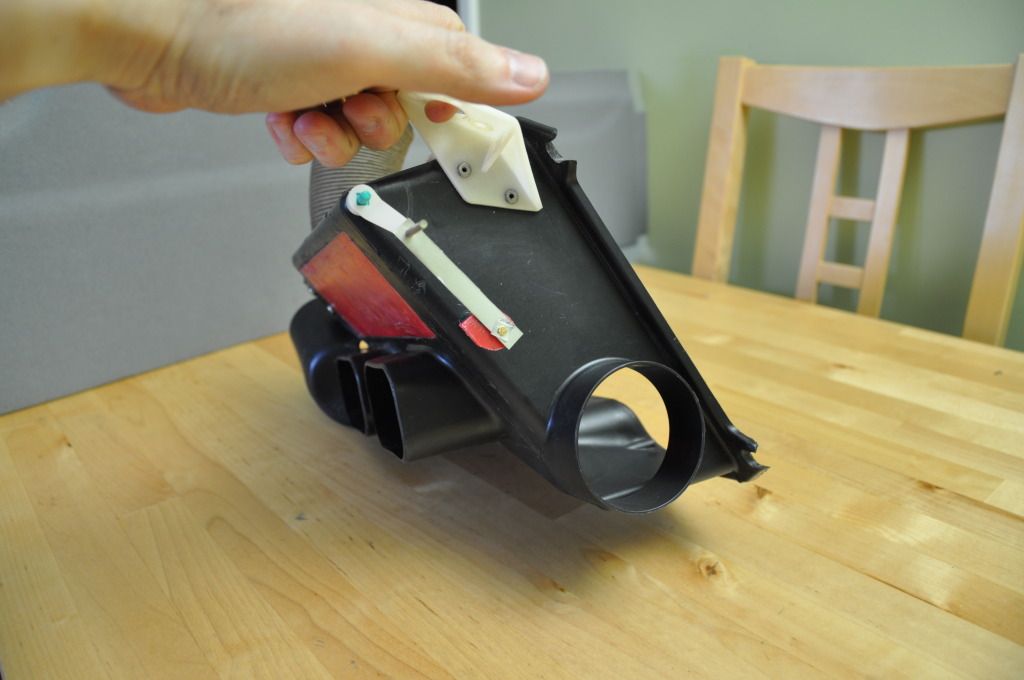
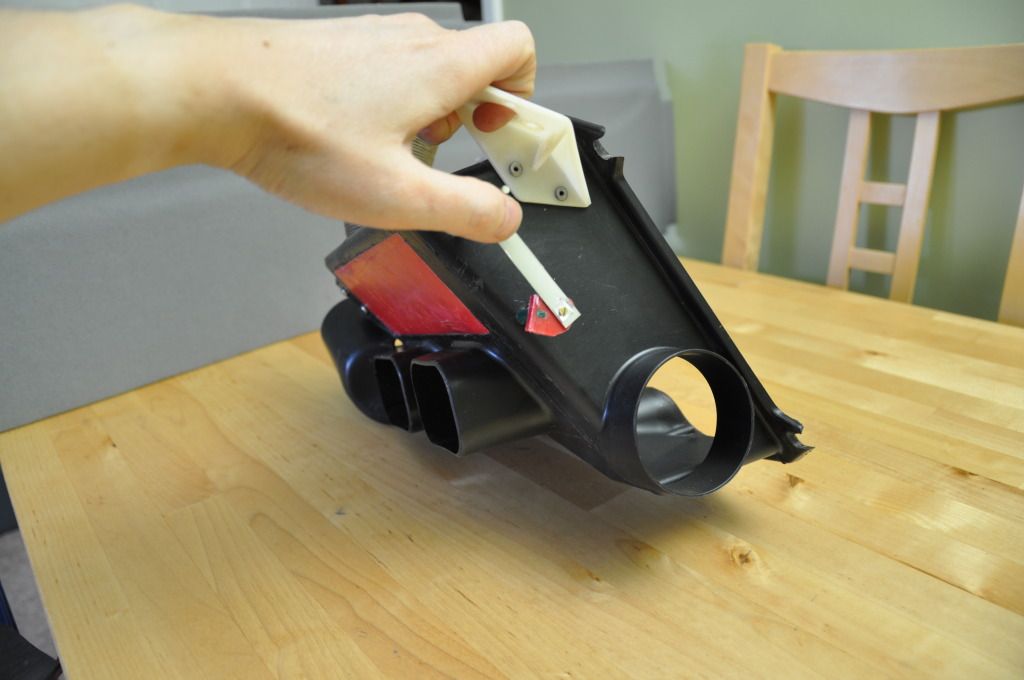
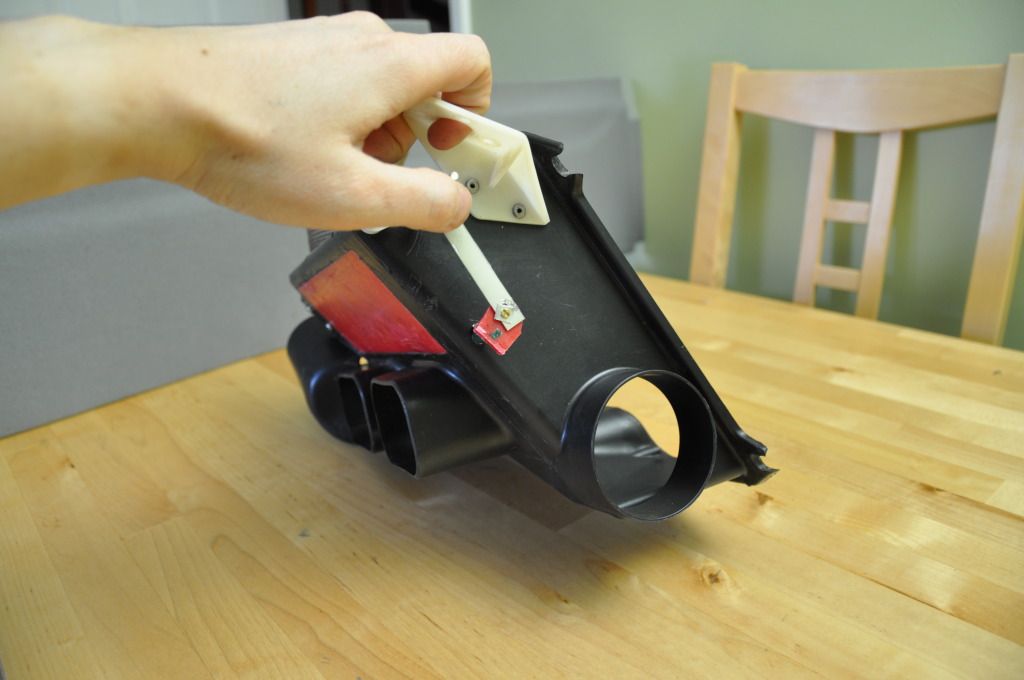
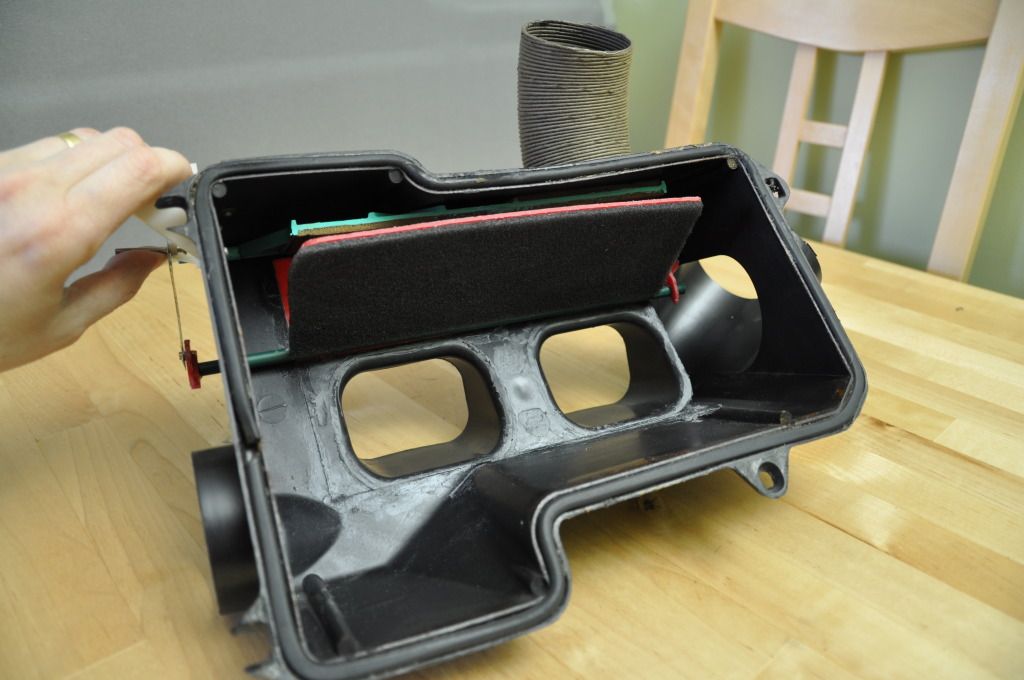
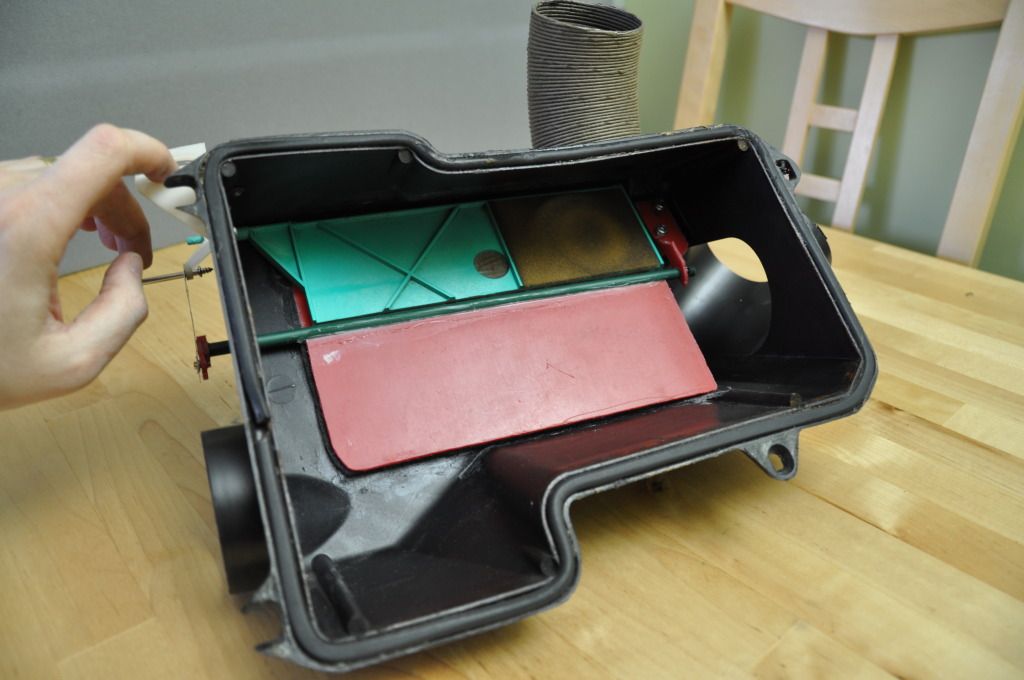
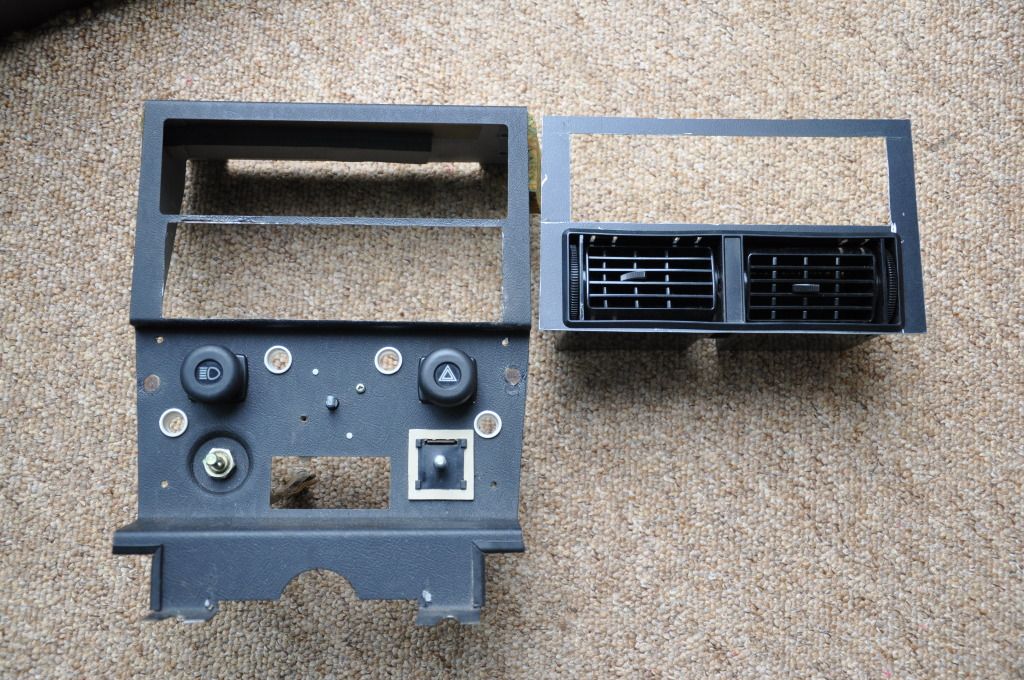
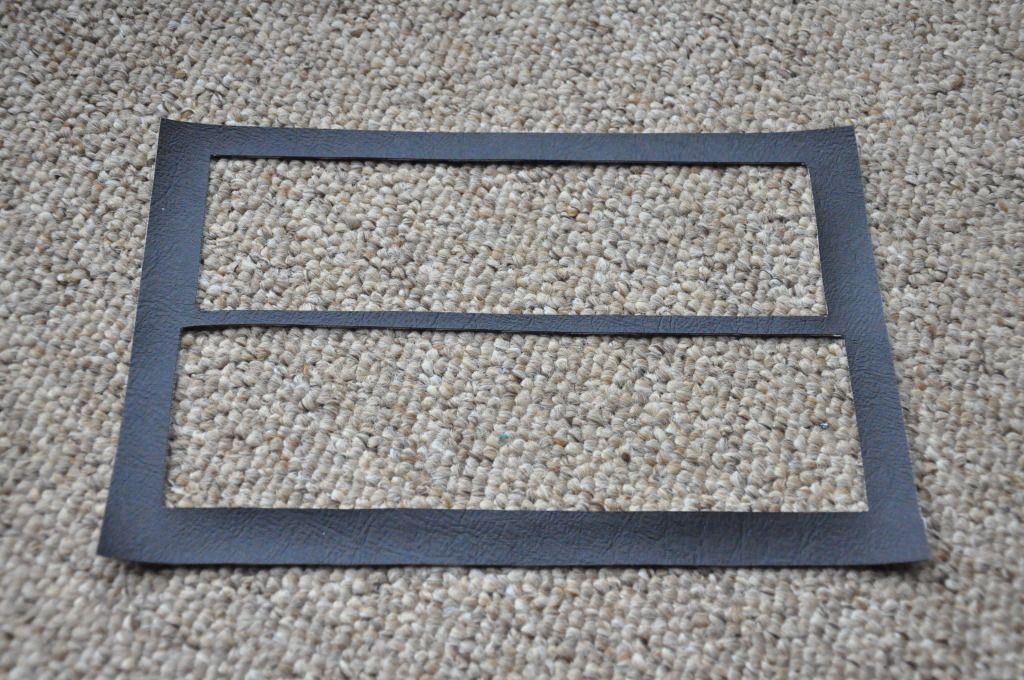
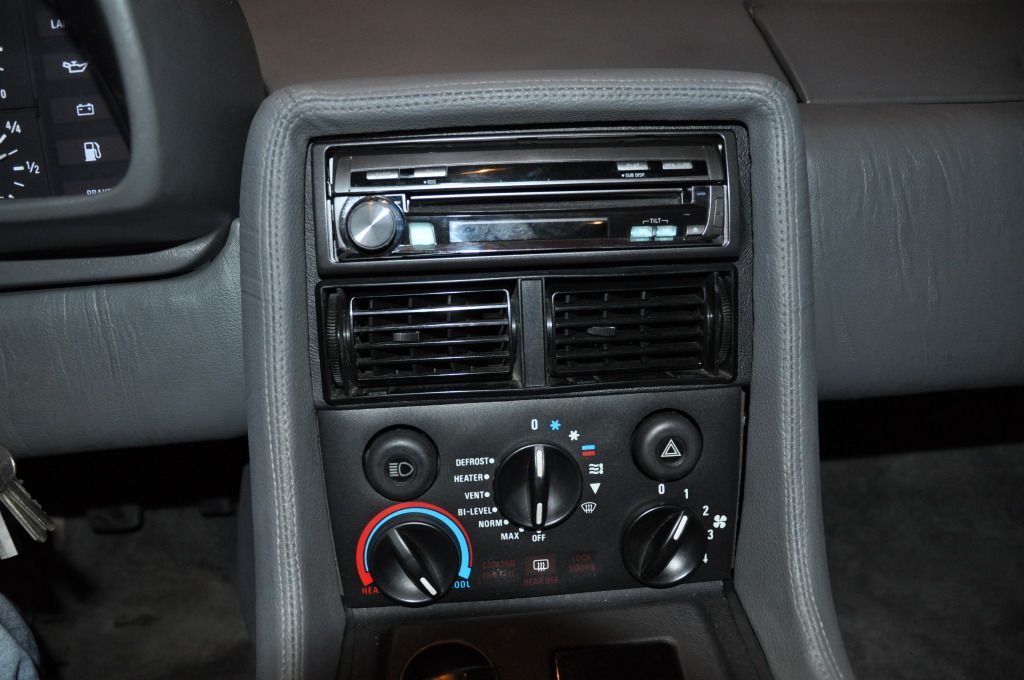
    nice work cutting the plastic and gluing it back, what did you use to glue? CA, model ca plastic glue? also how was there any issues to allow the radio wires to reach or did you have to extend the harness?

  4. #4
    Member Chris_Von_Bron's Avatar
    Join Date:  May 2011

    Posts:    77

    My VIN:    05255

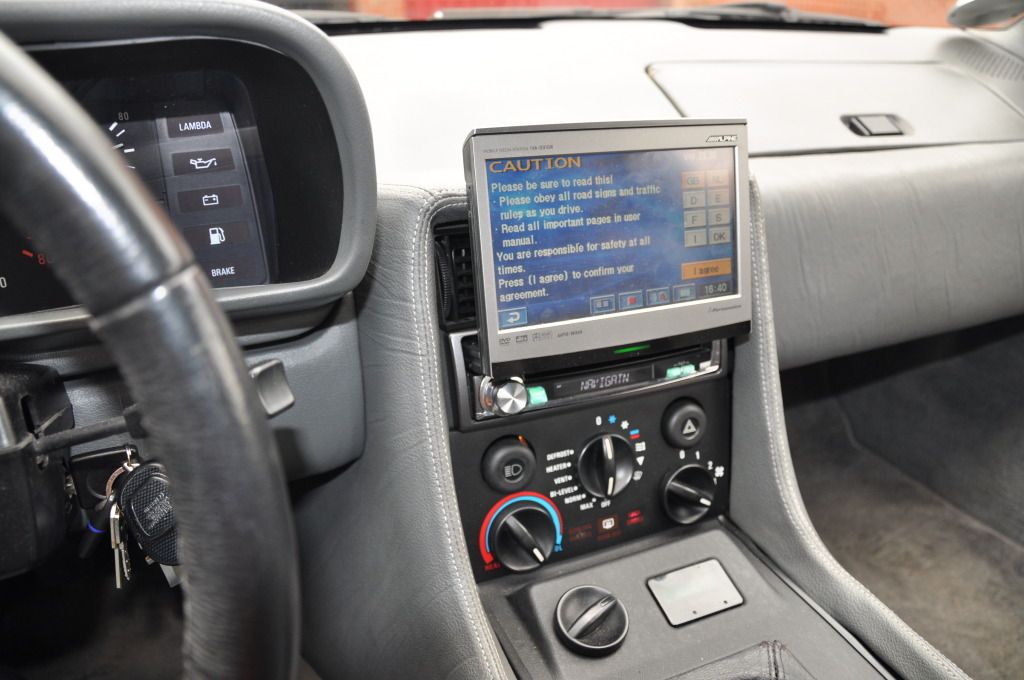
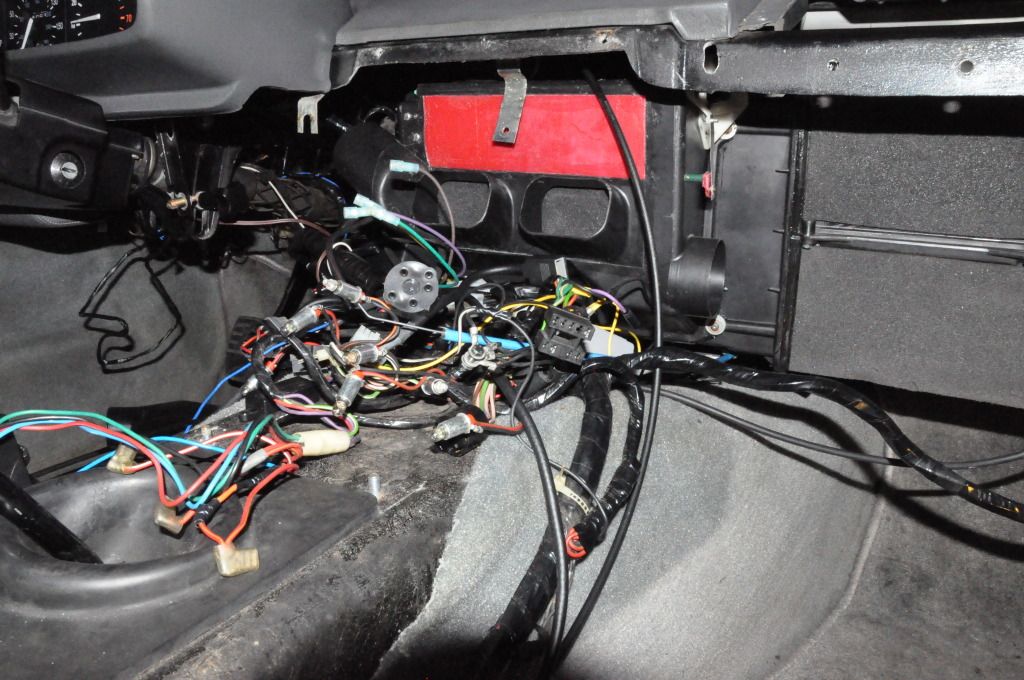
    cheers for the positive feedback. As the stereo isn't stock neither is the harness that is used so there was enough slack to reach.

    Glue wise I used Unibond's 'No More Nails' Invisible. It takes 48 hours to fully cure but is rock hard once fully set. I'm sure there is an American equivalent that is ideal.

  5. #5
    Senior Member Domi's Avatar
    Join Date:  May 2011

    Location:  France

    Posts:    2,457

    My VIN:    16951

    Club(s):   (DCO) (DOA) (DCUK)

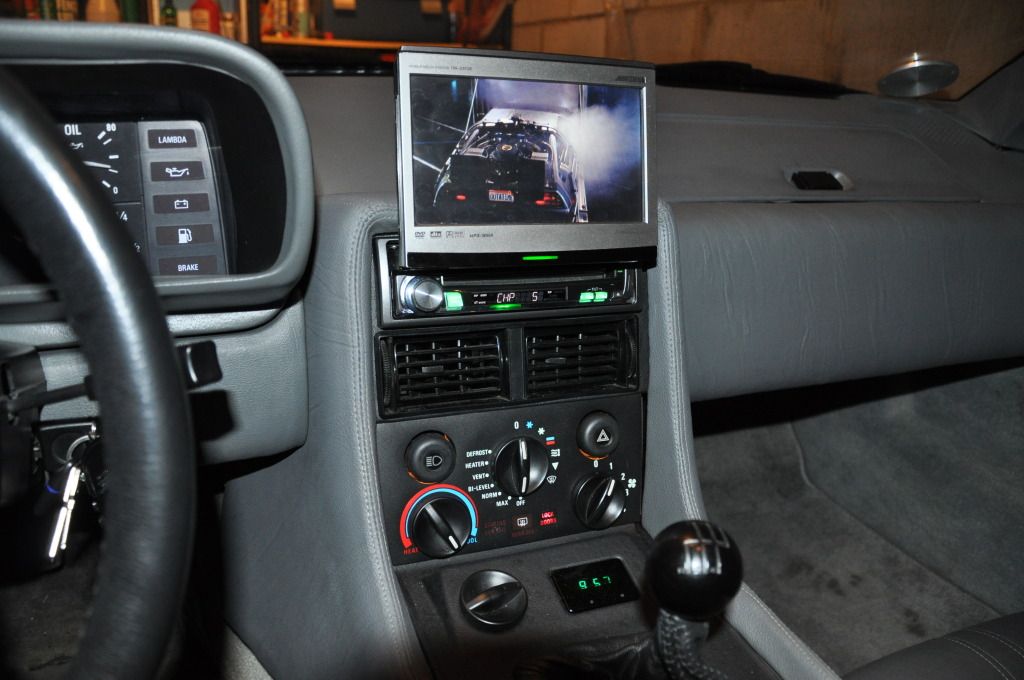
    Amazing job done, the stereo fits perfectly

  6. #6
    Senior Member Bitsyncmaster's Avatar
    Join Date:  May 2011

    Location:  Leonardtown, MD

    Posts:    9,008

    My VIN:    03572

    Nice job and good engineering for that much needed change.
    Dave M vin 03572
    http://dm-eng.weebly.com/

  7. #7
    Member Chris_Von_Bron's Avatar
    Join Date:  May 2011

    Posts:    77

    My VIN:    05255

    http://dmctalk.org/archive/index.php/t-2979.html?

    http://ohiodeloreans.com/gallery-07-PAFallTech.htm

    Photobucket is trying to hold me ransom, so I'm re-hosting the images and video published in 2012 to elsewhere to make them available again.

    The above was what I could find prior to my conversion done in 2012 as per above but no one to date had shown how to tackle the operation of each ventilation mode to work like stock. The below is how I went about it.

    In 2006 I fitted a flip up head unit so the stock setup results in ambient airflow once the screen is open.


    When the orifice tube broke up inside my evaporator core this became the catalyst for the conversion.

    Side on when measured you can see how tight swapping them around will be (around 5mm of tolerance if I recall)


    You don’t have to remove the entire airbox from the car just the part below:-


    The green flap has two functions. In the down position it stops the air from coming through the centre vents and allows airflow up to the windscreen

    And in the other position


    I re-modelled the airbox


    I did not want any loss of functionality so the solution was to create a ‘slave’ ventilation door which would be located where the original door was have it driven by an arm to the actuator as before


    The pivot arm can be seen in action below:-


    >>> movie clip showing the pivot arm in action - click image below <<<


    >>> movie clip showing the pivot arm in action - click image above <<<


    Swapping the stereo and the vents around requires a new piece of aluminium (old piece from an old PC was ideal)


    Sourced vinyl from my local trimmer which is an exact match (I have spare if anyone needs some)


    End result


    I'm really pleased with the end result as it is a subtle mod that most people won't even notice, but makes all the difference on a hot day [/QUOTE]

Posting Permissions

  • You may not post new threads
  • You may not post replies
  • You may not post attachments
  • You may not edit your posts
  •