FRAMING JOHN DELOREAN - ON VOD
www.framingjohndeloreanfilm.com
-
Senior Member

How To: Recovering Headliners 60+ photos
After nearly a year I have finally gotten around to completing my car's headliner replacement, Here is a How-to to give you some help, ideas and guidance so you can give your car a new headliner and save some money doing it. If your Headliner boards aren't in bad shape, and with the tools and supplies in hand this is a project that can be tackled in one weekend.
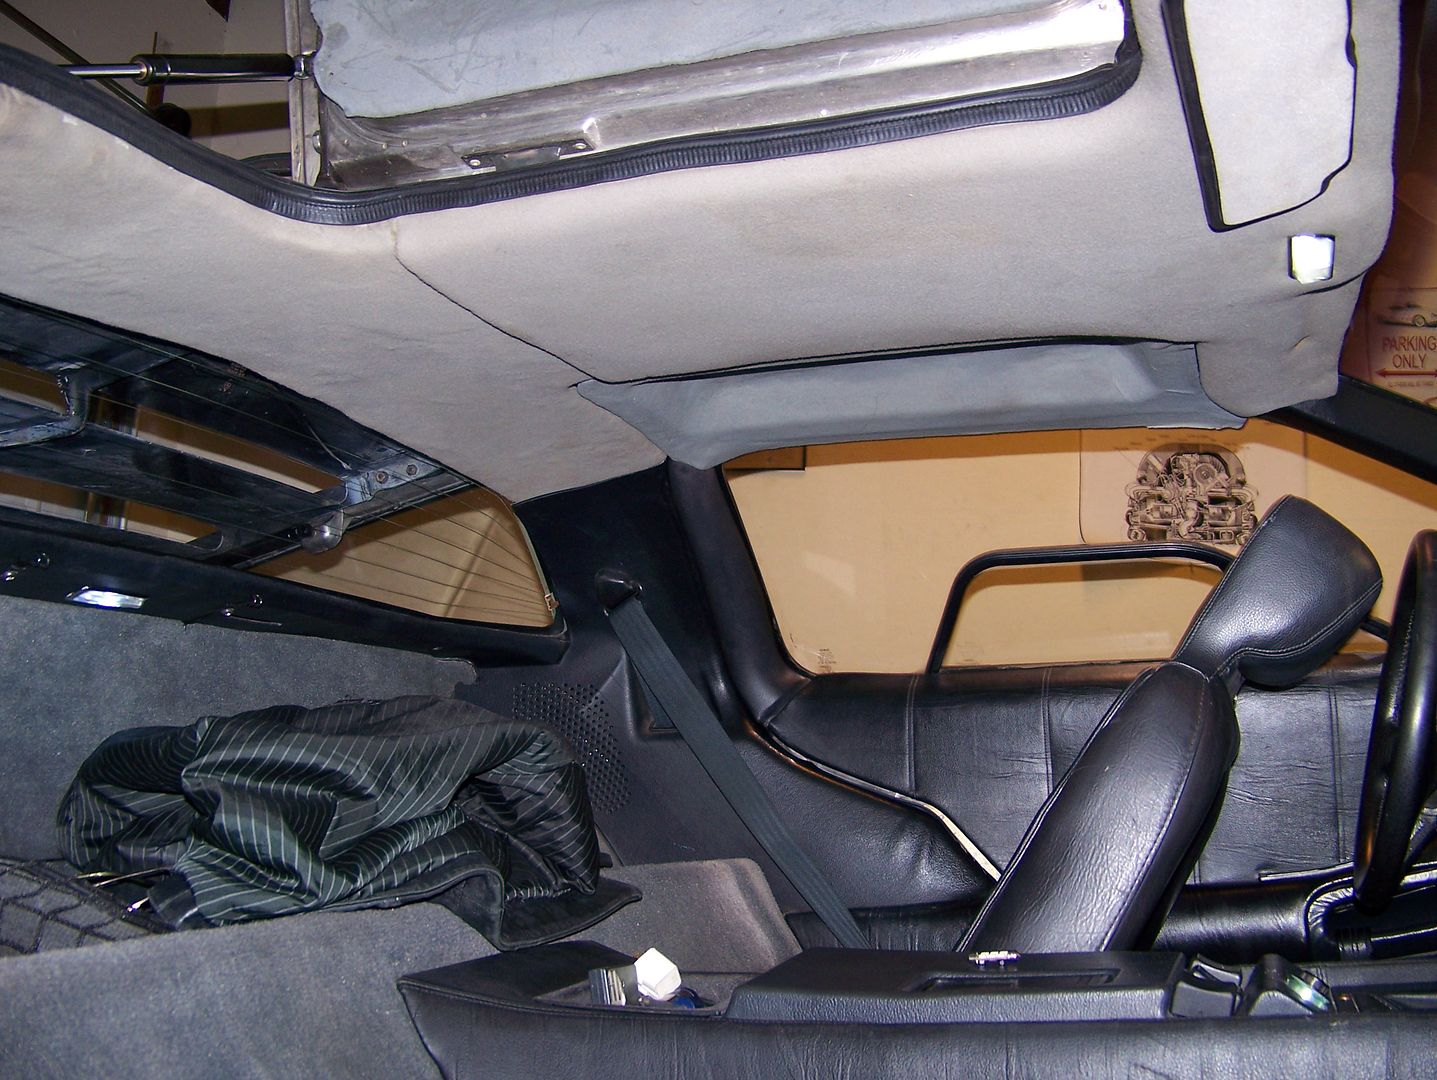
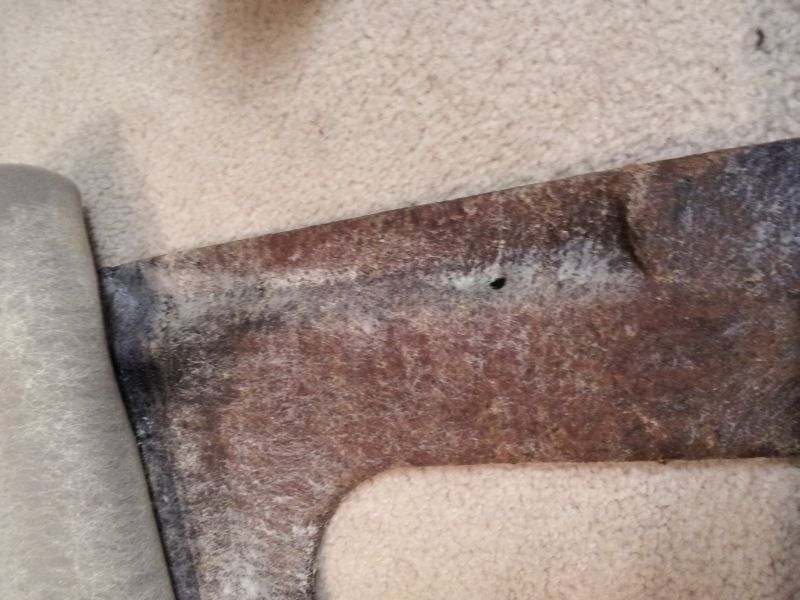
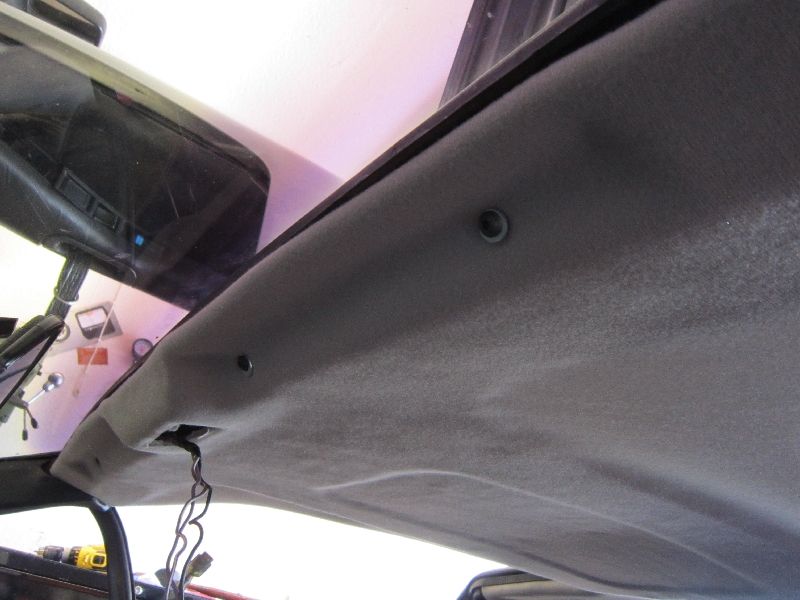
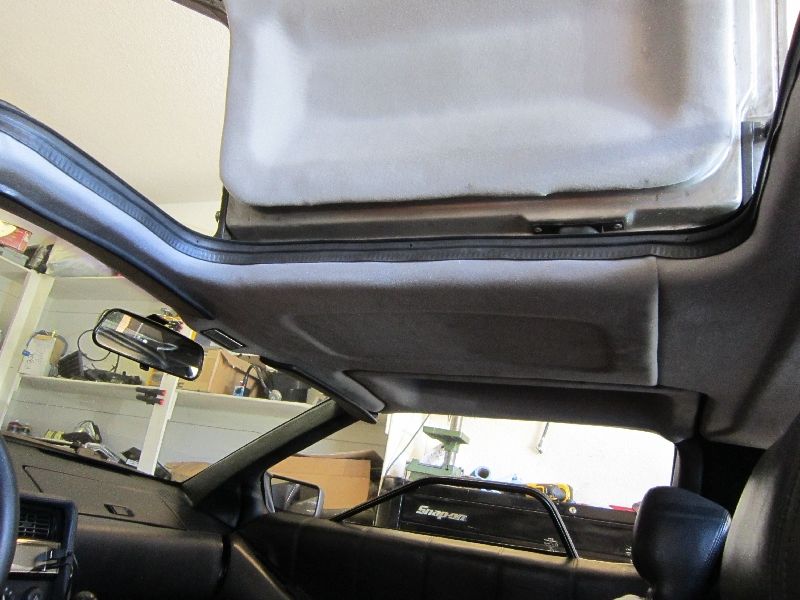
Like most of our cars 30 years on, the headliner material had begun to deteriorate and sag down, My center sections werent sagging too much but they were badly stained. Before we jump in, we need to know better how the liners are constructed. Unlike older cars that have a suspended liner with metal rods going across supporting the sewn material up, Our cars have a more modern and easier approach of having molded cardboard backing with the soft material simply glued on. The boards are attached to the roof with a metal loop riveted to the board and a hook for that loop to grab bolted to the roof, the perimeter around the door opening has excess material simply warping around the edges and pinched under the door seals. The front also is held up with the sunvisor bolts. The doors which have their own liners are attached with Fir tree plastic clips.
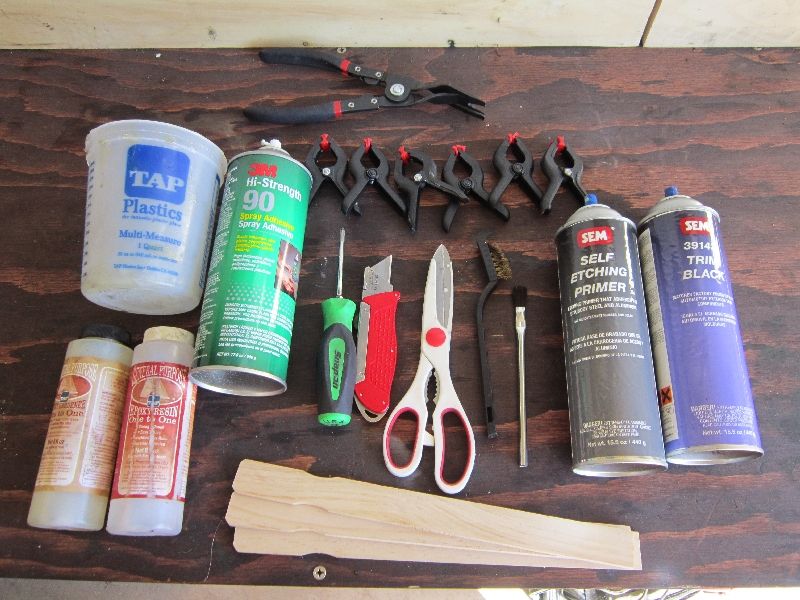
Tools and Supplies Needed
Scissors
Hi strength Contact Glue (do not get cheap stuff)
Razor blades
Sharpie
Dozen or more Clamps ( Clothes pins will work too)
Philips screwdriver
Metal wire brush
Fir-tree removal tool ( top of pic)
2.5 yds Headliner material
If your boards are damaged/creased you will need the following:
Epoxy Resin 6oz+ (polyester will do and is much cheaper/easier to mix correctly but smells much worse)
Mixing bucket
Acid brushes
Mixing sticks
More clamps
Heavy books
Wax paper
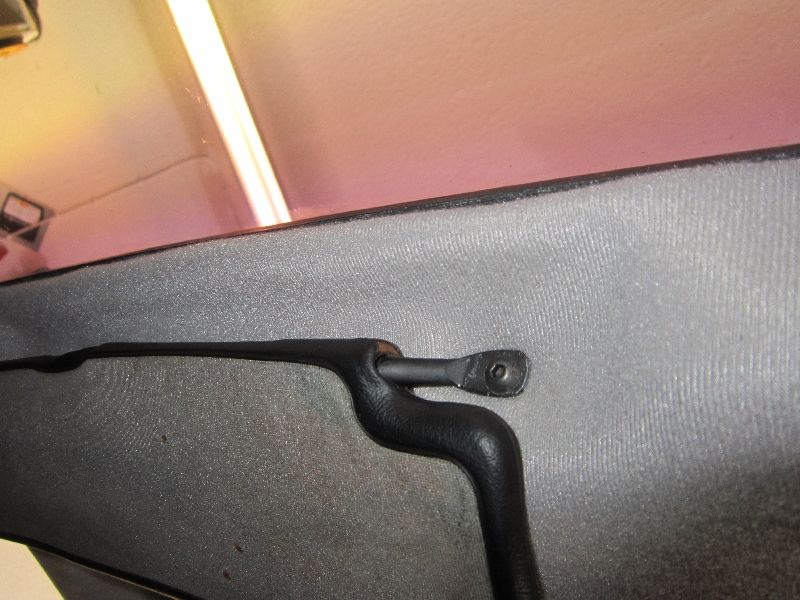
And if your sunvisor mounts are stripped/rusted like mine you will also need:
Drill
5/32 drill bit
5/32 x 1/4" Alum Rivets
Wire brush attachment for drill
Small vise
Primer and black paint
m5x0.8 Tap
New M5 bolts x4
Rivet gun
Dremel with cut off disc.
Step 1, Removal:
Remove Sunvisors, or in my case break them off
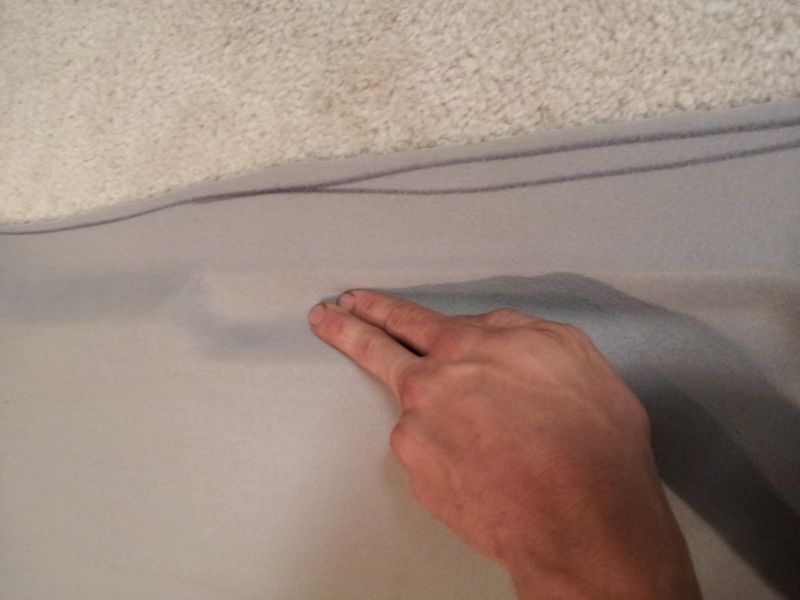
You dont have to be careful about damaging the material however you must be careful not to crease the cardboard backing as it will loose rigidity and the crease will be visible later. Pull off the inner door seals atleast around the top of the door, now start unfolding the material around the roof. The material is likely glued on so a sharp razor blade is necessary. Start with the front board as it overlaps the rear.

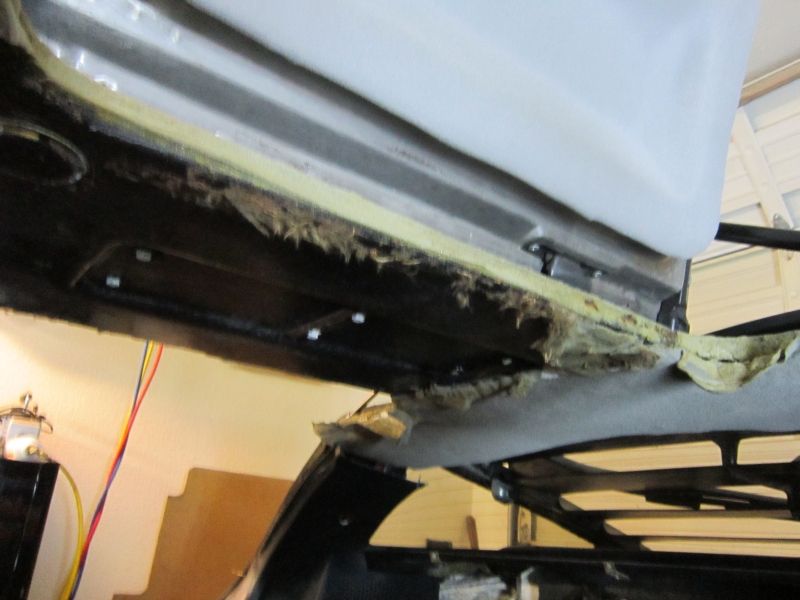
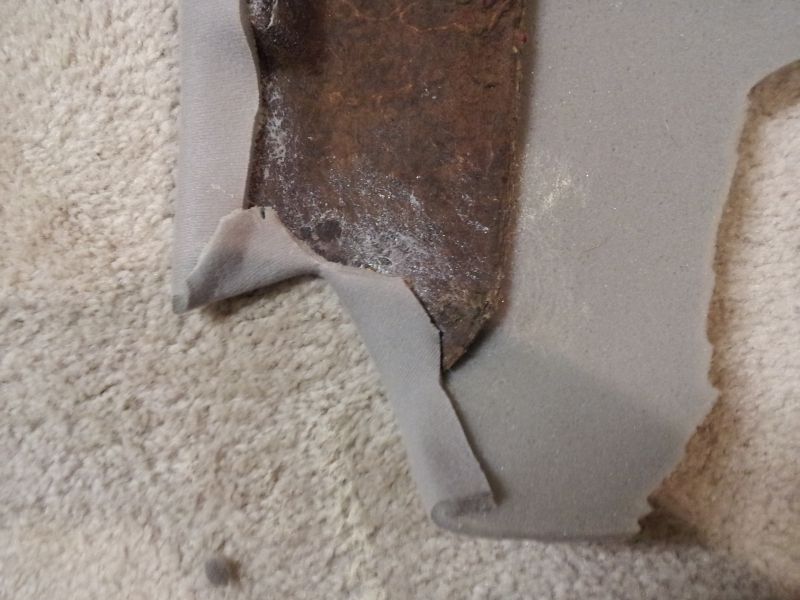
Now as you see there is alot of foam still stuck to the roof, This can removed with wire brushes. put down some plastic or blankets so the foam bits don't go everywhere. Try to get the fiberglass as clean as you can.
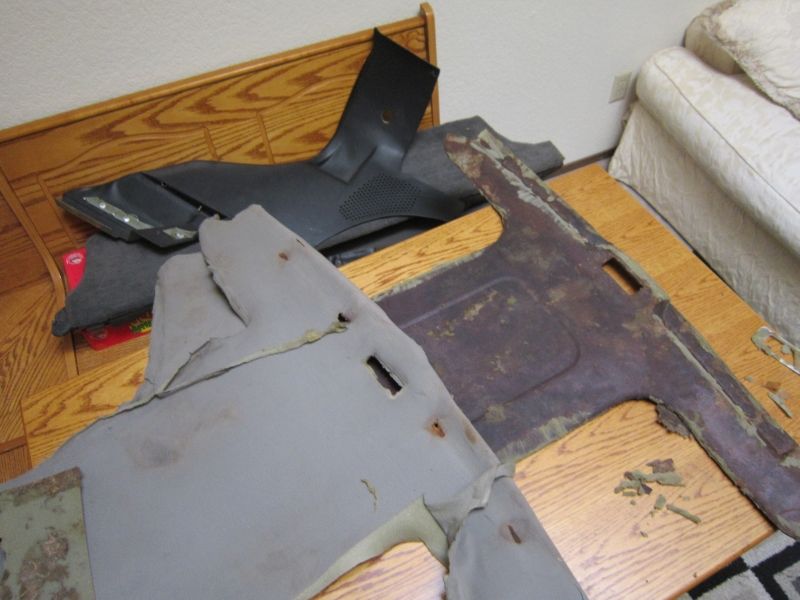
The door liners should pop off with the fir-tree tool or by hand if they are loose enough and you are gentle enough, remember not to bend the boards!
Step 2, Stripping the Boards and Prepping
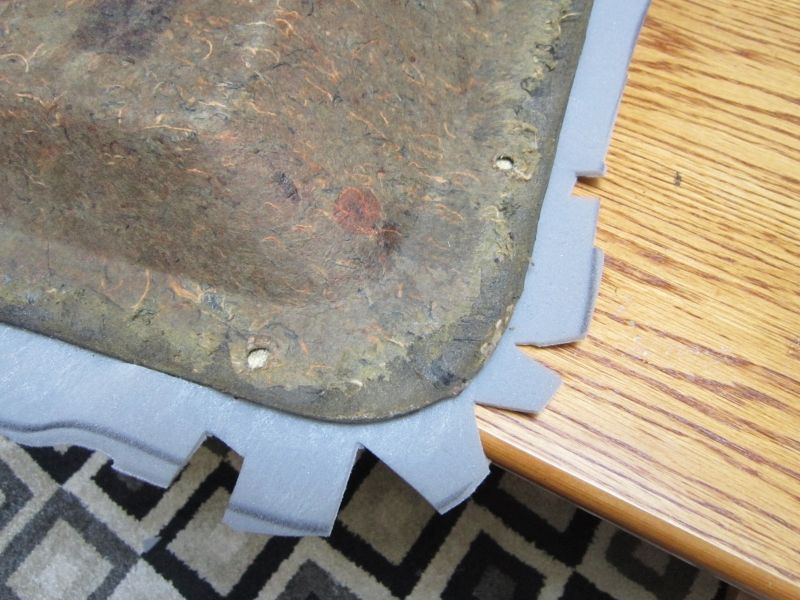
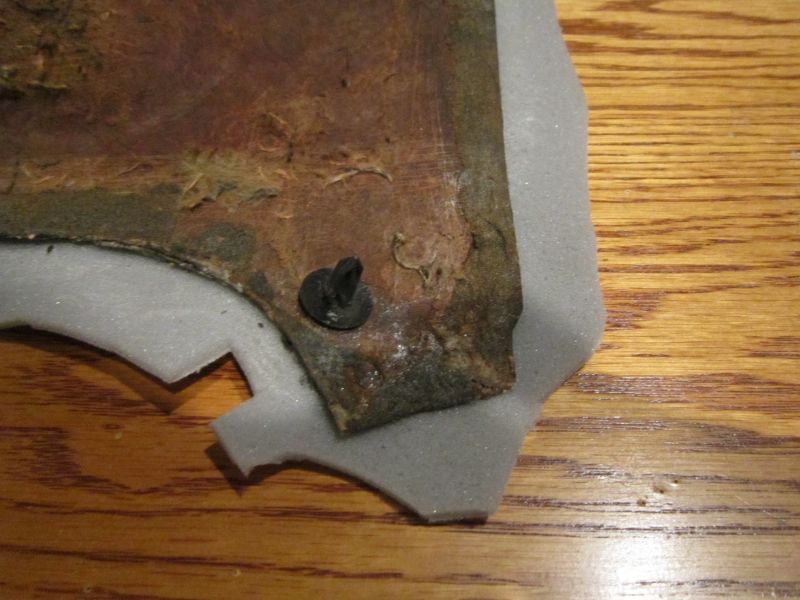
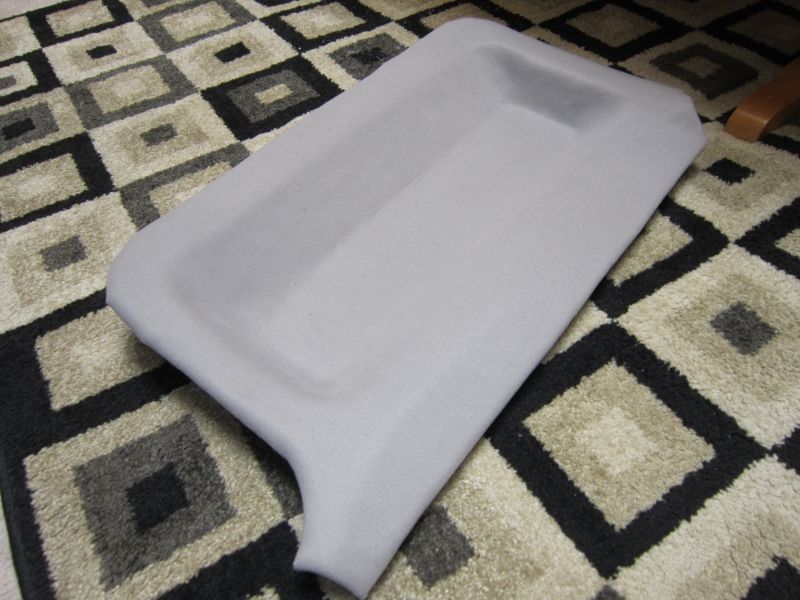
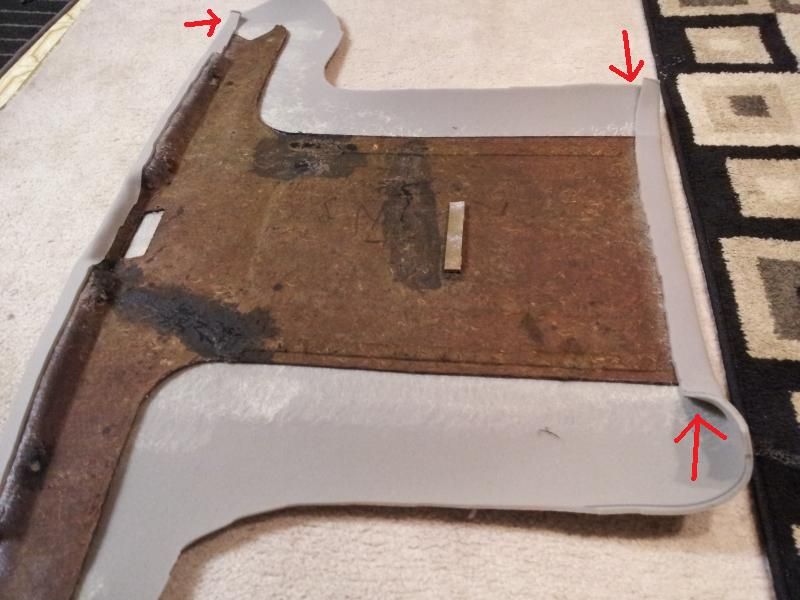
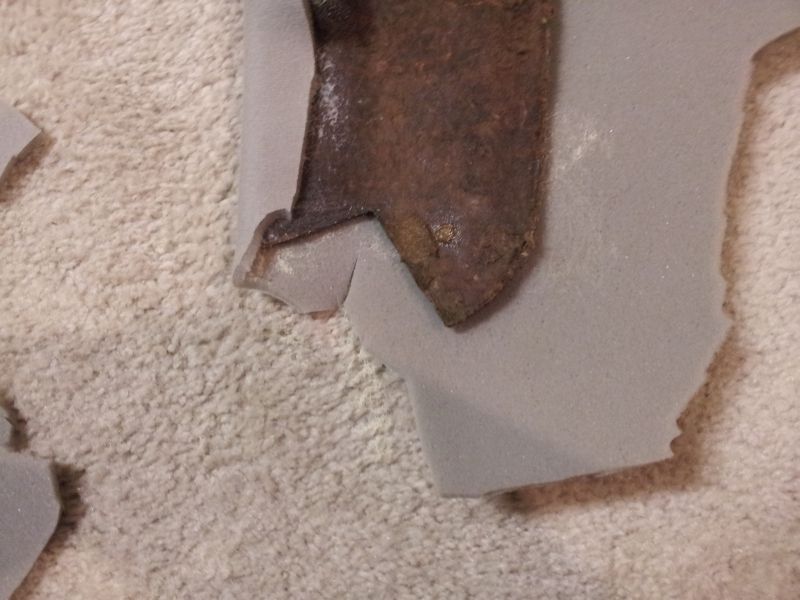
Take the board somewhere you can plenty of room like on a counter top or on the floor. Begin at one corner and pull the material off the board, dont worry if it rips or foam remains but bonus points are given if you get it all off in one piece. Just as the roof needed De-foaming the boards need to be bare, any little bump that remains on the board with be under the new material and will show. TAKE YOUR TIME AND BE SURE THE BOARDS ARE CLEAN AND SMOOTH. Use a manual wire brush with light pressure, just don't gouge the paper. Note the rear quarterpanel in this pic, You dont need to remove those panels to pull the rear headliner, although it would help.Not pictured but stripping the door liner boards was just the same. Now is the time to easily replace all the fir trees and repair and of the holes the screw into with epoxy.
Kinda looks like I skinned a depressed Sea ray huh?
-
Senior Member
Step 3, Recovering Door Headliners
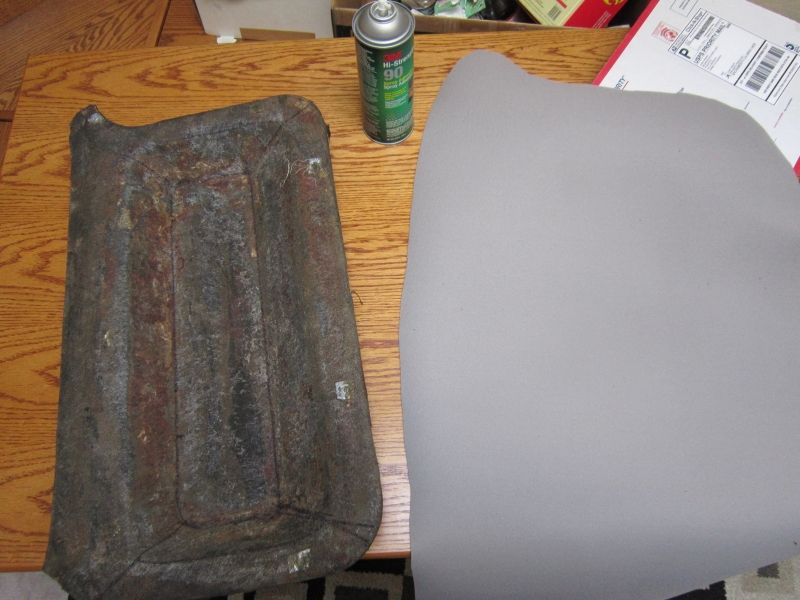
If you boards come out smooth and undamaged you are ready to recover. Look up your local Upholstery supply shop and take a sample of you old material or a sun visor to match up the color and grain as best you can. Be warned your material is probably 30 yrs old and has faded and its unlikely you will find a perfect match to anything so go with your gut and get something you like. Also be warned that some upholstery shops wont sell to the open public, only to other businesses with licenses. Going to a home fabric shop it not recommended, even if they have similar material its not likely to be automotive quality and will fade quickly in the sun. Do it right or do it again!
You will need at least 2 yards of the material, get 3 to be safe if you mess up, the stuff shouldnt be too pricey, $10-15 a yd. Get new fir trees and glue there if they have it.
BEFORE YOU BEGIN, MAKE SURE YOU ARE WORKING ON A CLEAN SURFACE/FLOOR AND WASH YOU HANDS, CLEANLINESS IS VERY IMPORTANT FOR A QUALITY PRODUCT.
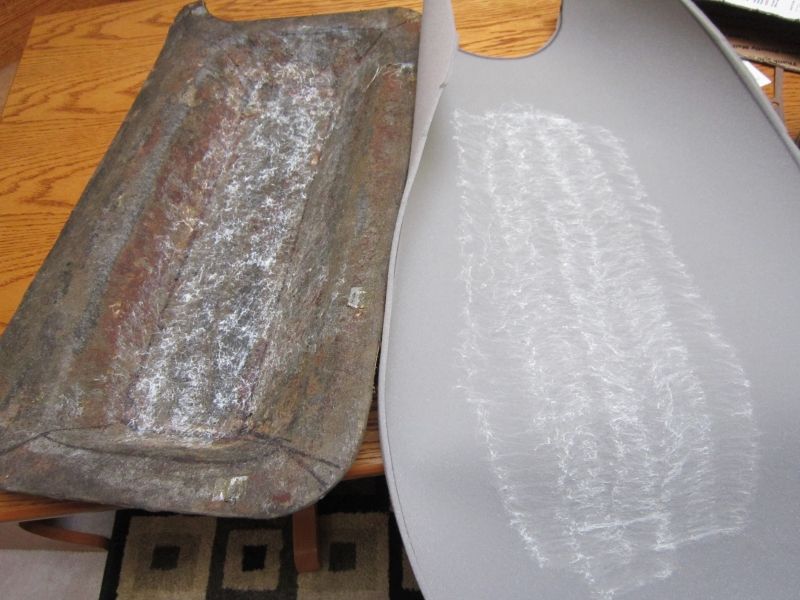
Lets start with the door liners first. Lay one face down on to the new material that is also face down and roughly trace around it with your sharpie, Give yourself about 4-5 inch extra all around. Big Tip here, note what direction you material is facing, like wood or stainless steel your material should have a grain, double check its facing the same way as the other pieces BEFORE you cut them out, I set my material to have the grain go fore and aft like the grain of the car's stainless.
Now if you got extra material go ahead and consider this a practice run and only use a little of spray glue so you can rip the material back off if things go bad and not damage the boards. Getting the material to stretch nicely and not wrinkle can take skill, but generally the fabric is forgiving.
Begin by spraying the valley of the boards, be sure to get into the corners and evenly, DO NOT pour the glue in there, you still want a thick spider web consistency as shown, too much and it will bleed through the material. Too little and you will have saggy headliners in a month. Be sure to spray the material back side just the same too. Allow the glue to tack up for about 2 minutes, don't be hasty but also don't let it dry up. In short read the bottle's directions.
Make sure the material is centered on the board before any glued parts touch, once the glue touches it will likely damage the material if you attempt to remove it. Start in the center and work you way outward to the corners of the valley.
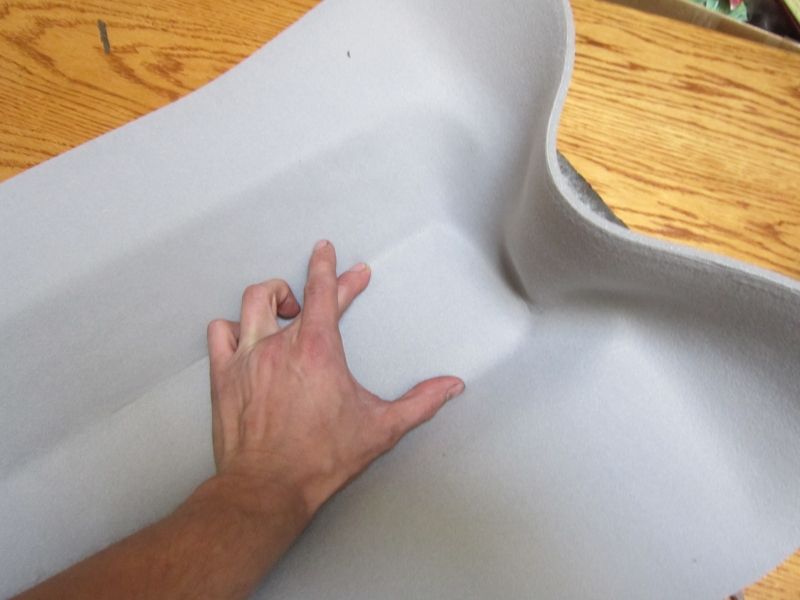
Its kind of hard to explain but the trick to laying the material down without wrinkles it to stretch it in some areas and allowing it to nearly wrinkle in others. When laying down the first section in the valley push the material outwards ( red arrows) with a fair amount of pressure, this section needs to be stretched some. Dont forget to stretch it some the other way ( yellow arrows). Next you can work you way up the sides allowing the material to sit without tension so the top can be more relaxed, the material will want to wrinkle up there ( blue arrows).

This may take practice but use the grain of the material to help you see where it is too tight and too loose.
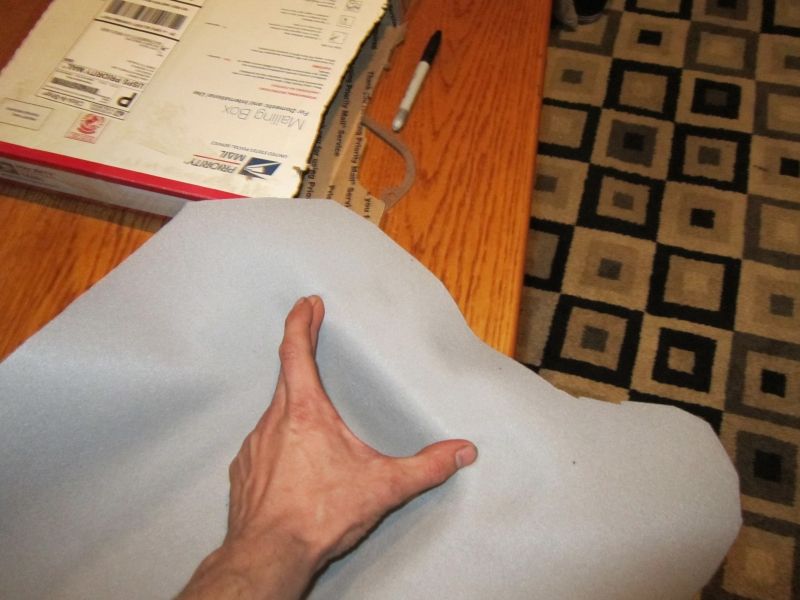
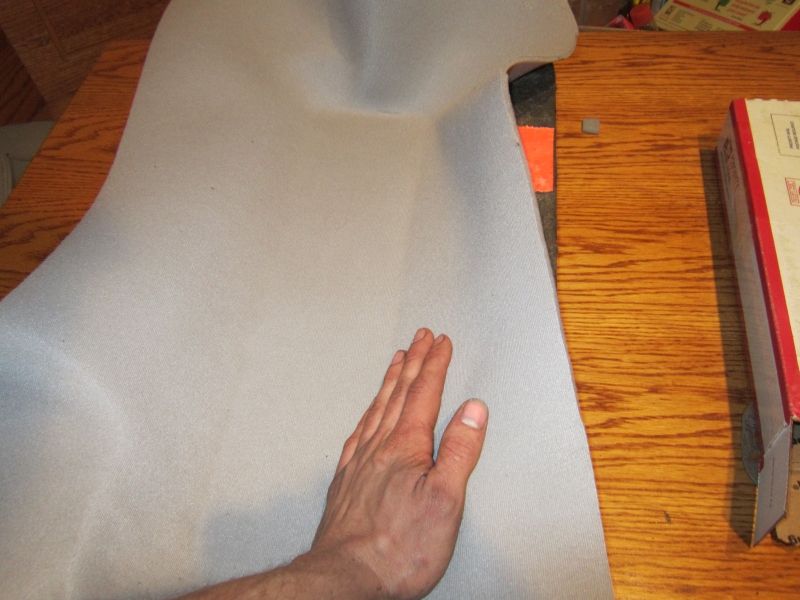
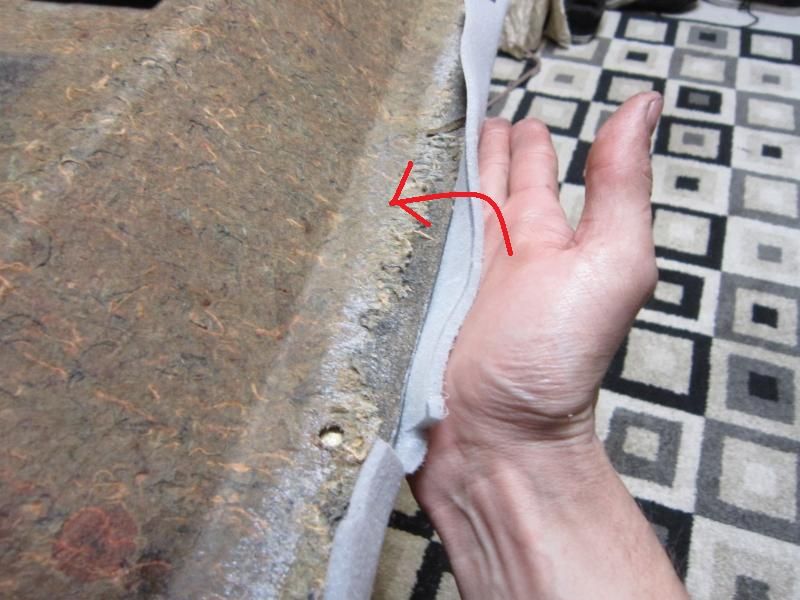
Work slowly and do one corner at a time, when the valley is nicely laid down, spray more glue on the sides,( material and board) don't forget to let it tack up. Use the palm of your hand and moderate pressure to roll the material onto the board, using the tips of you finger can make the material wavy which will be visible in the grain.
Once the face of the board is glued, flip it over and get you scissors out, the corners need to be trimmed before folded over. You cleaned the back side of the board right? glue wont stick to any old foam dust that remains.
This is kind of like wrapping a birthday present but you dont want overlapping parts of the wrapper the corners will have to be trimmed somewhat to this effect. Dont forget to trim for Firt-rees too.
Dont worry about making it pretty, this side will never be seen.
Use plenty of glue as before (if this isnt you practice run) on both material and board before folding it over, use some of those clamps/clothes pins now and let the liner sit at least an hour before installing.

On the long sides between the corners use the palm of you hand again and roll the material over gently, you dont want to stretch the material unevenly here or the grain will be quite visibly wavy.
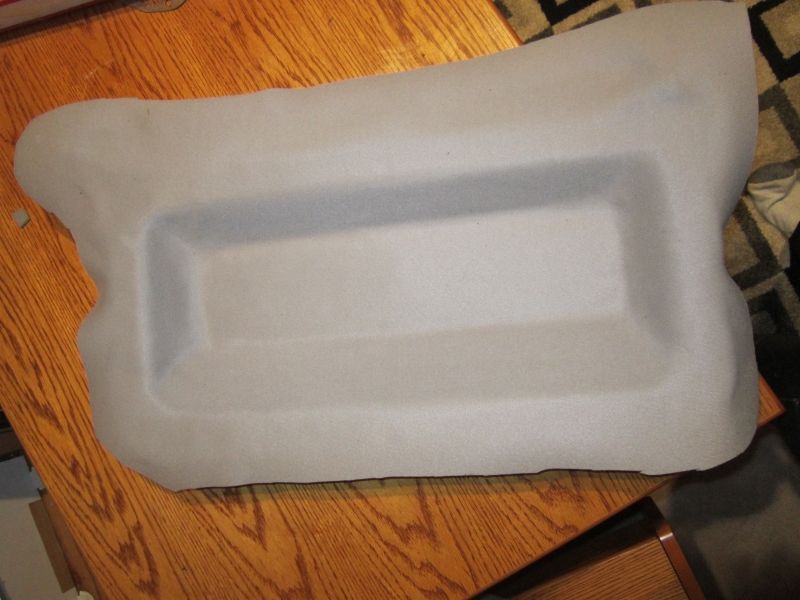
BAM DONE!
-
Senior Member
-
Senior Member
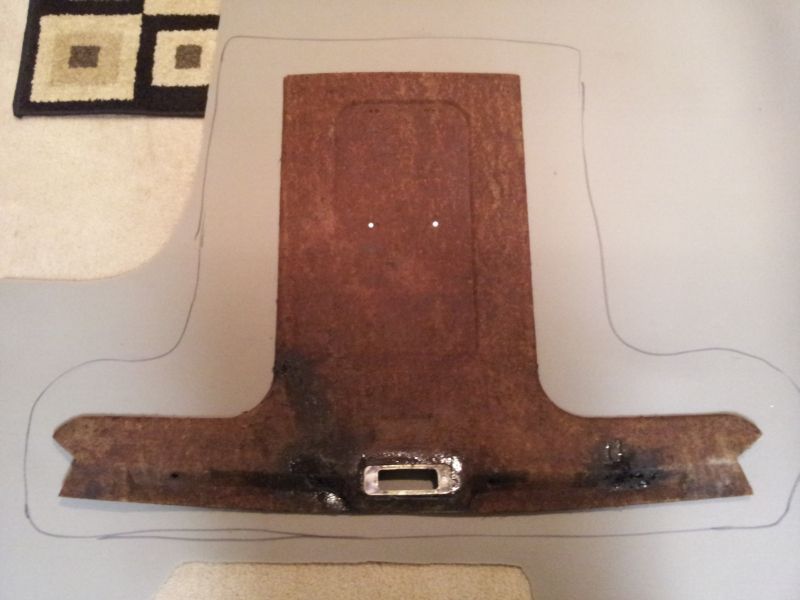
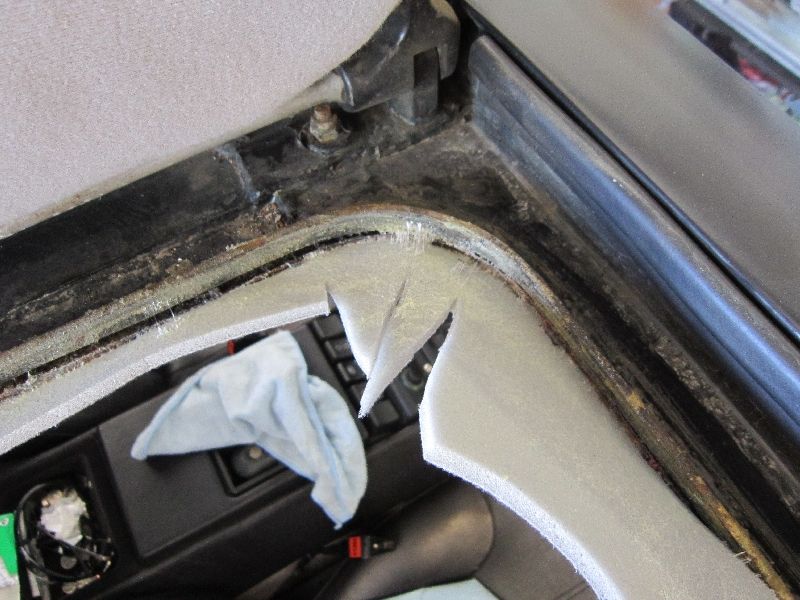
Step 4, Repairing Front Headliner
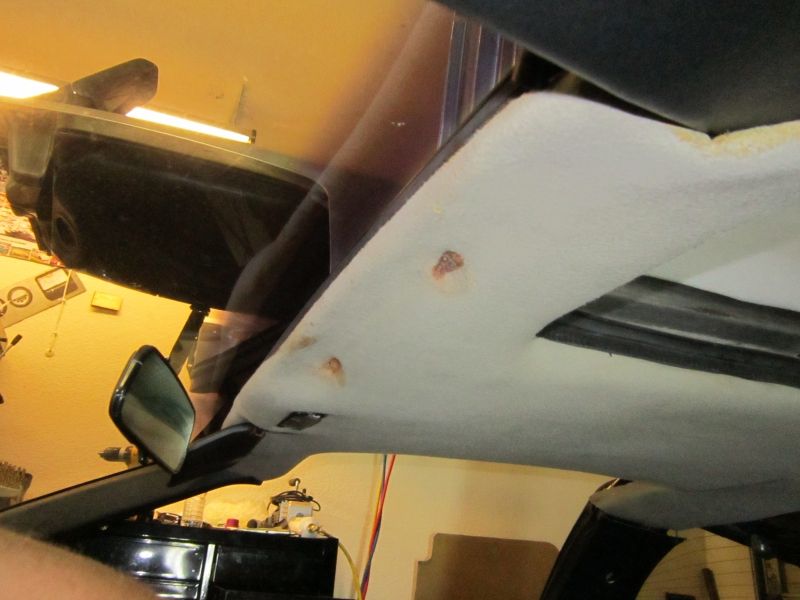
I dont have any good pictures of the damage of the front board mostly because I was so mad that it was damaged I didnt want to photograph it. There was a bad diagonal crease from left of the light to the corner of the door edge, also some of the sun visor holes were mangled plus the center was badly bowed.
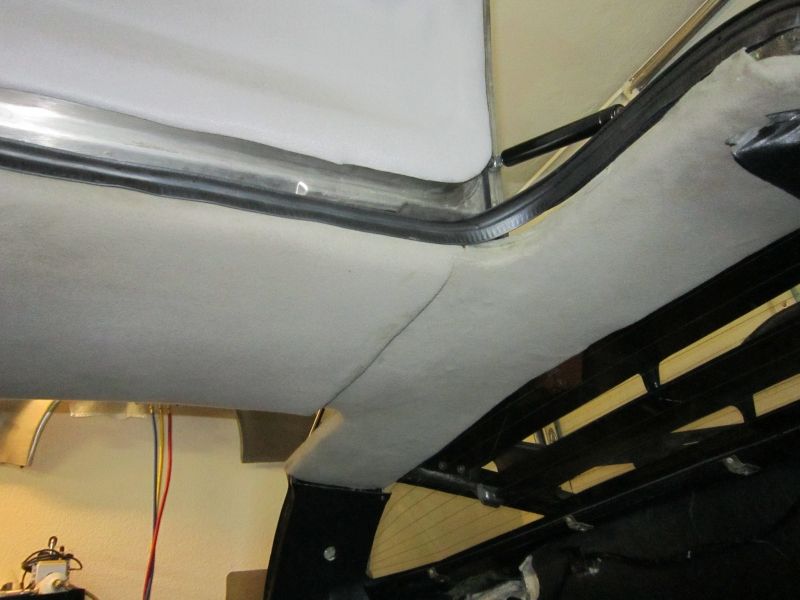
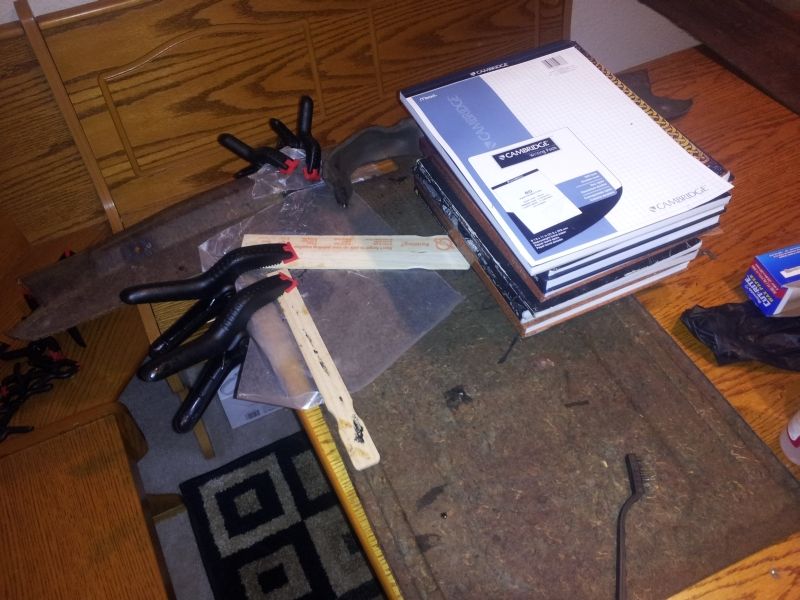
The repairs mostly took time and I wont go into big detail on epoxy repairs. Basically I cleaned the board as normal with a wire brush, straightened the crease best I could by hand and poured about 3 oz of resin on at a time along the crease on one side. Next I put a piece of wax paper on top of the glue and piled about 30lbs of books on top then let that sit overnight. I repeated that twice on each side. Near the interior light I poured on more epoxy and after it set I sanded the high parts down and applied more glue where needed. In all I used about 12oz of glue and it took the better part of two weeks since I had to let each section cure overnight before moving on. The bowed sections had paint sticks clamped tightly on it to straighten it out all this time too.
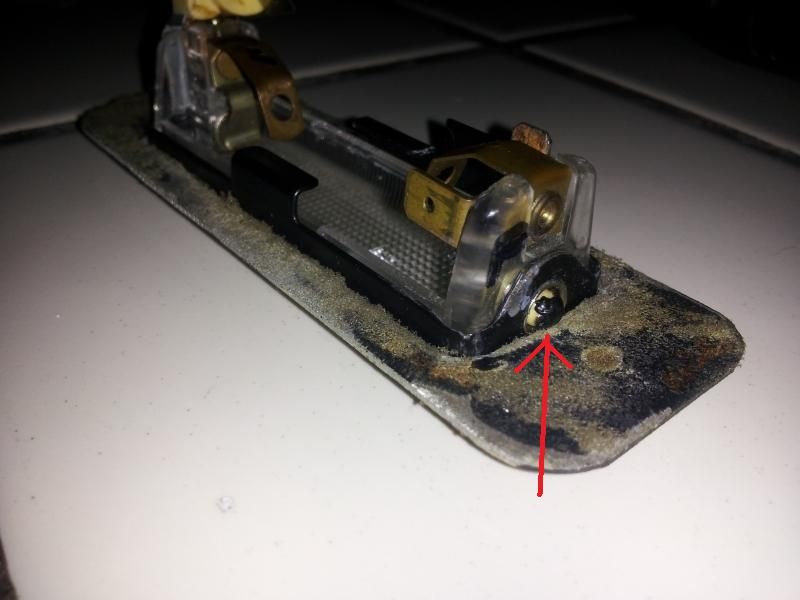
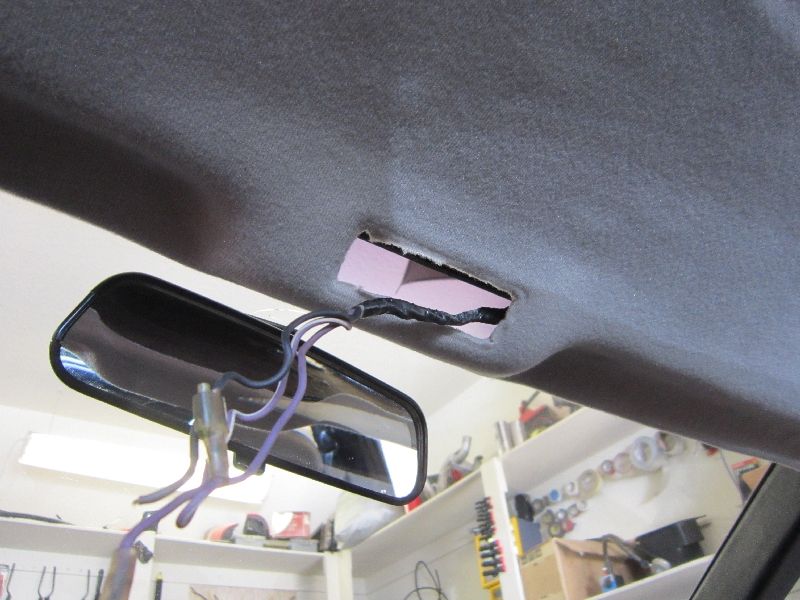
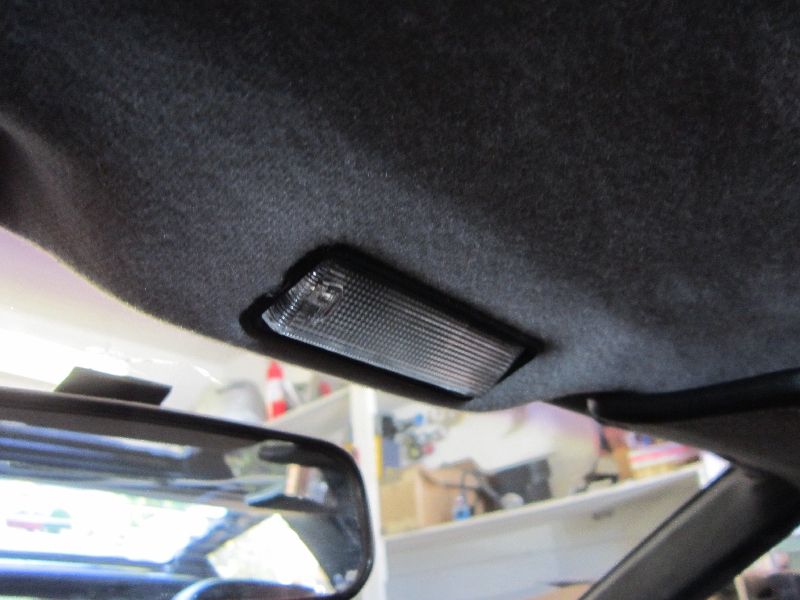
One part I really wanted to get right was the interior light mounting, the old liner barely held the light fixture in and was crooked when it did. I did alot of fine filing on the aluminum plate that surrounds the hole so it fit the light perfectly.
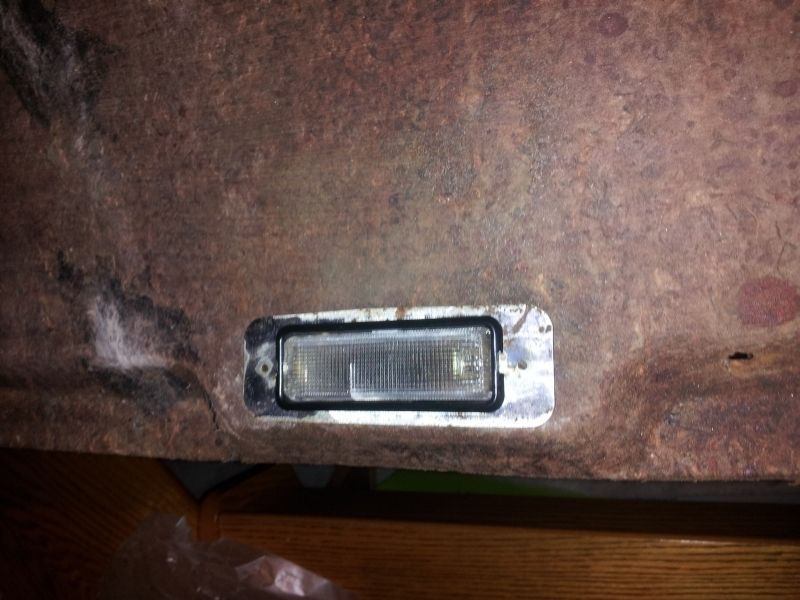
However nothing held it in tightly, this light is from a Porsche 928 and superior in quality and design to the DMC unit. there are two spring loaded detents that can hold it in the plate but one was not long enough. The simple fix was to use a soldering iron to melt the tip of a zip tie to the plastic detent that wasnt long enough, the plastics melted together and were quite strong. Then I glued the aluminum plate to the board with a couple of rounds of epoxy.
Step 3.2, Recovering the Front liner
With a straightened and smooth board the same process happens to cover it, Trace out material with about 6 inch overlap. Remember the grain!
With the material centered Spray glue on on the center to one side, we will apply the material from the center out again but will do one half at at time.
Press the material down into the lines nicely, Now spray heavily on the sun visor mount valleys, these sections will need the material stretched a bit too so make sure its well glued down. work your way out from the middle.
Now do the other side the same. Next flip the board over and glue the front where the windshield goes and wrap the material over with about 1" overlap. Do the same on the rear where the rear liner will meet.
Now you need to fold the material over itself at the edges like you did on the rear liner, (RED ARROWS) this will make sense when you install the liners in the car.
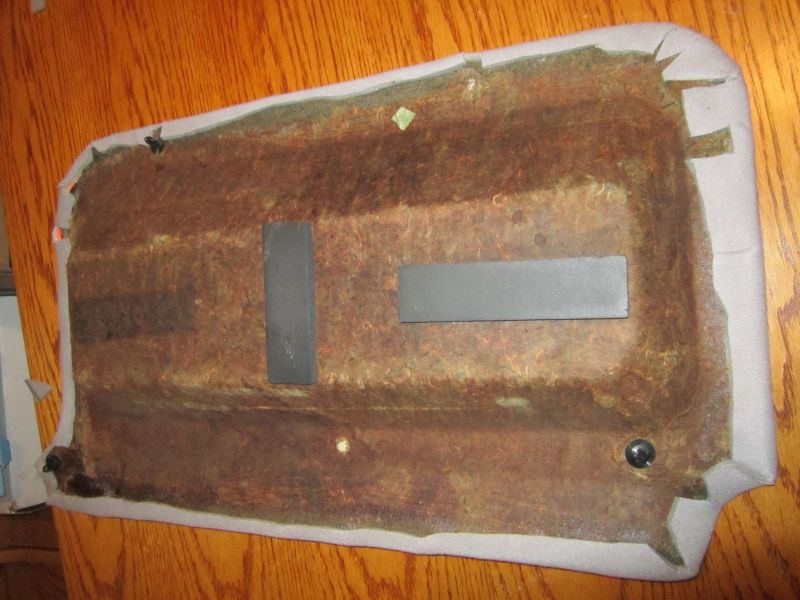
You can see all the epoxy repairs where the board is dark.
Front is trimmed where the A pillars will meet.
Glued
Interior light hole is cut, leave about 1/4'' overlap
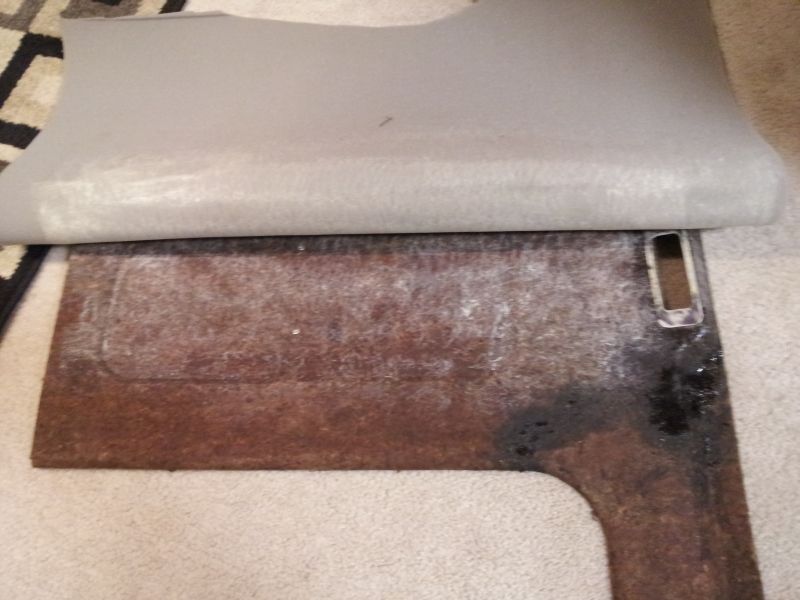
Done, note how much material I left on the sides, Do not trim this down until installation.

-
Senior Member
-
Senior Member
-
Senior Member
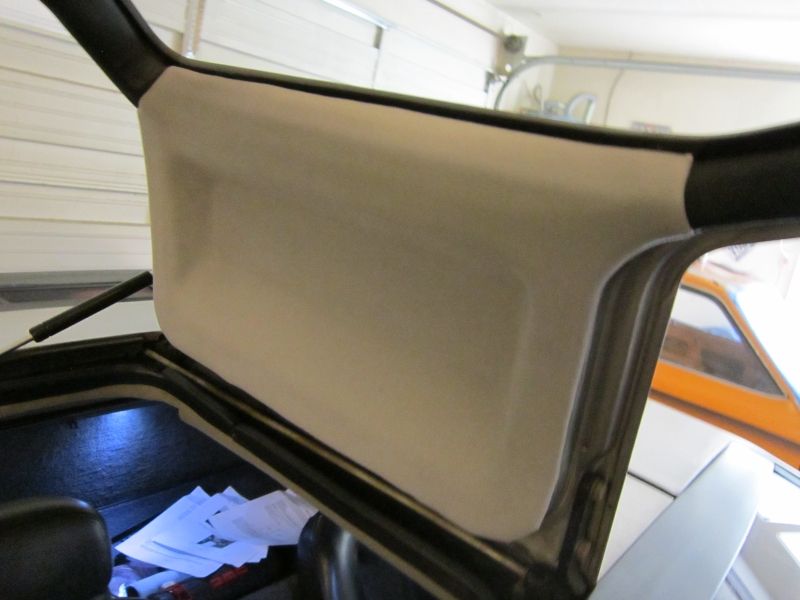
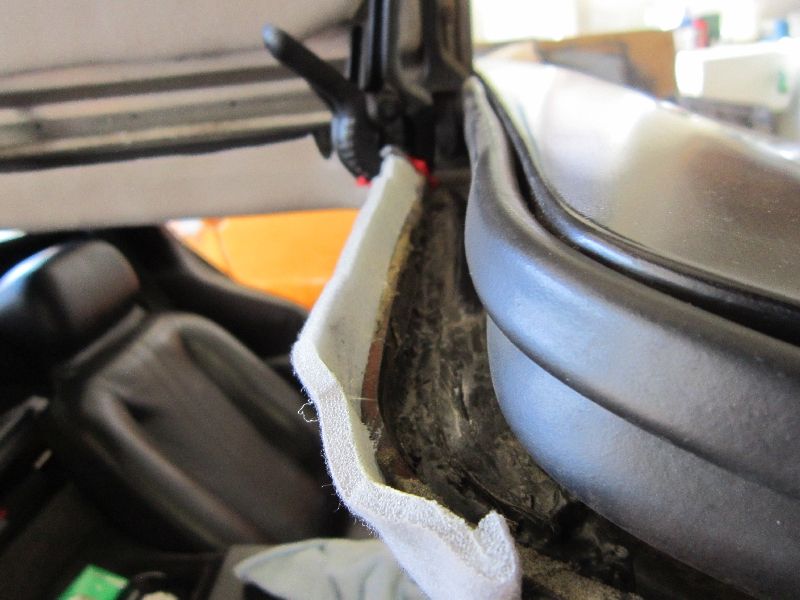
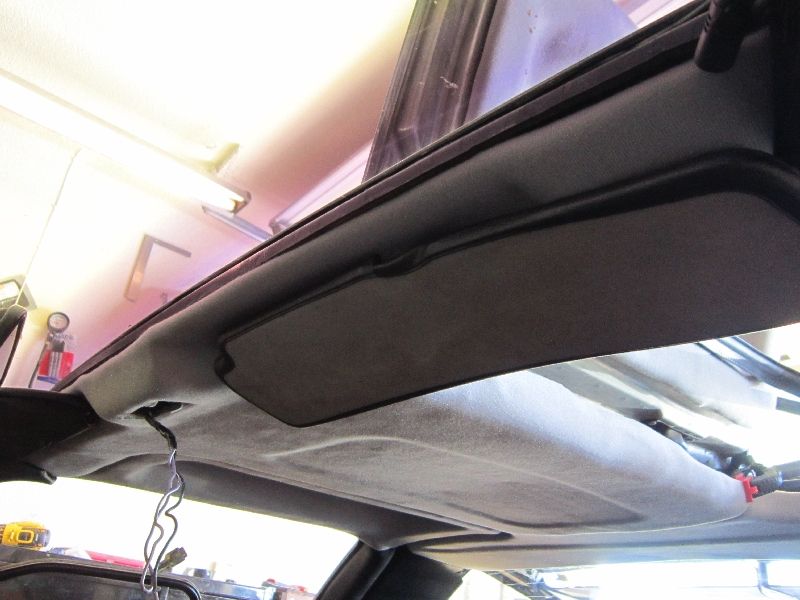
Step 7, Installing Front Headliner
Your are almost there, Before you get in the car, punch small holes in the material through the sun visor mounting holes with a small scredriver, nothing big. Now put the seats back to normal position and insert the headliner in the car with one hand, Grab the interior light wiring and pull it through the hole.
Align the metal support loop with the hook on the roof and push the board forward firmly but gently with both hands until the hook is fully seated, it should click in place too.

Try to always have one hand supporting the front of the liner until the sun visors bolts are in, take your M5 bolts and begin threading them in to the threaded bosses. If the threads were clean and tapped this shouldn't be too hard. Now the front is supported and closely lined up while you glue the sides in.
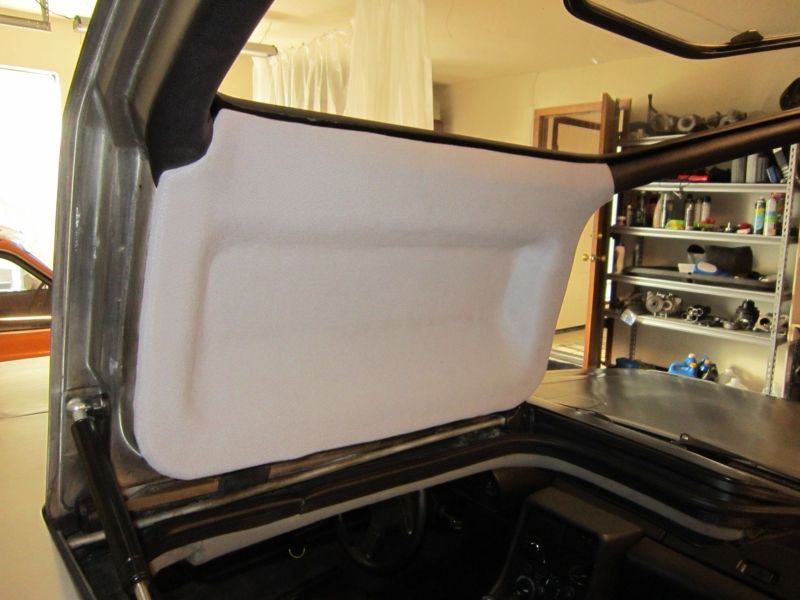
Check on both sides that the board is lined up and not crooked, Start at the front door corners and cut your three slits like you did on the rear liner. Then glue as before too.
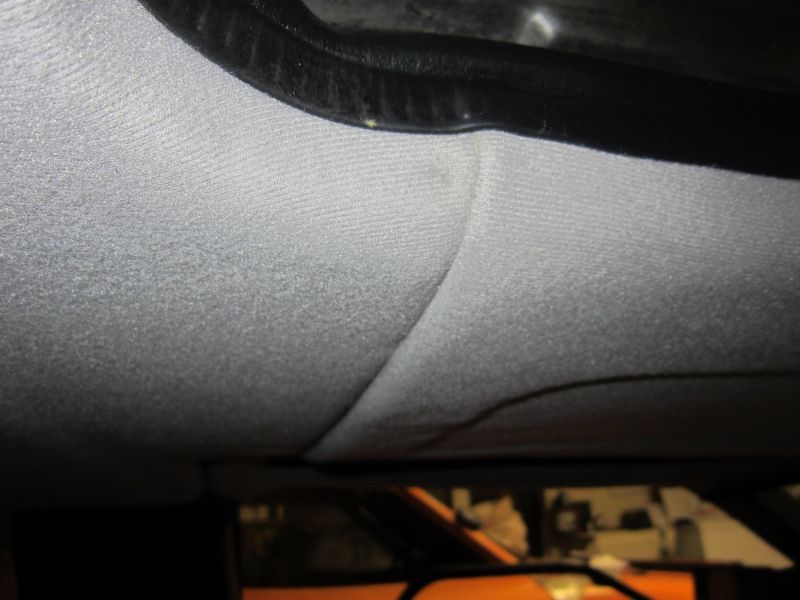
While both sides are glued, clamped and curing you may begin to trim the excess off the front half, Note how much I left to wrap around the fiberglass.
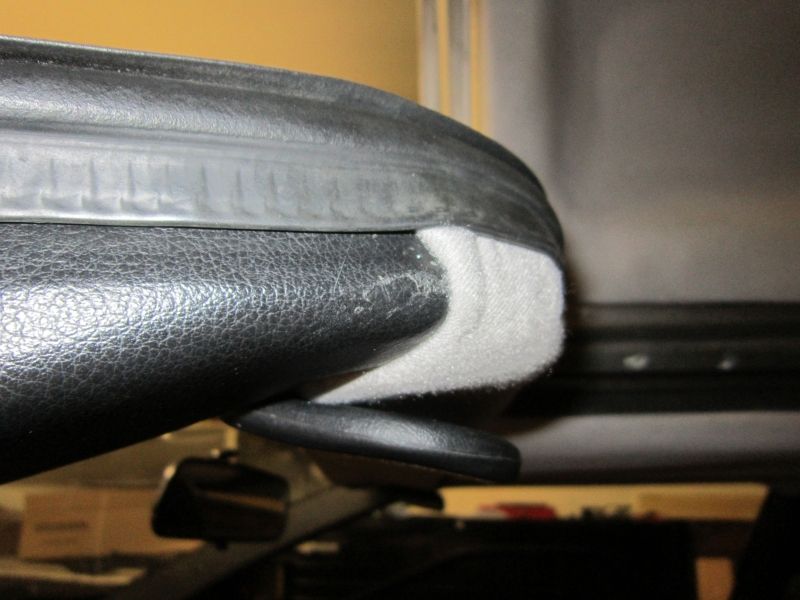
With the front nearly done, work on the center where the front and rear liners meet. Its important that you pull pretty tightly upward on the rear edge of the front liner, where you folded it over about 3/4''. If you don't get that tight the liner is likely to start sagging there first. Add glue and trim the excess.
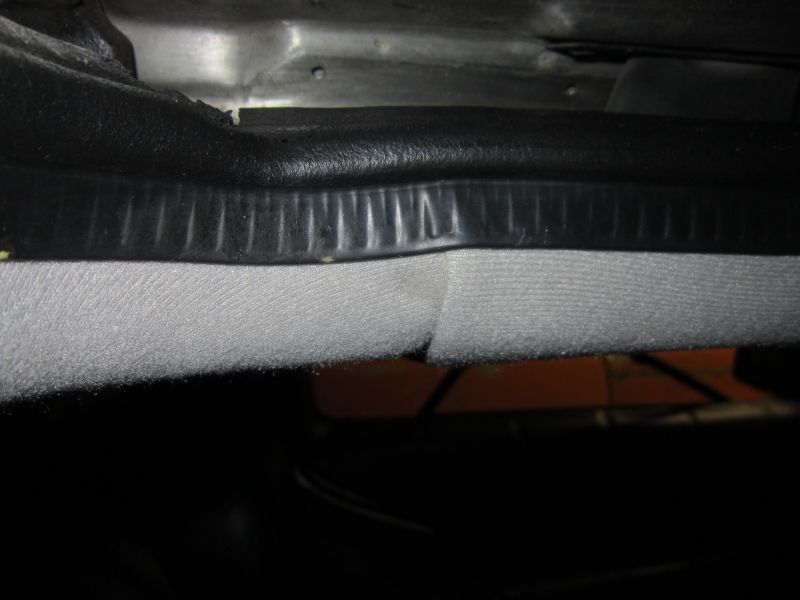
The inner door seal can now be re installed, See how nice that rolled edge looks? This is why you folded it over back on step 3.2 and on the rear liner in #3.1. I don't like to use a rubber mallet to get the door seal down all the way as I fear I may crack the my windshield even more so I have to squeeze the seal down by hand.
Finally Bolt the sun visors and clip the interior light in.
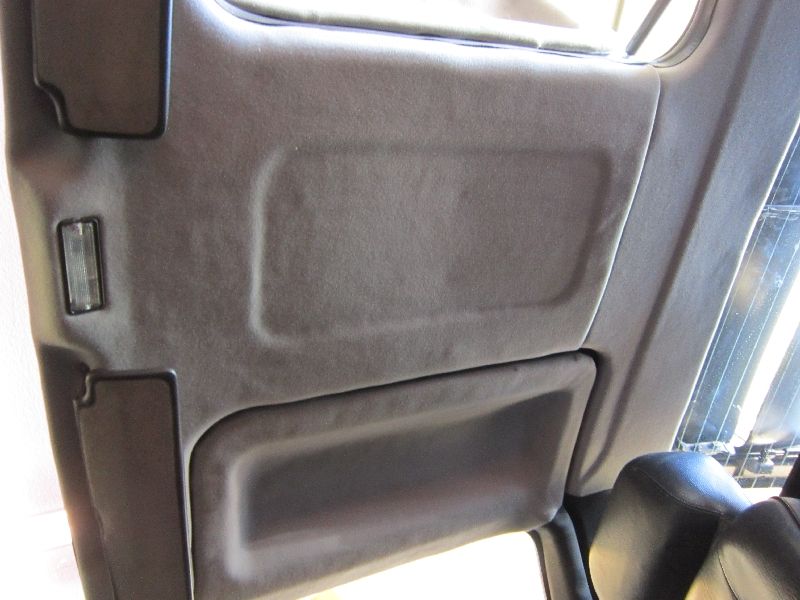
Not a great match to my sad old stained sun visors but I'd rather have nice clean grey liners, The material's grain is quite visible here.
Thanks for looking!
-
Incredible well documented post! Convinced me I should get a pro to do it for me!
-
Administrator

Now that's a write up! 
-
Senior Member

Wow! Great results, well documented. We have a new gold standard for How-To guides.
 Posting Permissions
- You may not post new threads
- You may not post replies
- You may not post attachments
- You may not edit your posts
-
Forum Rules


 Reply With Quote


