http://www.dmcnews.com/Techsection/S...ing%20Rack.pdf
EDIT: Link above broke. See:
https://drive.google.com/file/d/1FRZ...ew?usp=sharing
Thanks Mark D!


Location: North GA
Posts: 6,176
Club(s): (SEDOC) (DCUK)
http://www.dmcnews.com/Techsection/S...ing%20Rack.pdf
EDIT: Link above broke. See:
https://drive.google.com/file/d/1FRZ...ew?usp=sharing
Thanks Mark D!
Last edited by Ron; 05-31-2021 at 09:11 AM. Reason: Bad Link

Location: 38.09080 N 23.8005 E
Posts: 2,038
My VIN: MMMMMCMXCII

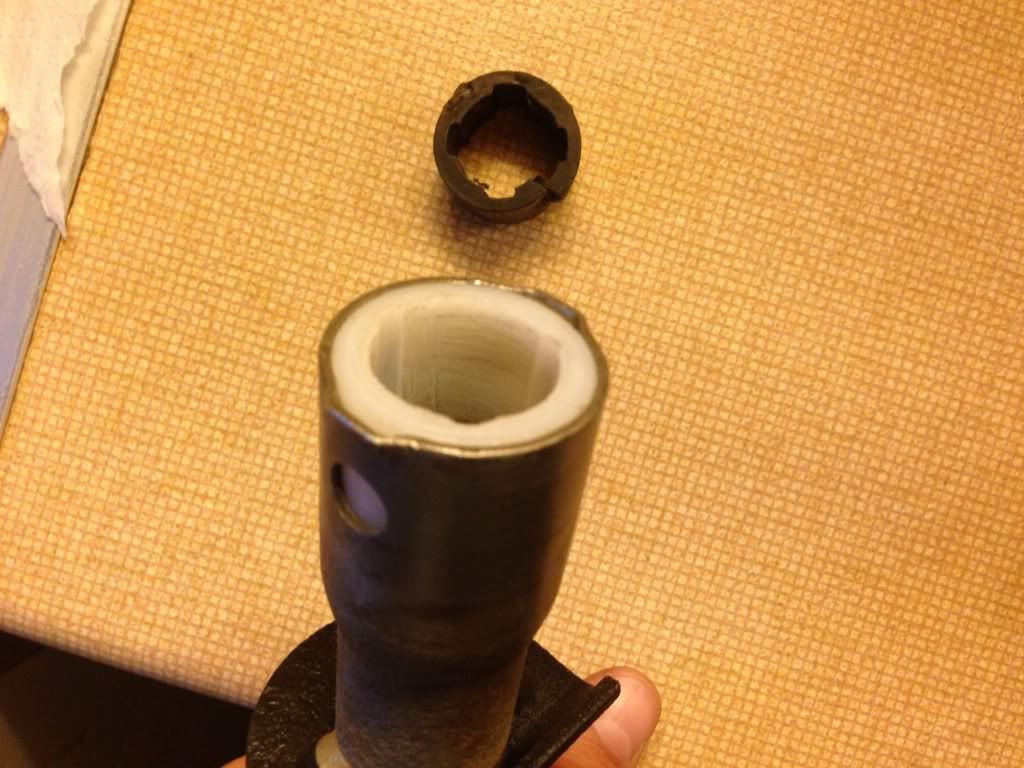
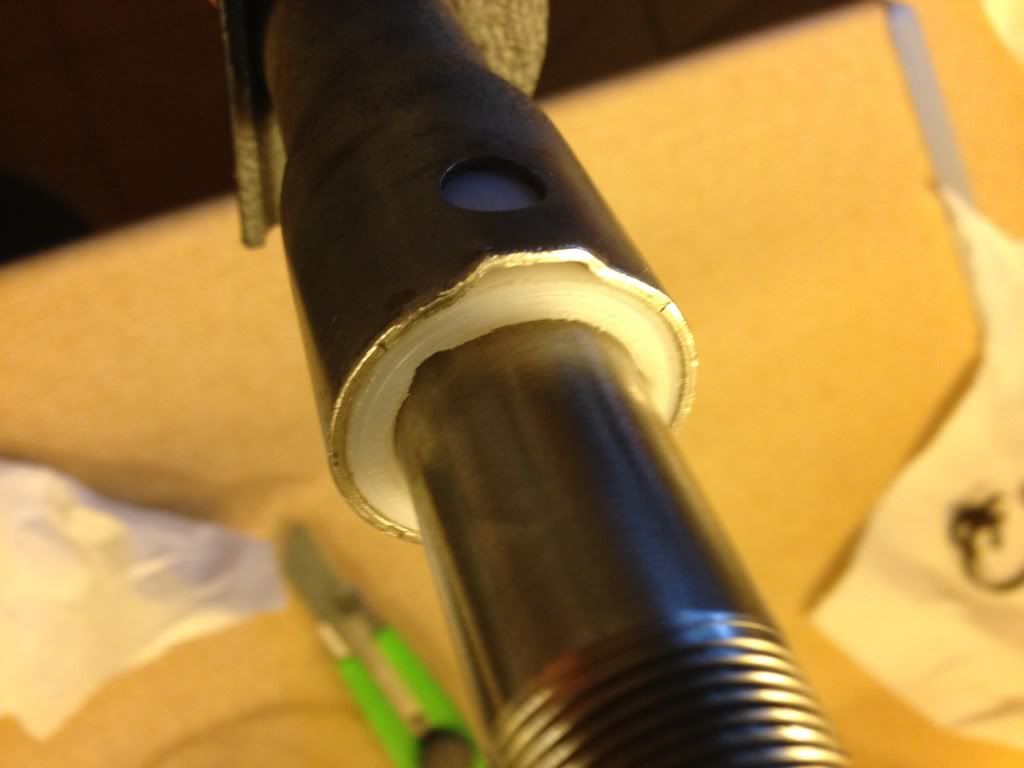
All I wish to add to this tutorial is that the PVC used to guide the inner bar, needs some shafts to allow the fluid to move in and out of the rack.Originally Posted by Ron

Just like the original part did. The way this fella sealed the gateway between the two ends, it will create hydrolic pressure between the two ends making the steering rack stiffer.
Images supplied soon

Location: Hill Country, TX
Posts: 1,579
My VIN: Formerly 2329
Good point, maybe...
When I did mine I also have it as a tight fit, minimizing the fluid transfer. I was thinking that it might be a problem for the passenger side tie rod joint inside the boot, but I can't see how that joint would ever be "bathed" in fluid anyway. I ended up inserting a pin through the side wall of the rack tube into the bushing, so I'm sure I won't have to worry about any hydraulic pressure popping my bushing out. Thinking about it though, there really isn't a lot of force to push the fluid around. The rack moves relatively slowly and there isn't any kind of tube pressurization since the other end is open.
Owen
I.Brew.Beer.
Location: 38.09080 N 23.8005 E
Posts: 2,038
My VIN: MMMMMCMXCII
That is a strong argument Owen.
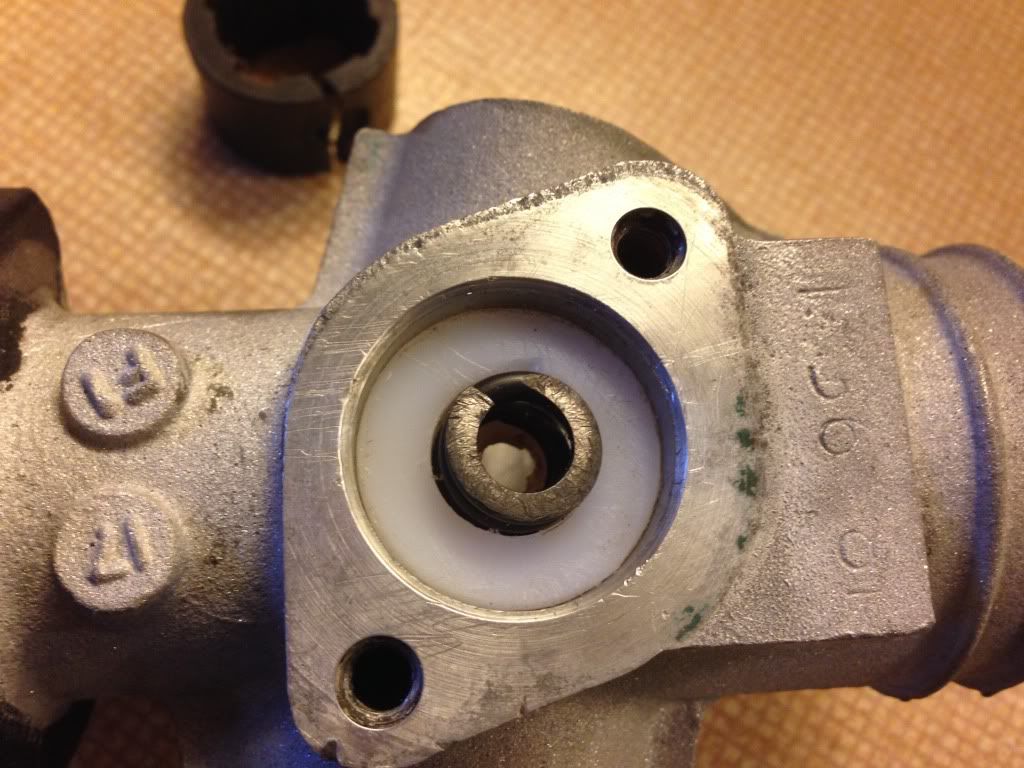
I just noticed the original part that was grabbing the rod only at 50% of its total surface leaving 4 blanks in between. First thought was liquids passage, second was also less friction and air passage. Since the boots are tightly sealed on both ends, it leaves little "communication" between the two compartments left and right from that PVC tube replacement.
I am actually reproducing those with Polyurethane replacements of that seal as well as the filler inner cap as that was also melted... for some reason.
Will have photos in 2 days.
Location: 38.09080 N 23.8005 E
Posts: 2,038
My VIN: MMMMMCMXCII
Right, here are the originals next to the copies I made with poly.
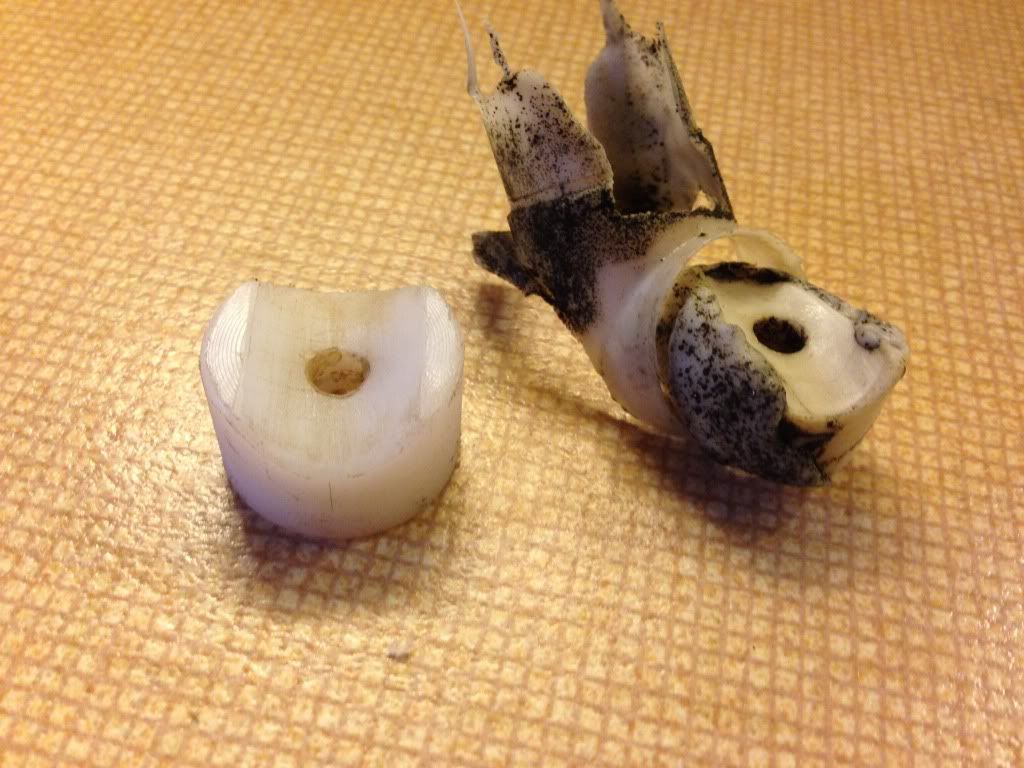
Right the melted filler cap knob left my replacement
Goes like this:
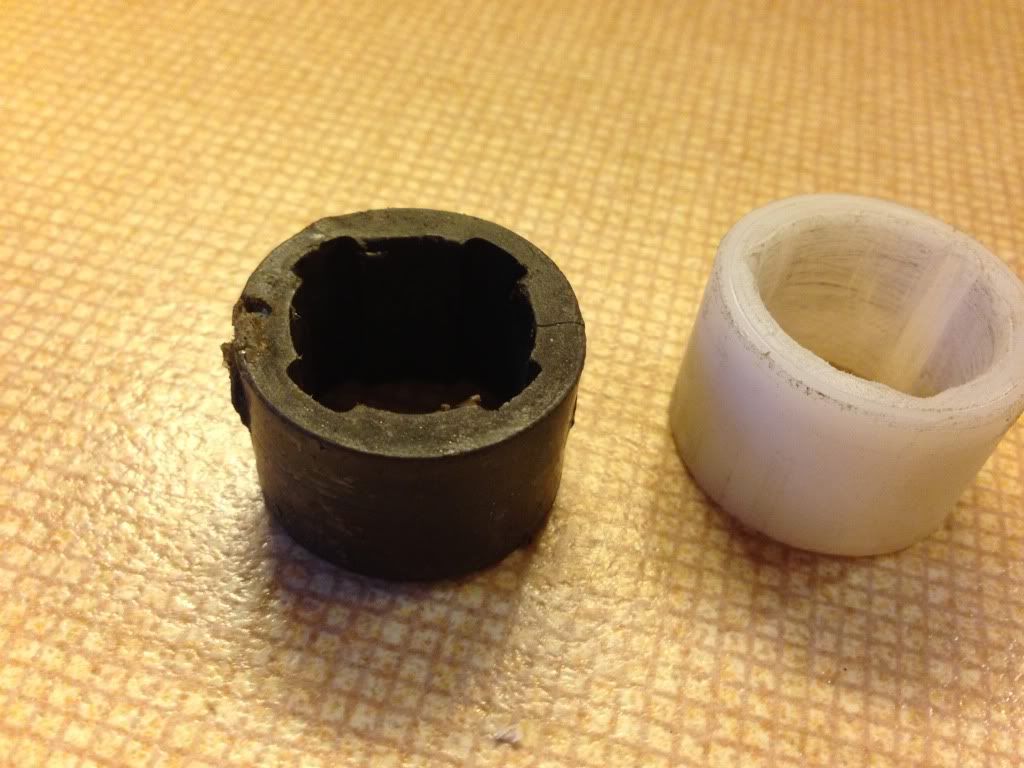
Then the centering cylinder that was ripped.
Left the original, right my poly repro
notice how large the gaps are on the original. I believe the main reason is minimal friction cause it was made of hard rubber
fitting
I rounded up the sharp corners
Last edited by ALEXAKOS; 10-17-2013 at 08:15 AM.
Posts: 1,242
Is the original post link gone? Doesn't seem to work for me. I think I need to make a poli-bushing for the pax side. Mine has nothing there. What holds the bushing in? My rack is nice and tight. Everything seems good but that one end. Im probably going to make the bushing tomorrow. If anybody has some good imput on this, please comment.

Location: Stevens Point,WI
Posts: 2,469
My VIN: 6125
PJ Grady sells replacement steering rack bushings. I bought a set like 10 years ago and they are still holding up well. I don't think they have them listed on the website, you just have to call and ask.
He also reproduces the cup shaped bushings for the inner tie rods.

Location: Stevens Point,WI
Posts: 2,469
My VIN: 6125
I have that PDF as well that was linked above but apparently no longer exists. I put it up on my google drive here:
https://drive.google.com/file/d/1FRZ...ew?usp=sharing
Posts: 1,242
So I guess the bushing is just held by press fit? One guy mentioned he made a pin to hold it. Not quite sure how that would work. (The pin would have to be less than an 1/8"?)
Edit, just read your write up, Mark. Great job! Thanks.
One more edit, Mark, do you think it would be possible to replace that bushing in the car?
Last edited by Helirich; 05-31-2021 at 10:06 AM.
Posts: 1,242
To answer my own question, yes, you can replace the bushing in the car. I put a threaded hole in the side of my bushing and used a very short screw to lock it in place. Then I put the boot rubber/clamp over the screw head to lock it in place.
One thing I noticed, the first bushing I made was tight. It made the steering wheel turn kind of hard. After honing it out, it moved easy. I wonder if you could size it so it would dampen your steering. I might experiment with that later, I don't have time right now.
 Posting Permissions

 Reply With Quote